5 Unexpected Uses For An Old Raspberry Pi
Raspberry Pi devices are some of the cheapest and most versatile computers on the market. They're also a top hardware choice for creatives building STEM projects. Given their insanely cheap price tag, you may own several Raspberry Pi computers, including unused older models. But you don't need to buy the latest model to make impressive stuff; you can achieve a surprising amount using even the earliest editions of Raspberry Pi computers.
Because of their incredible versatility, it's unwise to throw your old Raspberry Pi away. There's a project for every room in the house, including Raspberry Pi projects for your bedroom and kitchen. You'll also find some unusual Raspberry Pi projects out in the wild, which further showcase its flexibility as a mini-computer.
The majority of Pi projects can be done using a non-wireless model, but there are a select few that require wireless models such as the Raspberry Pi Zero W. Either way, these Raspberry Pi projects won't break the bank, with early models selling for incredibly cheap. Here are five unexpected uses for an old Raspberry Pi.
Program Christmas lights for the holiday season

You may never go viral with your Christmas light display like some decorators, but you don't need to go all-in to control your LED holiday lights with your Raspberry Pi. With a little programming knowledge, you can program your Christmas lights into some simple, beautiful patterns and automate them with your Pi. Given this project's minimal processing power, you can reliably use any old Raspberry Pi.
To get started, all you need are some cheap, addressable LED lights (meaning that they can be programmed). BTF Lighting offers some affordable addressable lights in their Christmas stock. You'll also need a breadboard to create a simple circuit that connects your Pi to the lights. If you've never used a Raspberry Pi breadboard before, many guides online teach the basics.
The advantage of this project is that you can be as adventurous as you like. If you're programming detailed patterns, however, it may be worth labeling your lights to avoid getting in a pickle. Another benefit is you're not limited to one pattern. You can program several functions and enjoy watching multiple light patterns when the festive season comes around.
Create a time-lapse photography device

If you're a photography enthusiast, why not use your old Raspberry Pi to create a time-lapse video? Using the Raspberry Pi camera module, you can create impressive time-lapse photography with minimal effort. (Take note that if you're using a Raspberry Pi Zero, you'll need a Camera Module ribbon that fits the smaller port.)
For this creative project, make sure you have Raspberry Pi OS installed (previously called Raspbian). After connecting your Raspberry Pi camera to the ribbon cable, you can test your camera by typing the following command to save an image on the desktop:
raspistill -o Desktop/image.jpg
You don't need to be a programming genius to write a script for time-lapse photography. You can use a basic for loop to take a set amount of photos. Then you can simply use the sleep() command to add a gap between each photo. Once your Python script is complete, you can put your camera in position and let the Pi do the work. You can also modify the script to make GIFs using the free application ImageMagick.
Make your own home theater

Thanks to Kodi, a free open-source media center, you can use your old Raspberry Pi to make a customized home theater PC. Originally designed for Xbox for playing local music and movie files, the Kodi Media Center has since expanded to become a versatile media platform for Android, macOS, Windows, and several other operating systems. You can still access and play local media files, but arguably the best part is the available add-ons, allowing you to legally stream content from platforms including Netflix, YouTube, and Plex.
The good news is that practically any Raspberry Pi can handle Kodi Media Center, including the miniature Raspberry Pi Zero. Of course, you're not guaranteed the 4K footage that the newer Raspberry Pi 4 supports, but even then, you can enjoy viewing HD content on a Raspberry Pi Zero with its built-in mini-HDMI socket for 1080p60 video output.
You can install Kodi as an app on an Android or Linux OS, or you can use a dedicated Kodi OS. This offers a great way to turn your old TV into a Smart TV with a Raspberry Pi, and with the ridiculously cheap price of the Raspberry Pi Zero, it's a super-affordable option too.
Create a retro games machine
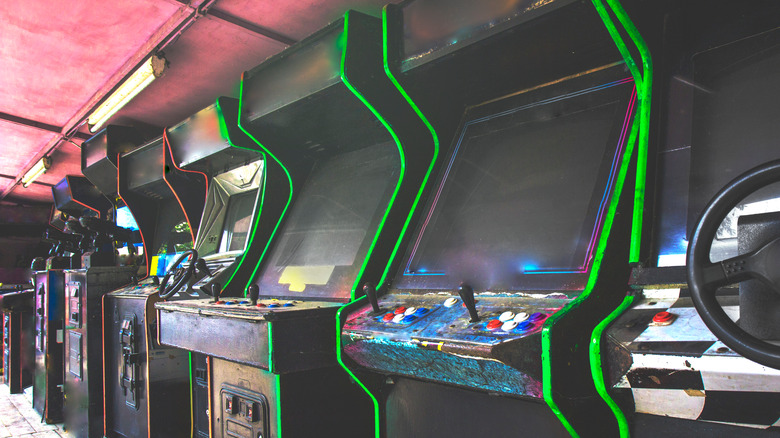
Retro games are a trending hobby for avid gamers wanting to relive their childhoods. To ignite some nostalgia, you can turn your Raspberry Pi into a retro gaming machine to play classics. It's important to note that sharing ROMs online is illegal but the use of emulation software isn't.
To get started, all you need is a Raspberry Pi computer with sufficient RAM (most models will work fine), a microSD card and adapter, and a USB flash drive. You'll also need the correct display ports to connect the Raspberry Pi to your monitor. Details can be found on Raspberry Pi's Documentation Page.
RetroPie is an emulation application that lets you play ROMs from a variety of old consoles, including the SNES, Sega MegaDrive, and Game Boy Advance. The software is designed for Raspberry Pi machines and can be played with any USB-connected or Bluetooth controller. To get set up, you can follow RetroPie's documentation to guide you through the full installation process. There are many reasons to turn your Raspberry Pi into a games machine, and with Raspberry Pi 4's starting price of $35, you can also do it on the cheap.
Set up a printing server to make an old printer wireless
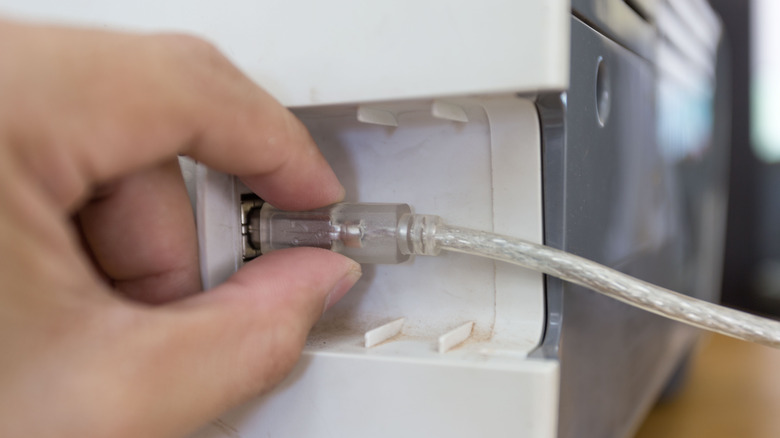
If you have an old printer that no longer works on Windows, why not transform it into a wireless printer that works with any device on your network?
For this project, you'll need a Wi-Fi-enabled Raspberry Pi such as the Raspberry Pi Zero W or its successor, the Raspberry Pi Zero 2 W. You'll also need a USB cable to attach the printer to the Raspberry Pi. For initializing the server, you'll need CUPS (Common Unix Printing System), which allows you to print to both local and network printers. You can install CUPS with one simple command from the terminal:
$ sudo apt-get install cups
After giving yourself administrative rights, you can then proceed to add the printer on your device. Using your Raspberry Pi to create a printing server is a great way to make use of an outdated printer without tossing it away. It's cost-effective, relatively easy to set up, and reduces electronic waste.