3 Tips Every New Apple Pencil User Needs To Know
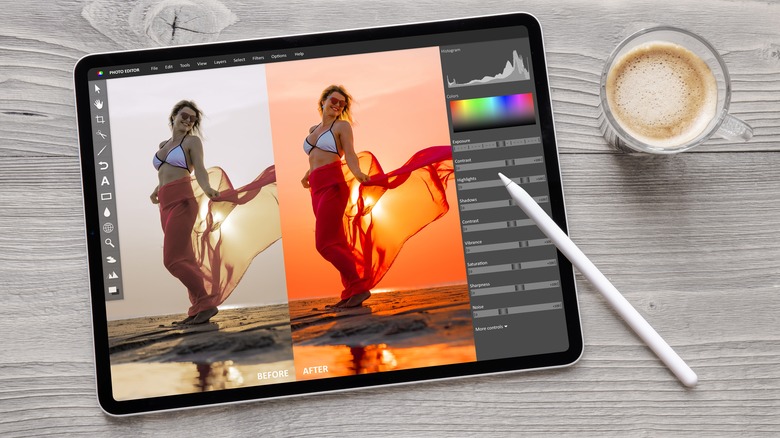
Regardless of what you do, one of the best ways to maximize your iPad's capabilities and change how you use your iPad is to purchase an Apple Pencil. Whether you're a graphic designer who draws for a living, or a student who needs to take notes or jot down ideas, Apple's styluses are filled with handy features that you can use to make your life easier.
At first blush, the Apple Pencil can seem confusing. After all, there are three versions currently for sale. The good news is the $99 OG first-generation Apple Pencil and the newer $79 Apple Pencil with USB-C share similar features. What sets them apart, mostly, is which iPads they support. The $129 second-generation Apple Pencil, though, has a few more features. So, make sure you buy the right stylus option for your iPad.
Once you've gotten your Apple Pencil set up, it's time to learn basics such as highlighting digital notes or adding your signature to PDF documents without printing them out. Then, you need to figure out the common mistakes people make with the iPad. Finally, it'll be time to dig into the extra features.
Easy to scribble
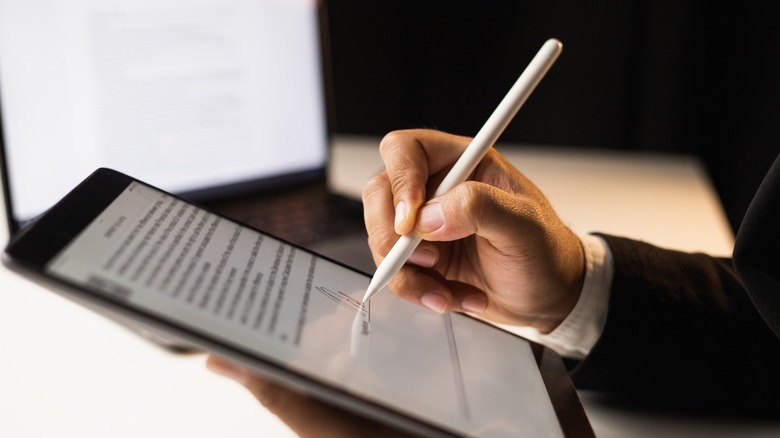
If you recently ditched handwritten notes and decided to make the ultimate switch to taking your notes digitally on an iPad, it likely won't be as smooth a switch as you'd expect. You probably saw a bunch of people post their aesthetically pleasing digital notes and planners, which is not how it will start for you. It's completely normal to find that your handwriting on your iPad is barely legible at first. The good news is Scribble can help.
Regardless of the Apple Pencil model you own, as long as your iPad is compatible with the Apple Pencil, you can use the Scribble feature. What it does is allow you to write text, which then is converted into printed text like you typed it with a keyboard.
While Scribble is enabled by default, you may have unknowingly disabled it while messing around with your iPad's settings. So, it's a good idea to head to Settings > Apple Pencil and ensure Scribble is toggled on. If you'd like to try it out, you can also tap the Try Scribble button below the toggle. Once Scribble is enabled, you can use it in any text input box on the iPad.
All you need to do is start writing in the text input box and let Scribble work its magic. Did you write something but want to delete it? No problem, you can remove text by scratching it out horizontally or vertically. If you're using the feature to take notes in Apple's built-in Notes app, you'll need to choose the Handwriting tool from the Apple Pencil's toolbar.
Double Tap can do so much

One of the biggest standout features of the second-generation Apple Pencil is the Double Tap. You can set up the Apple Pencil to perform a variety of different tasks when you tap it twice while holding it. For instance, Double Tap is compatible with Apple's native Notes app, where you can switch between the eraser or stylus functions, or pull up the color palette. The Apple Pencil can also work with several third-party applications, like GoodNotes.
As the name suggests, to use Double Tap, all you need to do is double-tap the flat end of your Apple Pencil. To customize its functions, head to the Settings app on your iPad and go to Apple Pencil. Under the Double Tap option, select from one of the following options: Switch Between Current Tool and Eraser, Switch Between Current Tool and Last Used, Show Color Palette, or Show Ink Attributes. You can also turn off the Double Tap feature entirely.
Take a screenshot using an Apple Pencil

There are multiple reasons you would want to take a screenshot on your iPad: Perhaps you'd like to share your lecture notes with a classmate, or you need to show a client how far along you are on a project. Whatever the case is, the Apple Pencil offers an easy way to take a screenshot, even if your iPad is lying flat on a table. Simply position your Apple Pencil in the bottom left or right corner of your screen and swipe in, diagonally.
As soon as your screenshot is taken, you can edit it directly using the tools at the bottom of your iPad's screen. Once you're satisfied with the screenshot, tap the Done button at the top left corner of the screen, and it'll be saved to your iPad's stock Photos app.
Once you've mastered all these moves, you can start adding from the essential accessories every iPad user should have.