3 DIY Ways To Add Hand Grips To Your Tools
We may receive a commission on purchases made from links.
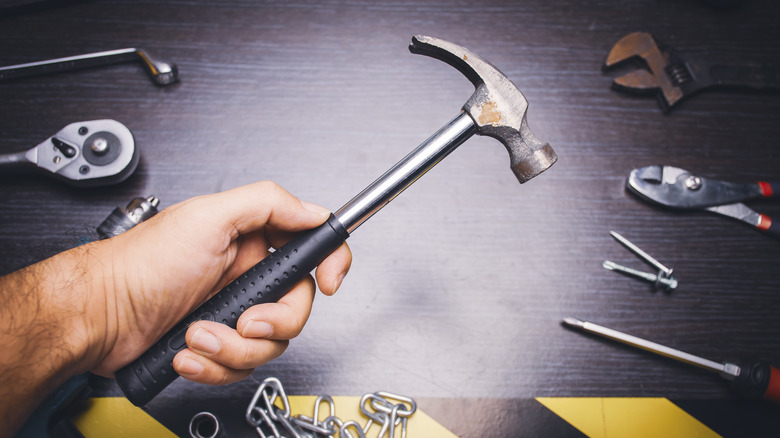
As a wise man once said, one of the most important safety rules when using precision tools is to grasp them firmly. Keeping a good, strong grip on your tools not only stabilizes them and helps keep them on-target, but also stops them from suddenly flying out of your hands and, in all likelihood, straight into something fragile. Of course, no matter how firmly you grasp your tool, it won't matter much if the handle isn't designed to accommodate that grip.
Simple tools with solid material handles like steel or wood can get a bit slippery, especially if you're working hard and your hands get sweaty. Solid handles can also lead to gradual injuries, as friction from your grip shifting slightly can cause blisters and calluses. To prevent these scenarios, you can add a grip to the handle to both enhance its grip and soften the blow of heavy labor. While there are some standalone handles you can buy at a local hardware store such as Harbor Freight, it's more economical to make a grip yourself with some simple materials.
Hockey tape
For about as long as tape has existed, people have been using it to create grips for all kinds of sporting equipment. From masking tape on golf clubs to the abrasive tape on top of a skateboard, as long as it sticks in place and gives you a bit of texture, it's doing its job. This approach works for tools too, though you might want to be a little more choosy about the kind of tape you're using.
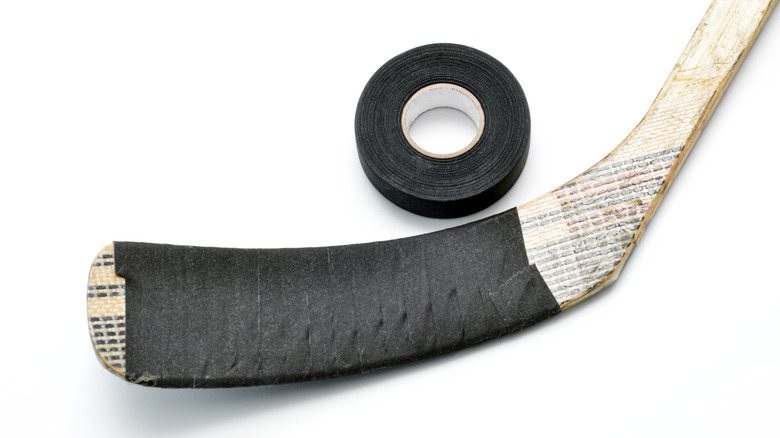
For the purposes of tool stability and comfort, one of the best kinds of tape to use for a DIY grip is hockey tape. As the name implies, this is the same kind of tape that hockey players wrap parts of their sticks with. Few sporting implements absorb as much shock and sweat as a hockey stick, so you know this stuff is good for the job.
Just stick a strand of hockey tape to your tool handle, give the roll a twist to make a thick cord, and wrap that around the handle's surface. Afterward, cover it all up with the tape, then squeeze the handle to secure it. Just like that, you've got a sturdy grip that can absorb the brunt of physical feedback, and if it ever wears out, just wrap it again.
Rubber or plastic dip
You know those textured grips you see on some professional-grade tools? The ones that seem flush with the tool's handle, almost like they've been painted on? That's not layered rubber, that's the result of a coating dip. Various hardware brands offer tubs of liquid rubber or plastic that you can dunk your tools right into, handle-first. Once the dunked section dries, it solidifies into a convenient, flexible grip, increasing abrasion, absorbing vibrations, and warding away corrosion.
There are many dips available on the market, though one of the most well-known brands is Plasti Dip, which you can grab at your local Home Depot. To use it, just give the handle of your tool a thorough cleaning and wipe to remove any loose dust or debris, dip the handle into the tub, and then leave it to dry for 30-40 minutes.
If the shape of the tool you're using doesn't accommodate easy dipping, you can also apply the material directly with a paintbrush or load it into a spray gun. These coatings are designed to be semi-permanent, but if they start to wear out or you just don't like them, they can be removed with some penetrating oil spray.
Foam tubing
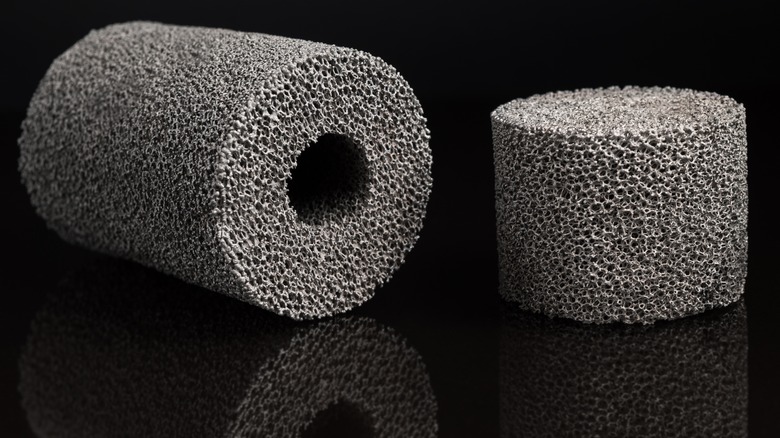
Anyone who's swung around a NERF sword in their formative years will be familiar with the shock-absorbing qualities of simple foam. Those NERF weapons had hard plastic cores, and yet they were still soft enough to smack your friends with, so that foam was definitely doing its job. Foam tubing is still a material of choice for those in the boffer weapon scene, though you can also use it to make grips for simple tools like hammers.
You can get a pack of foam grip tubing from Amazon for around $10. Just measure out a length of tubing the same length as your tool's handle, cut it off with some scissors, and stick your tool right into the center hole for a soft, insulated grip. If the shape of the tool you're using doesn't facilitate easy insertion, you can also cut the tube open, place the grip inside, then seal it back up with tape, heavy-duty staples, or adhesive.
If you're having trouble sliding the tubing onto a tool, try inserting a compressed air hose into the gap between the tool and the tubing and shooting some air in. The air cushion should allow the tubing to slide right on.