6 Things You'll Need To Build Your Own Raspberry Pi Portable Radio
We may receive a commission on purchases made from links.
A Raspberry Pi is capable of a great deal of things if you know what you're doing. You're able to create things like retro gaming consoles, home servers, and even portable radios. That's just scratching the surface of cool projects to check out, but you will need to have some technical know-how to get started. There's quite a bit more that goes into making a radio than just getting your hands on a Raspberry Pi board, but that's certainly where you'll want to start.
To get a functioning radio, you'll also want to get a pair of decent speakers for the sound to come out of. While you might be happy with a Raspberry Pi board hooked up to a pair of speakers for music, you can take it so much further and get it housed inside a case. You can be as frugal as you want, but if you want to go the extra mile and make the perfect radio, you have to be prepared to spend a bit of cash.
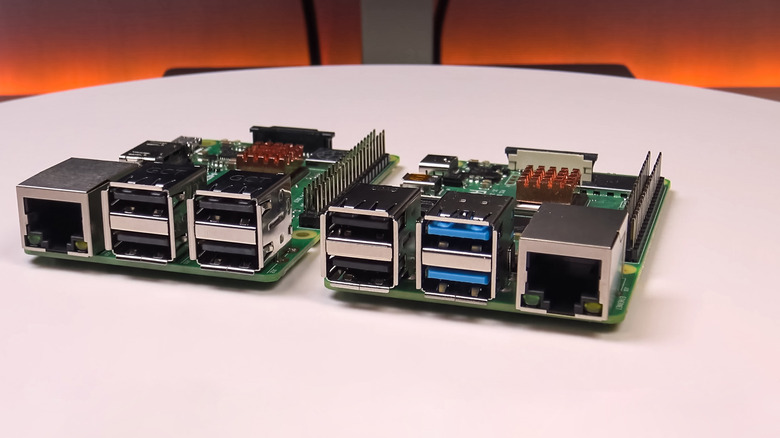
Raspberry Pi board
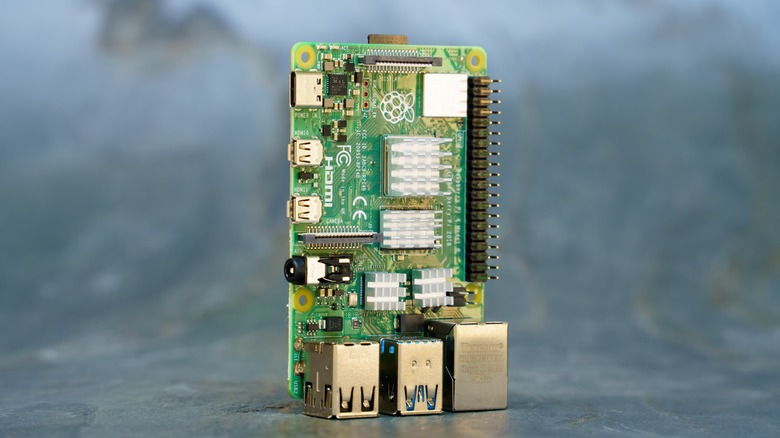
Your project is dead in the water if you don't pick up a Raspberry Pi. You have plenty of options to choose from, but if you're looking for the latest addition to the line, then the Raspberry Pi 5 will be for you. The Raspberry Pi 5 is the most feature-rich of the Pi line, and it doesn't matter if you're a beginner or veteran because there are plenty of tutorials to sift through if you ever run into trouble. You have your choice of either 4 GB or 8 GB of RAM, and once you determine what's right for you, then you can make your purchase.
The 8 GB version costs $80, and in many cases, it's better to be safe than sorry. By going for more RAM, you ensure your project will be able to handle more multitasking. That might not be a huge deal when it comes to a portable radio, but more RAM is something to consider when making something more resource-intensive like a gaming system. The Raspberry Pi series was built to run Linux, with older versions employing a 32-bit architecture, and modern variants such as the Raspberry Pi 3, 4, 5, and Zero 2 supporting 64-bit. Be aware of the software available for each when making your choice.
Speakers for your Raspberry Pi
If you're repurposing an old radio, you might be able to use those same speakers with the new project and skip this step. However, that's not going to be the case for everybody, and buying a pair of speakers can be important. The Raspberry Pi 5 supports Bluetooth, so a small pair of portable speakers would work just fine, and you can get them nestled inside of a shell or you can use them on the exterior — much like a stereo system.
Going for an external option will be easier as you can cut down on the size of the radio itself, and you'll be able to hook your portable radio up to any set of speakers you come across. If you want a screen for the radio, you can opt for a tablet that comes with a set of speakers built-in. Those won't typically be great, but it can work just fine for solo listening.
If you're using an ultra-budget Raspberry Pi Zero or Zero 2 for this project, it's worth noting that neither model has analog audio output, so you'll be limited to Bluetooth. Other models come with a 3.5mm minijack connector. You can upgrade your Pi radio down the road if you like with an Audio HAT (Hardware Attached on Top) that doesn't require any soldering. This can give you access to lossless 24-bit 192kHz audio and a headphone jack in some cases.
Radio hardware and software
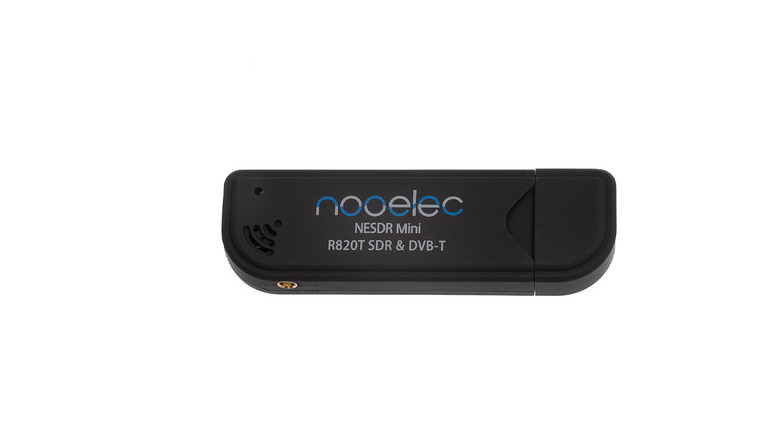
If you want to take advantage of AM/FM signals instead of the internet for your broadcasts, you'll need the hardware necessary to do that along with software. For the hardware, you can use a USB SDR (Software-Defined Radio) module that will allow you to pick up radio frequencies. You can grab one for around $30 on Amazon, so it's not going to be anything that breaks the bank. From there, you'll need a way to control your radio. A screen might be the simplest way to do that, and you can pick one up for $20 from Amazon.
When all that's out of the way, you need the radio software receiver. GQRX SDR is a good choice that supports many SDR hardware options, and it's still receiving updates. You have plenty of choices to pick from, but make sure you take a look at the compatible dongles and buy one of them if you're using this software.
microSD card
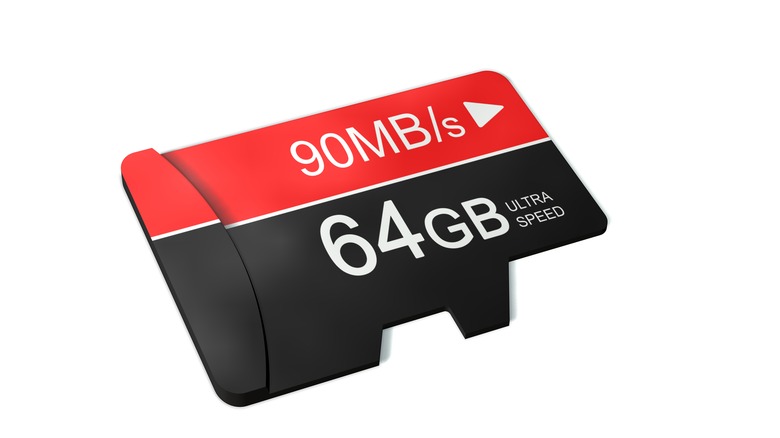
While you can create an actual radio complete with an antenna, a far easier method would be to grab a microSD card and load it with software that will play music from Spotify or web radio stations. The only thing you'll need to do in this situation is having an internet connection, which shouldn't be a problem if you're using your radio somewhere that has WiFi. This means you won't have the type of coverage an antenna can offer, but WiFi would be just fine for many people.
You have to flash a complete distro like HiFiBerryOS, or install an internet radio app such as Rhythmbox on your existing system. Once it's installed, you'll be able to start playing music just like a radio. In the case of HiFiBerryOS, it's recommended to use Pi 3B+ or Pi 4. Alternatives exist for every platform, so don't feel like you have to be locked into just these two models. Installing HiFiBerryOS will effectively turn your Pi into a radio and nothing more, so just make sure you don't want any extra versatility with your build if you go down this path.
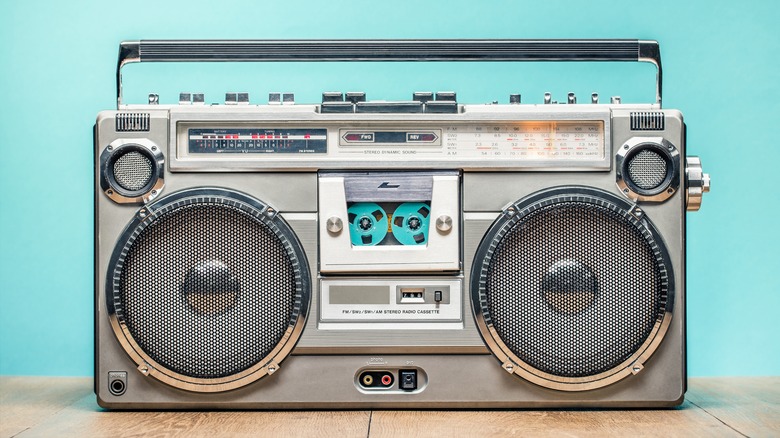
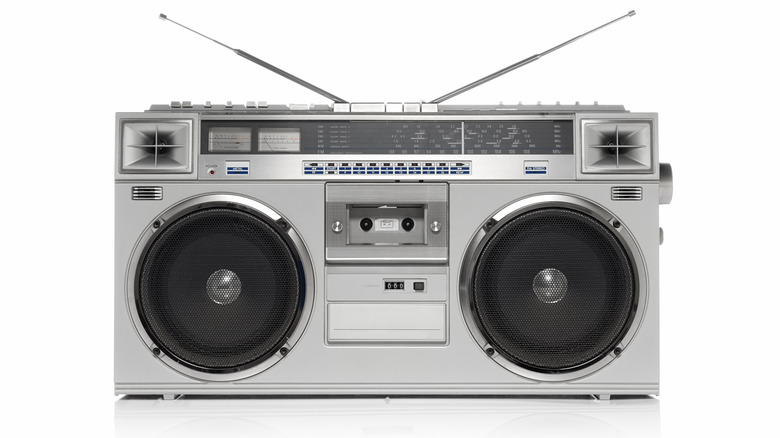
Something to put the Pi in
You will need something to house the Raspberry Pi in if you want it to resemble anything close to a radio. There are plenty of choices here as you can use an older radio stripped of its insides, a homemade case, or you can even go down the 3D printing route. Either option will work, but you will have to decide what works best for you. An old radio might be easy to come by at a thrift store, and that could end up being the most cost-effective option.
Not everybody has easy access to a 3D printer, but that would be the option that gives you the most customization possibilities. Finding a small case to house a Pi will result in the smallest footprint, but that would mean you need to use external speakers, or a specialized speaker HAT. If you want to have your Pi play CDs, that's also a route you can take, but you'll need to get a case big enough to house a CD drive. At the end of the day, there's not exactly a wrong choice here, so feel free to do what works best for you.
The right tools for the job
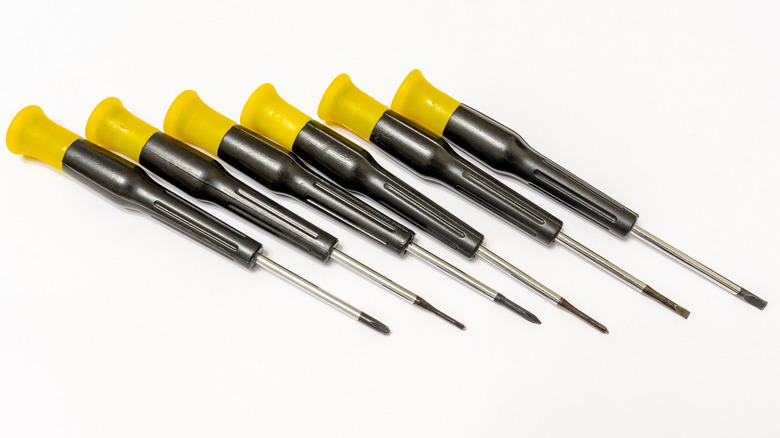
While a screwdriver isn't strictly necessary for working with the Raspberry Pi, the PCB mounting holes are made for M2.5 screws. These are easy to track down, and you can find them very easily on Amazon. However, those won't be the only things you need. While some projects won't require it, hardware projects often benefit from a wide assortment of tools, such as a heat gun, a soldering iron, and a set of flush-cutting pliers. If you're dismantling a radio for the case, it will almost certainly involve soldering, as you need to form bonds with other components, while the flush cutters will create smooth surfaces by cutting away leftover imperfections.
If you need a budget-friendly option, the Ryobi brand is perfect for tools like this. The Home Depot-exclusive name carries quite a bit of the mentioned tools at an affordable price, and you can use them for working on a Pi as well as crafting.