12 Of The Best Raspberry Pi Projects To Check Out In 2023

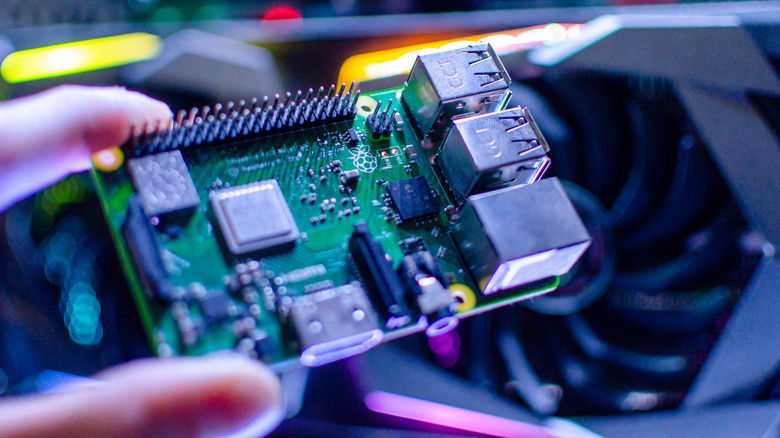
Considering it's been almost impossible to buy a Raspberry Pi for about a year because of supply chain shortages, it's remarkable how many people continue to create interesting and increasingly useful projects for these single-board computers. Of course, what's actually useful varies tremendously from person to person, but there have been so many Pi projects for so many years that there's pretty much something for everyone.
Most people could make good use of Pi-Hole, for example, as a network ad-blocker (it has a lot of other uses, as well). Brewing your own Pi-based time server, on the other hand, isn't the sort of project most people would get passionate about. Still, there's something for everyone, and every day someone writes up a new Raspberry Pi project you wish you'd thought of yourself.
Here we have a handful of very cool projects you can do with a Raspberry Pi, one you probably don't want to do, and one you probably shouldn't do. We tried to cover a lot of bases and include something for everyone, whether your goal is to cook a hamburger or to analyze the frequencies in the EDM masterpiece you just created in Ardour. Let's start with one that, apparently, has near-universal appeal.
A ChatGPT-like large language model
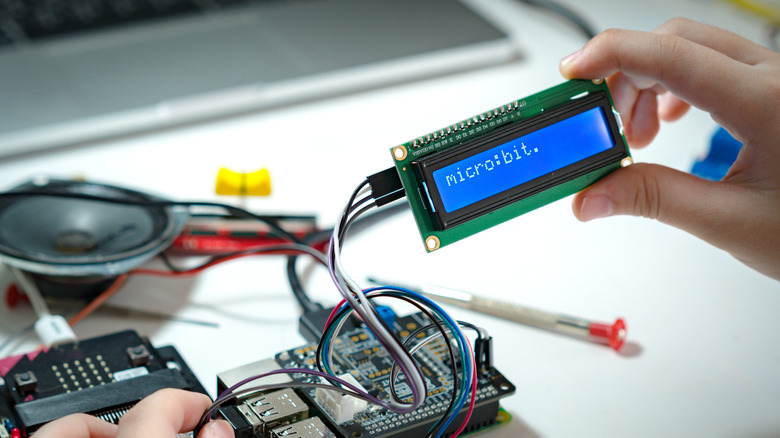
If you haven't heard of ChatGPT, it's possible that either your tinfoil hat is working too well or you're currently being raised by a family of ocelots. Just about everyone is both utterly terrified by it and trying to figure out how to profit from it. One thing is certain: if you're going to destroy the human world with AI, you're probably going to prefer that it happen slowly, and there's no better way to run GPT and similar models slowly than a Raspberry Pi.
We'll show you how some have managed to run Llama, a GPT-3-like Large Language Model (LLM) slowly but locally on a Raspberry Pi — but first, we'll point you to instructions for creating a voice assistant that accesses the power of ChatGPT through an unofficial API.
VoiceGPT is a project shared by Nick Bild on Hackster that operates as an interface to the web-based ChatGPT service. It's basically a voice assistant that converts your queries to text and passes them to ChatGPT and then passes the response back to you via an artificial voice. Bild's Python script uses an unofficial API to manage the communication, and the ChatGPT cloud servers do all the LLM work.
On the other hand, a few dedicated humanity destroyers have managed to get different LLMs up and running on Raspberry Pi, thereby perhaps avoiding the internet connection and its inherent means of AI escape into the wild. These tend to be variants of Meta's GPT-class LLM called LLaMa and Georgi Gerganov's code library for interfacing with it.
Surveillance detection
If you're bored with using the power of the Raspberry Pi for evil, here's your chance to finally use it for good. This project helps you detect signs that you're being followed or otherwise surveilled.
Chasing Your Tail With a Raspberry Pi was a 2022 Black Hat USA conference presentation laying out how to detect persistent networks and connections (Wi-Fi and Bluetooth) with a Raspberry Pi, thereby potentially identifying any surveillance. Software called Kismet stores the MAC addresses (unique identifiers) in a database and periodically checks to see if devices show up repeatedly. To deal with frequent MAC randomization, it can also track details about what the devices are specifically probing for.
The idea, says project creator Matt Edmondson, is to determine if the same devices are present at multiple locations (home, office, coffee shop, etc.). The current version checks over time, but it could obviously be improved by tying its records to locations with GPS functionality. Since the project is open source, the code that Edmondson shared on GitHub would be a great start toward that goal.
OpenCV smart security camera

If you suspect that paying to send your private data into the cloud where you have no control and might be exposing it to potential privacy invasions, this security camera project shared on Hackster might be for you. It runs on the OpenCV platform and uses object detection algorithms to notify you when it detects a person in the video frame.
The hardware here is nothing special — basically, it's a homemade enclosure holding a Raspberry Pi Zero W and a Raspberry Pi camera module. It's the OpenCV programming library that makes it special. OpenCV (for Open Source Computer Vision) was a project started by Intel in 1999. While the library does a lot more than this project will make use of, this project implements enough to make it useful. The software does live face and body recognition and can send an e-mail whenever either is detected. You can also stream the camera's feed through a built-in server.
Portable password manager
Conventional wisdom says that once you've surrendered physical access to a device, the security game is over and you've lost. So why not turn every bit of security you have into a physical device you can accidentally leave at Starbucks?
The Bring Your Own Password Manager project shared by NovaMostra is another bit of Raspberry Pi Zero wizardry. It is an "Ethernet gadget" running Vaultwarden, an unofficial implementation of the Bitwarden API that is freestanding but fully compatible with Bitwarden installations if you have one. When you plug it into your computer, it makes your password library available to you via a web browser.
This project is involved but not difficult. To run Vaultwarden, you'll use the command line to install Docker, create a self-signed SSL certificate, configure the built-in NGINX webserver, configure the Raspberry Pi to function as a Network Interface Card, and tweak a bunch of settings. When you connect the completed device, it acts like a new network and gives you access to your data via its USB connection.
USB audio interface
That this project creates an audio interface is less interesting than the idea of turning a Raspberry Pi Zero 2 W into a USB gadget, which you'll do along the way. Mason Fleck, who posted the project on Hackster, used the tiny and powerful Zero 2 W, but most of this can be accomplished on a Zero W as well, with an exception we'll touch on later. It will run on a Pi 2 as well, adding it to the list of great potential uses for an old Pi.
You'll use Raspberry Pi OS Lite, which has no graphical desktop interface, to keep things streamlined. OTG mode is enabled via the DWC2 driver, and the g_audio driver implements UAC2 standards for streaming audio between the host system (Windows, in this case) and your gadget. You'll need to compile the Linux kernel for this project, and if you do it on a Pi Zero 2 W you should bring along a book to read — it can take hours. Fortunately, Fleck includes a method for cross-compiling using another Linux computer or Windows Subsystem for Linux (WSL), which is probably what you'll want to do. After a bunch of configuration, you're ready to test, and Fleck outlines a thorough procedure for this as well.
There's a second project that builds on this by adding a DAC hat to the Pi and adding some host system controls, but note that processing digital audio via CamillaDSP will not work on a Pi Zero W. CamillaDSP isn't really necessary for basic functionality, but it does some of the cooler stuff that you can't accomplish with a $10 USB sound card.
NextcloudPi server
There's nothing new about using a Raspberry Pi to create your own NAS or cloud storage. Of course, there's nothing new about food, either, but it sure can be awesome! In this case, Heike Jurzik of Opensource.com used a Raspberry Pi 3B+ and a version of Nextcloud called NextcloudPi, which you won't be surprised to learn is tailored for the Pi. This turns out to be really important because a lot of the work of installing Nextcloud on a Pi has been done for you and included in a ready-to-flash image for various Pi models.
Nextcloud (including NextcloudPi) is a robust roll-your-own cloud storage package that includes a lot of tools for file storage, management, and sharing. NextcloudPi also includes a web administration tool that is invaluable if you're just getting started. Nextcloud is far more than filesharing — it includes tools for collaboration, file search, as well as synchronization with mobile devices and other cloud storage platforms. The platform also supports apps that can be installed to extend Nextcloud in tons of ways.
Installation is super-simple, owing to the fact that NextcloudPi is largely preconfigured. You install the OS like any other Raspberry Pi image, go through some first-run configurations using a web-based administration tool, and you're ready to go. The first optional step really shouldn't be optional at all: set up Nextcloud to back up your data. Otherwise, have fun!
Pico garage door sensor for Home Assistant
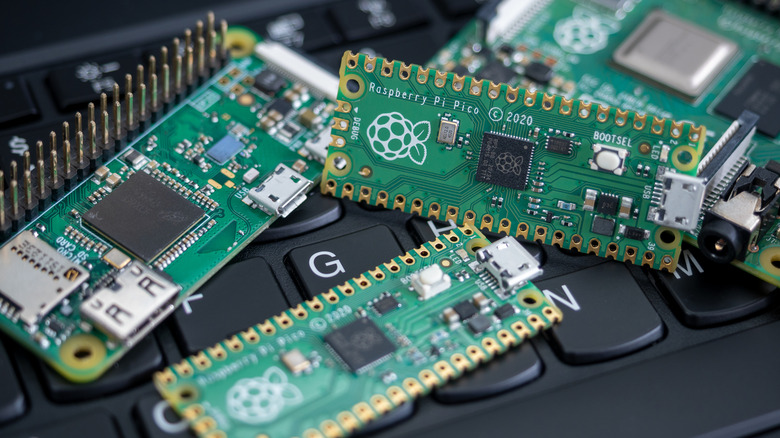
The Raspberry Pi Pico is one of the few new things in the Raspberry Pi universe, and it promises to be a boon to the smart home industry. Even though it's not a classic Pi, it's certainly a capable microcontroller. It is certainly capable of determining if a circuit is open or closed, which is basically what this project will do. In this case, we're using the newish Pi Pico W, a version of the Pico that includes wireless capability.
Jeff Geerling shared his Raspberry Pi Pico W Garage Door Sensor project on GitHub, which creates a little piece of hardware to alert you when your garage is open using Home Assistant automation. The actual sensor part is a rugged Seco-Larm model, but this should work just as well with any similar device, such as those ubiquitous door and window sensing reed switches. Geerling also uses a Pico breakout board for ease of installation, but it costs about four times as much as the Pico itself and is not required — you can easily solder the connections yourself. In some situations, you could get by with DuPont jumper wires, but the vibration of a garage door would disconnect DuPont wires in no time.
Installation is easy. Geerling uses a custom firmware platform called ESPHome, which is installed and configured via a web browser. The instructions are super-clear, and before you know it you can set up Home Assistant to automatically stream your OpenCV security camera to your TV when the garage door opens.
Pi Pico sous vide

If you want to totally remove any joy and ritual from the casual Saturday barbecue, this DIY sous vide project is a good first step. Stop wrestling with charcoal temperature control and dive into the world of proportional integrative derivatives. Maybe with a beer!
It's not really necessary to understand the PID controller code used in this project and created by Swiss makers VEEB, but figuring out how it works can be a great learning experience. However, the actual implementation is simple enough that you can slap together the hardware and be (mostly) done. The Pi Pico controls a relay switch, which does nothing other than turn a heating element on and off to maintain the set temperature. This implementation also includes a screen and a rotary encoder for adjusting the temperature.
Controlling a relay is one of those fundamental microcontroller skills that you will put to good use, even if it's not entirely clear that cooking sous vide burgers is a good use. The vagaries of grilling bring extra flavor to the hamburger via carcinogens and the Maillard reaction. Simply cooking meat at a prescribed temperature might produce something fairly unappetizing color and texture, which might be why VEEB's video demonstration never really shows the cooked meat. Still, the point is that you're learning a valuable skill — and there are plenty of ways to cook well with sous vide.
Pico digital oscilloscope

It's possible that the Venn diagram showing people who can make an oscilloscope and people who don't already have one doesn't show a lot of overlap, but just in case here's one you can build yourself for reasons you presumably already know.
The DIY SmartPhone Oscilloscope shared on How To Electronics uses a Pi Pico, a USB OTG cable, your smartphone, a few resistors, and an app called Scoppy to create a digital oscilloscope that can be used for signals up to 250KHz. The bandwidth, sampling rate, and overall accuracy aren't going to result in lab-grade equipment, but then you're spending $10 rather than $10,000 on this project.
This is as simple as it gets. First, install the app on your phone. Then install the firmware to the Pico via your computer. Use the OTG cable to connect the phone and the Pico, then test. The final step is setting up the connection between the signal you want to test and the Pico, which involves connecting a few resistors and wires. It might be best to use a breadboard for this until you're sure you have everything right. Beyond that, there is some very basic guidance for handling signals above 3.3V.
Pico audio spectrum and spectrogram analysis

If the DIY oscilloscope doesn't satiate your need for visualizing electrical signals, how about some audio signal analysis? Spectrum and spectrogram analysis are two ways of visualizing an audio signal and its component frequencies. If that means anything to you, here are two projects you're going to love.
The first uses a standard .96" OLED display, an SSD1306 interface, and a Pico to create an audio spectrum analyzer, as seen on the Japanese electronics blog Radio Pliers. This is useful in music production and, particularly, in analyzing speech. You can find the project details here, but note that Google Translate doesn't handle the translation from Japanese to English within the code comments, so you might need to translate those manually. This analyzer displays the frequency and magnitude of the current sample as a graph, and current is the operative word here. If you want to visualize the sound over time, you'll need a spectrogram.
This spectrogram visualizer shared on Hackster does the trick, but note that it processes audible signals, while the spectrum analyzer above processes electrical analog audio signals. This one is a bit more involved. It requires a microphone breakout board, a 2" color TFT display, and a Pi Pico. Perhaps more daunting, it involves cloning a GitHub repository and compiling the software for your Pico. If you carefully follow the steps to set up your Pico SDK development environment, you shouldn't have any trouble.
Vertical hydroponics
This is a pretty involved build but far more useful than the "Spend $200 to Water a Begonia" projects you see everywhere on Raspberry Pi sites. With this automated version of hydroponics, as seen on Hackster, you don't just remove the dirt from farming but any semblance of actual work — after you spend three months building it, that is.
This project uses a Raspberry Pi, a couple of Arduino UNOs, various electronic components and sensors, and a bunch of PVC and fittings. It monitors weather, nutrient levels, pH, temperature, air circulation, and lighting, all while offering mechanisms to control most of those. It is configured and managed via a smartphone app and is effectively an IoT system.
After you've browsed the bill of materials and assembly instructions, you'll no doubt wonder what the ROI and break-even points are for this, and there's no doubt you'll be eating $50 strawberries for a while. Just remember that the cost goes down every time you use it for both the food and the learning experience.
GardenPi
If the vertical hydroponics garden seemed daunting or the Parrot garden monitoring system seemed insufficient, wait until you see this irrigation/hydroponic/aquaponic controller shared by Richard Sears on Hackster. It might take you a lifetime to actually build, but your children will have one fine irrigation controller when you're gone. At first glance, this seems less capable than the vertical hydroponics setup, but it handles many zones and is a more professional-quality installation.
The device uses a Raspberry Pi 4, multiple relays, transformers for both AC and DC output, a $100 enclosure, and a bunch of other stuff. We were able to cost 25 of the 35 items in the bill of materials, which came out to $840.47. The device services 32 zones, delivering and quantifying water use along the way. It accommodates some environmental monitoring but doesn't handle adjustments to anything other than water delivery. It also monitors power usage and handles notifications. The project is currently listed as a work in progress.
OK, so this probably isn't a weekend DIY project or really any kind of DIY project for most people. Anyone up to the task of building it would probably design their own, to some extent, anyway. Still, it certainly is fun to read about and glean ideas from.
Make the world worse with an automated YouTube channel

You know those YouTube channels that have unlicensed photographs running in a slideshow over robot voices saying nonsensical things and confusing the George Bushes? Whatever their dastardly purpose is, you can now capture that annoying power for yourself by creating a self-running YouTube channel. Or perhaps we should call it the Pi Project That Shall Not Be Named, as seen on GitHub.
OK, so here's what's going on. Videos like this are created automatically using some Python scripts. First, PRAW scrapes Reddit for hot topics (it takes the top 10 comments for video content), text-to-speech by Amazon AWS Polly, and MoviePy to assemble the video file. You can also add background audio and background video, but watch for copyright issues. Remember that you're already using others' thoughts and words without their permission.
If you intend to profit from these videos by monetizing them, don't hold your breath. What is shown above is quaint, but the norm might be pretty tedious, and while YouTube does allow for some cursing in monetized videos, there is a limit. So maybe try to scrape something besides Reddit.