The Biggest Mistakes You're Making When Using Adobe Photoshop
Photoshop is renowned for its vast capabilities and features and has established itself as the top choice for professional designers and artists, as well as being popular among amateurs. The use of the term "Photoshopped" as a verb in modern times speaks volumes for the software's popularity and impact. To add to that, its cross-platform availability on Windows, macOS, iPadOS, and now even on the web makes it a tool accessible by anyone, anywhere.
The program is rich in photo editing and manipulation features like layering, masking, and a wide array of color correction tools. Yet, it also harbors a multitude of sophisticated tools catering to digital painting and 3D design that are often overlooked by many. Photoshop has a plethora of hidden gems in the form of options and tools that a good percentage of its user base is unaware of, and even those that use these features may not leverage them to their full potential.
Just because it's used by many — a staggering 37% market share in the graphic design industry — doesn't mean everyone knows how to make the most of it. From not utilizing all input devices at your disposal to suboptimal levels of workflow, here are five ways you might be incorrectly using Photoshop and what you can do to improve your productivity while designing.
Not harnessing the power of keyboard shortcuts

One way to check your familiarity with any software is to see if you've mastered the art of using keyboard shortcuts to your advantage. Photoshop is one such tool that can be made tenfold easier by learning shortcuts to the most basic of operations, such as undoing, redoing, creating a new layer, or selecting a specific tool. It may get a little overwhelming to start using multiple input devices at once, especially for beginners. However, Adobe's default keyboard shortcuts for Photoshop are good enough to jump-start your productivity.
Moreover, the beauty of Photoshop's shortcuts is in their ability to be tweaked for highly intricate and specific actions. This can be done by navigating to Edit > Keyboard Shortcuts and experimenting with the powerful customization options available to align specific key presses with your personal workflow preferences.
Certain actions like zoom, pan, and multi-select can be performed by using regular mouse inputs in conjunction with the modifier keys on your keyboard. Furthermore, a few gaming and productivity-oriented mice with highly configurable software let you bind any action to one of the zillion buttons on them — take the much-customizable Logitech MX Master 3, for example.
Poor workflow habits
An efficient way to edit using complex and feature-rich programs like Photoshop is to follow a streamlined approach to maximize productivity. Before aiming at creating new workflow routines, it's essential to focus on cutting down and avoiding common editing habits that do more harm than good.
Destructive editing is when you make changes directly to the original image. While this approach may sound quicker and harmless at first, the real issue becomes apparent when you find yourself needing to revise an edit made hours prior. Since you can't get to that point in your edit without undoing everything you've worked on since then, it is detrimental to apply changes directly to your source file.
There are ways to tackle this — the easiest one involves locking the source image and making changes to as many transparent layers as you need. Be wary; the same rule applies when editing in layers, as you don't want to make all the changes to just one layer. Naming and grouping your layers is also a habit worth building, as this makes it much easier to edit on a larger scale.
Another poor habit is the overutilization of tools after you've grown comfortable using them. Things like the clone stamp tool or spot healing brush work wonders when used in regulation. However, there are other ways to fix minor touchups, especially with the introduction of AI features like generative fill in Photoshop.
Inefficient import and export settings

Ineffiicieny when choosing the right import and export options is not merely a lapse in good practice — it directly affects the quality of the final product. Your import and export settings largely depend on the medium you wish to share your work on. Photoshop's import tab does a great job at providing you with a host of document presets, be it for a photo, print, web, or an illustration. A general rule of thumb is to always go for a resolution of 300 pixels/inch when working on images that you want printed. For web use, the default of 72 pixels/inch is sufficient.
Photoshop's export options include image format, width and height, resolution, scale, and resampling options. While going for the maximum quality when exporting a file for print is a good idea, doing so for images you want to use on the web might lead to poor optimization, causing slower load times.
Fine-tuning your import and export options can take some time and a good amount of experimentation, but it's crucial for meeting your desired quality standards. Fortunately, you can save a lot of time by saving your frequently used import and export options as presets. The next time you launch Photoshop or export your final product, your desired quality settings will be a simple click away.
Not customizing your workspaces
Photoshop's default layout of tools and the canvas is quite decent for beginners, but with how customizable and easy things are to move around, you should find a workspace that best fits your requirements. Heading to Window > Workspace reveals half a dozen layout presets geared towards specific use cases, including graphic design, 3D art, painting, and more. You can push this further by clicking the "New Workspace" button and fiddling with the panel groups you use the most.
By pinning your most used tools in arms reach and tucking away features you rarely need, you can boost your efficiency. Working on more than one monitor further expands your horizons and affords plenty of room where you can add more panels, like a bigger layers section or a dedicated color wheel for a more intricate selection of pastels. At the same time, you can choose to remove most distractions for a more minimal approach if you use Photoshop for quick edits or image cropping.
Your biggest mistake could be using Photoshop itself
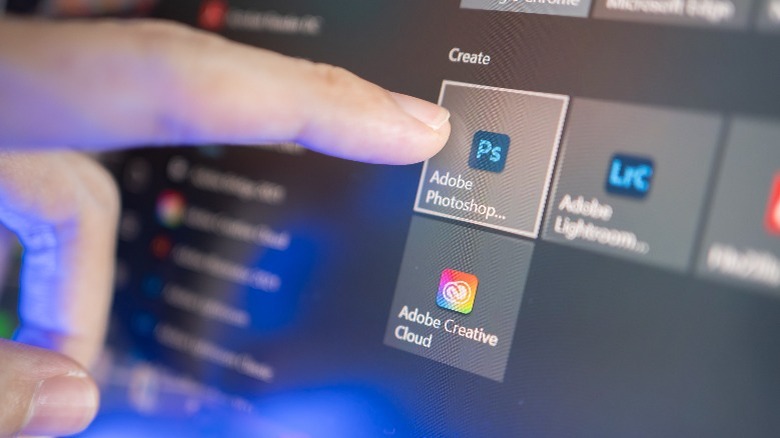
Although Photoshop has proved its excellence as a multi-purpose editing tool, over-reliance on a single software is a common misstep that people make — especially when Adobe itself makes a plethora of other creative apps that solve very specific design problems. Exploring options and picking a tool that is more in line with your tasks is going to help you finish your work quickly and with ease. Depending on your creative domain, here's a list of other popular applications that come bundled in Adobe's suite:
- Adobe Illustrator: While Photoshop excels at photo manipulation, for dedicated vector-based graphic design, Illustrator is a better pick and allows you to create logos, icons, and artwork without losing any quality, regardless of how much you scale.
- Adobe Lightroom: A photographer's best friend, Lightroom provides a way to batch edit images and has a wide range of photo editing and color grading tools.
- Adobe InDesign: Used mainly for creating magazine content, brochures, and documents, InDesign's tools for text editing and layout management are far easier to use than Photoshop's rather cumbersome equivalents.
- Adobe XD: A focused environment with tools for wireframing, prototyping, and designing is something that Adobe XD offers best.
While it's possible to fulfill most of your photo editing needs through Photoshop alone, it is not the best approach, especially if you already have a subscription to Adobe's much larger suite of Creative Cloud apps.