The Right Way To Clean Your 3D Printer Bed (And Why You Need To)
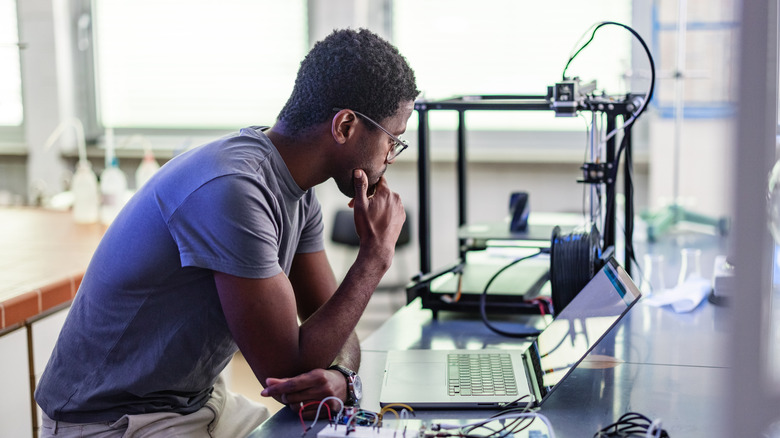
3D printers have become very popular recently, and while the technology has become more accessible on a consumer level (both in price and comparative ease of use), it's still a bit more involved than more traditional 2D printing. There are a whole lot of factors to think about when deciding on and using your own 3D printer, including particulars like print model structures, how to deal with issues like a printing error or stuck print, and regular cleaning.
Cleaning out a regular paper printer is usually a matter of checking some settings or pressing a button to clear the printer heads (though it can get more complicated sometimes). Taking care of built up gunk on 3D printers, however, requires more consideration due to the sheer amount of variables at play. While there are many types of 3D printers on the market, the most common models are Stereolithography (SLA) and Fused Deposition Modeling (FDM), which will be the focus of this guide.
Don't attempt to clean your 3D printer before first making sure the suggested supplies are safe to use, though. Depending on the printer bed and the kind of printing material you use, some cleaning methods could cause irreparable damage to the printing surface — thus ruining future prints and requiring the purchase of replacement parts. If you aren't sure what your bed is made of, check the manual or manufacturer's website before you attempt to clean it.
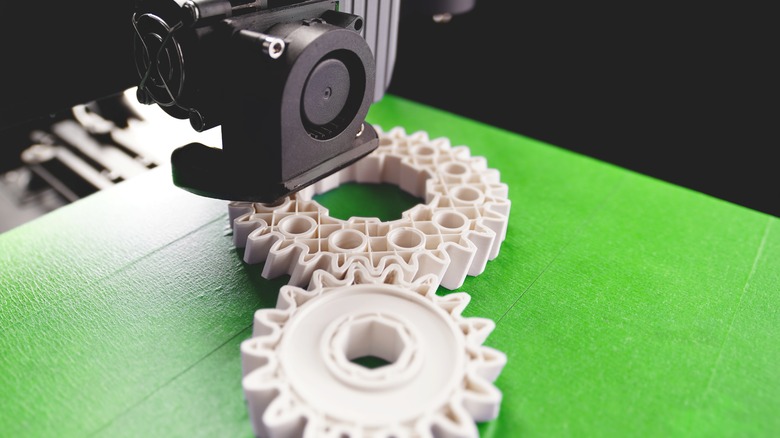
Cleaning a FDM printer bed
FDM 3D printers are fairly easy to clean, however it's recommended that you do so after every print to stave off surface adhesion and print warping problems.
- Return the printer's axes to their home (a.k.a. centered, or starting) position and turn the printer off.
- Be sure to clear off any and all excess material from the printer bed before you begin cleaning. Basically any large bits, failed prints, and other chinks of debris that can be easily removed by hand.
- Use a soft brush to brush away smaller additional pieces and remnants.
- Pour some isopropyl alcohol (90% or above) onto a clean cloth and gently wipe the bed to soften any remaining plastic residue. Warm soapy water can also work if you have no alcohol on-hand, but in either case make sure to pour the liquid on the cloth as pouring or sparing directly onto the bed could cause it to reach delicate areas and damage other components.
- Steady the bed with one hand and carefully wipe the bed with the other, using the cleaning cloth with alcohol. You may need to wipe an area more than once if the residue is being stubborn.
- Pour some water onto a fresh cloth and wipe down the surface of the bed to remove any potential alcohol residue — otherwise you risk damaging the bed's surface or coating.
Also, make sure the printer bed is dry before you turn the printer back on.
Different surfaces make a difference
Not all 3D printers use the same printing surface, and not all surfaces react the same way to a given cleaning method, either, so make sure you know what you've got before you start.
- For all types, remove the printing surface, if possible, to prevent any chance of the cleaning solution getting into more delicate areas.
- If you're using a layer of tape across the printer bed, use a scraper to remove leftover filament and residual.
- Replace any damaged sections with fresh tape. Try to keep the surface even and avoid leaving fingerprints.
- When replacing the entire surface, peel all the tape off and use isopropyl alcohol (or acetone) to remove leftover residue and adhesive, then carefully apply a fresh layer.
- For glass, use a plastic or silicone scraper to remove large chunks of material residue.
- If the glass is removed, use a clean cloth with warm, soapy water (window cleaner also works) to clear off the rest of the residue.
- If the glass isn't removed, use a cloth with isopropyl alcohol to wipe off the surface before printing.
- For Polyetherimide (PEI) sheets, wipe down the surface with isopropyl alcohol (or warm and soapy water) on a cleaning cloth. Use acetone approximately once per month to smooth out the surface (use fine-grit sandpaper if it's scratched).
- If the PEI sheet is too damaged to smooth out, it's time to get a replacement sheet.
Consult your printer's manual if you're unsure what surface material it uses.
Dealing with materials
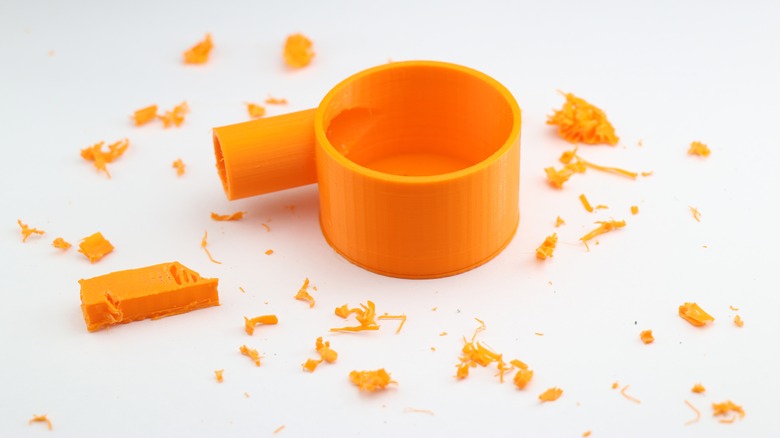
The kinds of materials you're printing with also make a difference, with the most common consumer-level options being the durable Acrylonitrile Butadiene Styrene (ABS), strong but flexible nylon, and the widely used Polylactic Acid (PLA).
Stuck ABS can be dealt with using either heat or acetone, though acetone should be a last resort as it could damage the printer's PEI sheet enough to make it unusable. So instead, try heating the printer bed to 100 degrees or more to soften the ABS bits, then gently remove them with a plastic or silicone scraper.
Taking care of nylon is a similar matter, except you'll want to stick with heat only (no acetone). Typically a heat gun will do the trick, so long as you can get it to around 375 degrees Fahrenheit (190-degrees Celsius). Just hit the nylon with the right amount of heat to get it melting, then carefully peel it off the bed using a plastic or silicone scraper.
PLA is also a lot like dealing with ABS, but this time around you should wait for the printer bed to cool down before you start cleaning. Once it's cooled, use a plastic or silicone scraper to peel up the plastic residue. For stubborn bits, use a clean wiping cloth with a bit of isopropyl alcohol to gently wipe down the surface of the bed.
Cleaning a SLA printer vat
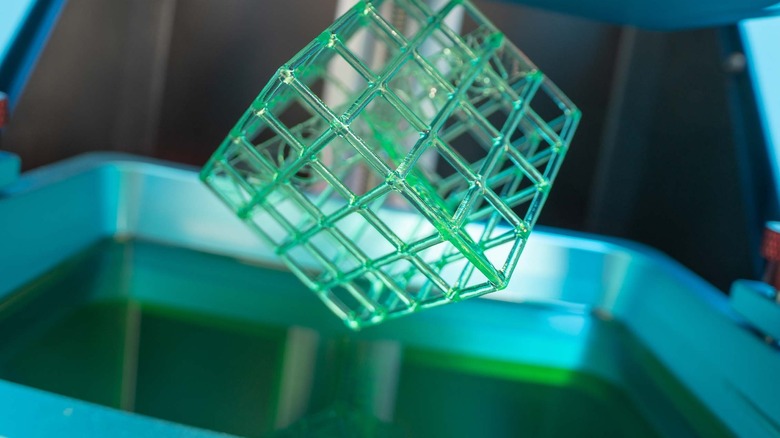
SLA printers are a bit trickier to clean as they use liquid resin (which is both messy and toxic). Make sure you put on a mask and gloves and move to an open or well-ventilated area before starting.
- For a quick cleaning, set the printer's exposure to 20 seconds and let it cure what's currently in the vat.
- Use a plastic or silicone scraper (metal could damage the surface) to gently peel out the sheet of resin.
- Use a small filter and funnel to pour the uncured resin back into its container while straining out any solids.
- For a more thorough cleaning, pour resin from the vat into a stainless steel funnel and strainer to separate debris, then store the unused resin in an opaque container.
- Using a silicone or plastic scraper, gently scrape any remaining resin out of the vat. Make sure the edges are also clean.
- If there's any resin stuck to the vat's FEP film, spray the film with 95-percent (or higher) isopropyl alcohol then push down gently on the film to pop off the resin. If not all the resin comes off, use the scraper very carefully.
- Use a small amount of alcohol on a clean wiping cloth and slowly wipe the FEP film until it's clear.
Before you finish, inspect the film and vat for cracks or scratches (these can cause leaks). If you see damage, you may need to buy replacements.