5 Easy Ways To Remove 3D Prints That Are Stuck To The Bed
As far back as the age of making Shrinky Dinks in the oven, technologically-assisted crafts have not always been a precise science. You think you've followed all of the directions to the letter, but sometimes, out of your control, something silly happens. Maybe you gauged the temperature wrong and burnt something to a crisp, or maybe you mixed your chemicals wrong and got goop everywhere. Regardless, you'll need to engage in some old-fashioned cleanup before you can go again.
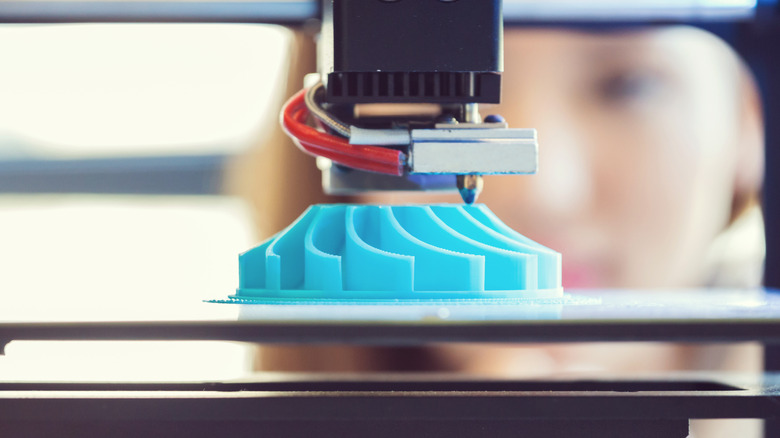
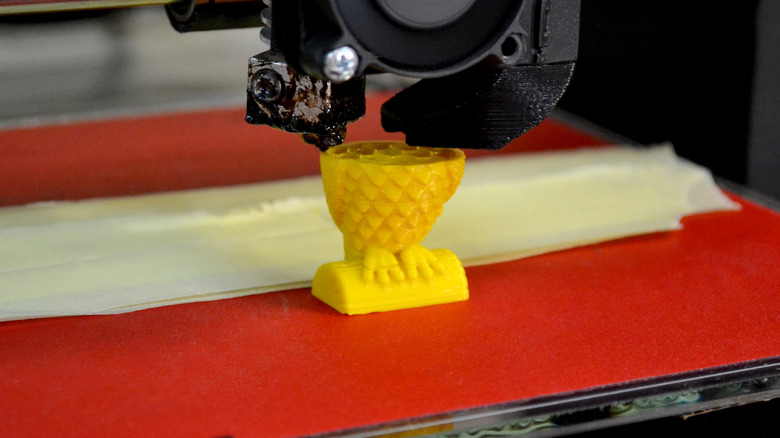
Case in point? While 3D-printed objects are much more advanced than oven Shrinky Dinks, they can still cause their fair share of cleanup headaches. One of the most common of these problems is when, after printing finishes, the printed object gets stuck to the printer bed. You don't want to damage the print or the printer when cleaning it up, so it's important to have a few tricks on hand to get them off of there safely.
Scrape or floss it off
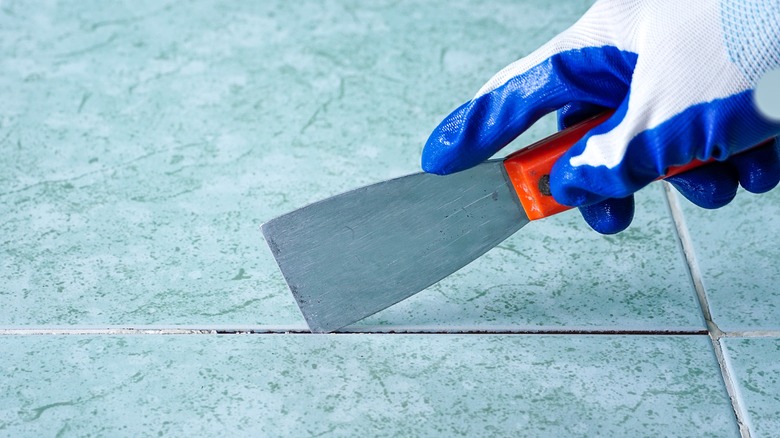
Stuck 3D prints can be removed from the printer bed by utilizing a scraping tool, a little bit of elbow grease, and that lovely scientific problem-solver, leverage. All you need is a putty knife, a paint scraper, or even a spatula so long as it's made of a firm material like metal. Just wedge the sharp end under one side of the print and press down on the handle. Good ol' leverage will pop it right off. Just remember to push the sharp end away from your body so as not to hurt yourself, and not to push down too hard on the scraper, lest you accidentally scrape your bed.
Alternatively, you can use any kind of wire material, including jewelry wire, soldering wire, or even actual dental floss to flake a 3D print off from the bed. As long as it's thin, flexible, and can be grasped firmly in both hands, you can use it to floss off a stubborn print. Just wrap your floss around the base of the print and pull both ends back and forth in a sawing motion. Pull gently enough that you don't damage the print, yet firmly enough to loosen it up. Once you've sawed the print loose, you should be able to just pluck it off the bed with your hands.
Change the temperature
While it's usually easier to pull and manipulate a print while it's hot, high heat can also make thermoplastic stick more firmly to the surface of the bed. Luckily, thermodynamics provides a solution: just cool it off. Bring the bed to your kitchen sink and run some cold water over the surface, specifically around the print. The temperature difference will cause the bottom of the print to cool and contract, allowing you to pull it off.
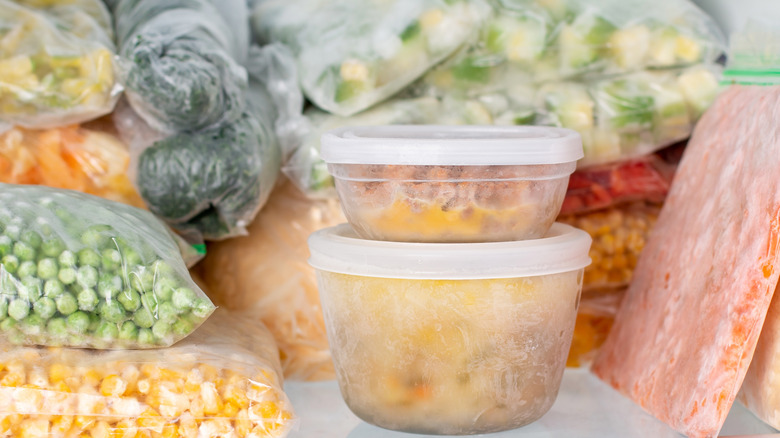
Alternatively, try sticking your bed in a cold place like a freezer or in front of an air conditioner vent. Just wait a little while, and you should achieve the same effect as the cold water. This is actually a better method to use if your bed is made of a temperature-receptive material like glass. Just make sure the bed isn't still boiling hot when you put it in a cold place, or you could cause a temperature shock and damage it.
Bend the bed
3D printer beds come in a variety of materials, including glass, aluminum, spring-loaded steel, and more. In the case of spring-loaded steel or flexible polymers, the bed itself provides an excellent means of removing a stuck print: just bend it. Have you ever bent and flexed an ice cube tray in order to crack frozen ice cubes loose? It's the same concept.
If your bed is made of a flexible material, just pick it up off the printer and give it a gentle, yet firm bending. If it bends close enough to where the build is located, the print will promptly lose its surface area connection and pop loose. Just make sure you do this over a high, soft surface, as the print may quickly slide off depending on how you bent the bed. There's a reason you don't pop ice cubes five feet above your glass, after all.
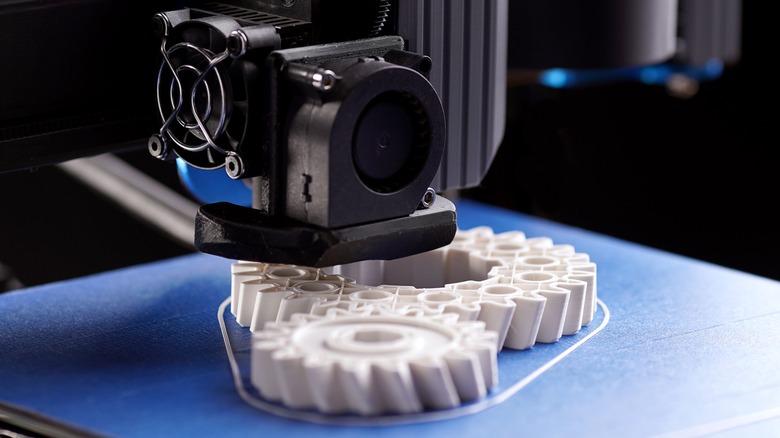
Employ a raft
If you've got some extra thermoplastic filament to spare in your printing process, a raft can be an excellent way to give your print some extra stability. A raft is a flat platform dispensed onto the bed, with the print then printed out on top of it. While the primary purpose of a raft is to increase the stability and adhesion of small prints, it can also be used to make separation from the bed a little easier.
Since the raft is a flat, wide object, it should be much easier to peel it and the print off the bed, either with your hands or with a scraping tool. Alternatively, you can use a cutting tool to separate the actual print from the raft while it's still stuck, then employ more forceful methods to get rid of the raft afterward. Unlike your precious print, the raft is just a lump of formless plastic, so there's no harm in just ripping it right off of there.
Break out the solvent
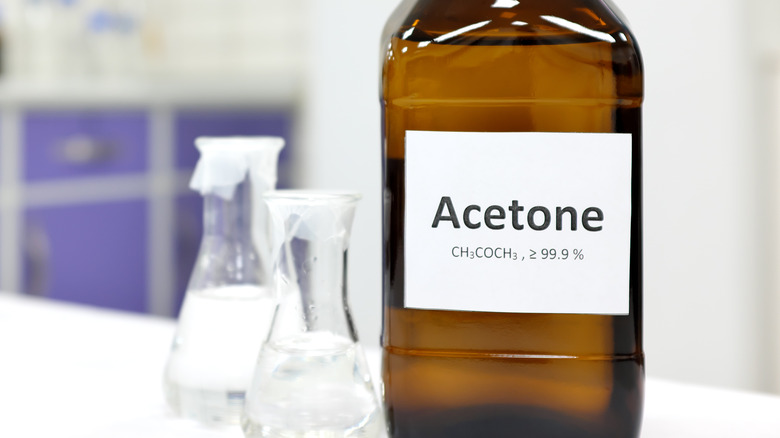
If your print is steadfastly stuck to the surface of the bed, and you can't seem to get it to budge any other way, it's time to bust out the last resort: solvent. Chemicals like isopropyl alcohol (IPA) or acetone, when applied to the base of the print, dissolve and soften its chemical bonds, allowing you to lift it up. The reason you should save this as a last resort is that excessive use of solvents can adversely affect the quality of your bed, which can make future prints more difficult.
In all likelihood, you won't need to employ solvents to remove stuck prints. As long as you have the ideal printing environment and the right tools should the situation call for them, you should be able to easily liberate your prints from their sticky prison without any damage or messes. Or at least fewer messes, hopefully.