How To Open A PS5 Controller (The Right Way)
We may receive a commission on purchases made from links.
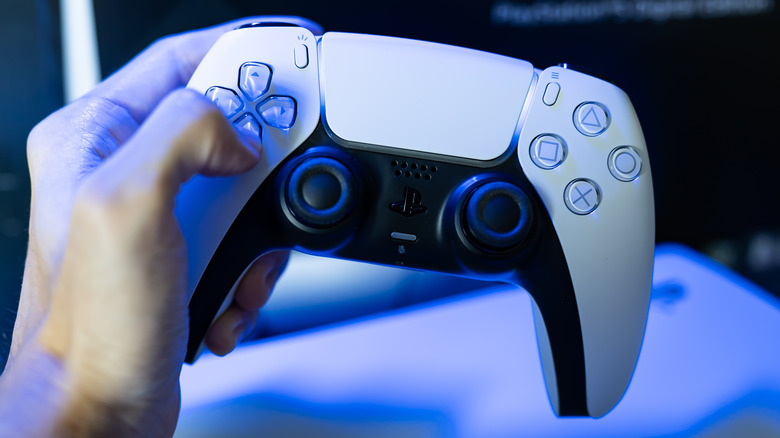
At some point or another, especially if it's been several years, you may run into problems with your PlayStation 5 DualSense controller. And not all issues can be fixed with a reset or re-sync with the console. Sometimes, it's the hardware itself that will need to be addressed.
Maybe certain components are acting up and needing a replacement, the thumbsticks are gunked up, or the controller just needs a thorough, deep cleaning (which is pretty common for most hardware with age). No matter the reason, you're not stuck — it is possible to open up and disassemble a DualSense controller with patience and the right tools. Not even specialized tools, either. All you need is a prying tool of some kind and a 2-millimeter Phillips-head screwdriver.
However, there are a couple of things to consider before attempting to open up your DualSense controller. It does void the warranty when you do this, so you might want to first reach out to Sony for a replacement if it's been less than a year since you purchased it. Also, while it's not a super complicated process, it will require more effort to fix than an Xbox One controller and others, so don't expect it to be a quick and simple task.
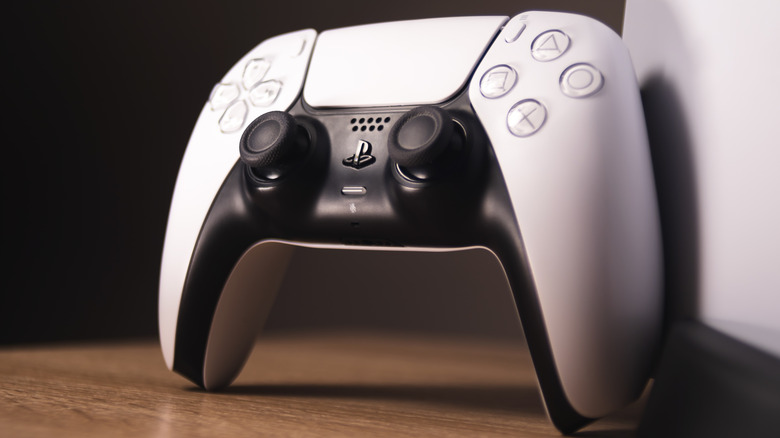
Taking apart a PS5 DualSense controller
Once you have your Phillips-head screwdriver, prying tool, and a good 15 to 30 minutes of free time, here's what to do:
- Use the pry tool along the bottom of one handle, where the black portion connects to the rear shell, and gently pop out the panel. Repeat for the other handle.
- Continue prying along that seam towards the center until you can remove the black panel.
- Place the prying tool between the L1 and L2 buttons, then carefully pry up to pop out the L1 button. Do the same with the R1 button (pry between R1 and R2).
- Remove the two screws located behind the L1 and R1 buttons near the touchpad. Be careful not to let the screws fall into the controller, and set them aside in a safe place before continuing.
- Remove the two screws on the bottom of the handles, placing those screws in a safe location as well.
- Carefully pry along the sides of the controller to separate the seams slightly.
- Look inside the seam for two tabs located near the microphone. Use the prying tool to open them, then gently pull off the cover.
Now, your DualSense controller is ready for inspection or cleaning. If you want to access the USB port or thumbsticks as well, you'll need to carefully pull out the battery (but don't disconnect it) and unscrew the back of the compartment to access, disconnect, and remove the PCB motherboard first. Hopefully, the above steps all worked out, and with the right care, your PS5 controller will enjoy an extended lifespan.