5 Tips You Should Know If You're New To Using Notion
We may receive a commission on purchases made from links.
So you've heard a lot of good things about Notion. Your friend used it to meticulously plan her destination wedding. Your neighbor's college-age son found it effective for keeping track of his assignments and projects. Even your manager adopted it as the platform for your company's wiki page. Notion's extensive array of productivity features is indeed pretty impressive, as it caters to a multitude of needs.
There is a downside to this tool, however. It's easy for beginners to feel overwhelmed by all the fancy menus, buttons, and keyboard commands Notion has. One look at a Notion page, and you might want to back out of using it altogether. Admittedly, there's quite a learning curve to using this productivity tool, but once you grasp its complexities, you can enjoy the versatility it brings to your personal and professional projects. To simplify the process, we've compiled five tips to help you get started with Notion.
Use templates
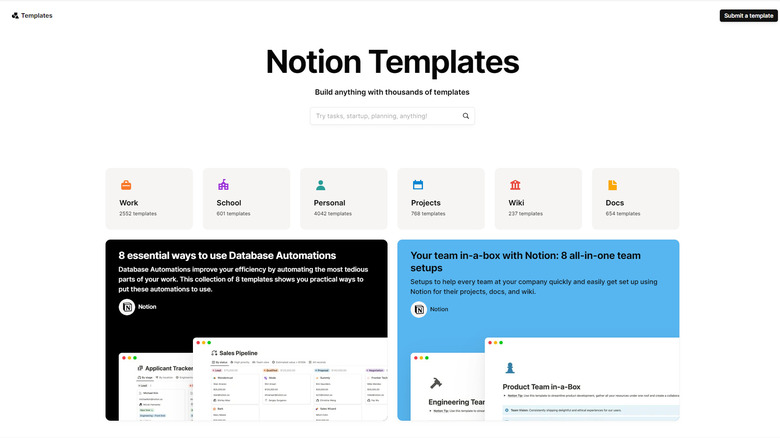
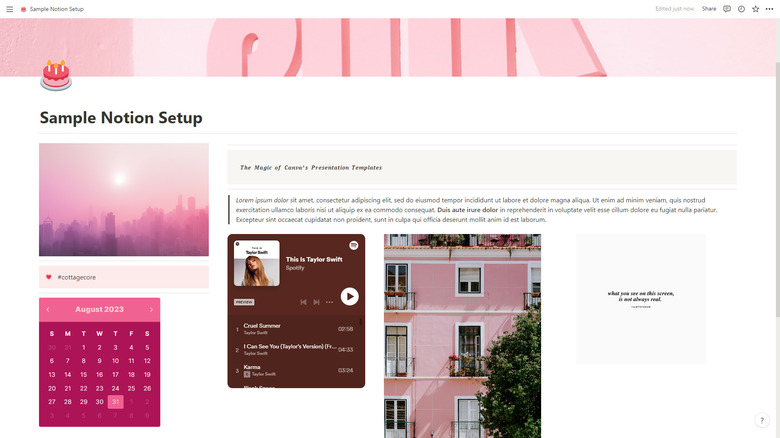
With all the fancy bells and whistles Notion offers, chances are you won't understand all of them in one go. It will likely take you hours on end to build a page from scratch, too. If you want to get the hang of using Notion but don't like spending forever watching and reading tutorials, then templates are the way to go. Notion templates are ready-made pages you can start using right away. They're typically designed for specific purposes. For instance, you can find a template for personal use, like wedding planning and habit tracking, or for office use, like project management and employee directory.
You can easily find your template of choice from the official Notion template collection. They're neatly organized into Work, School, Personal, Projects, Wiki, and Docs categories to help you find what you need in a jiffy. Some of these templates cost a couple of bucks, but you can also use some for free. There are also third-party template galleries like aNotioneer, Red Gregory, and Notion Pages you can check out. If you're after more premium templates, browse through the paid ones on Gumroad and Etsy. Once you have the link to your preferred template, simply open it and click on the Duplicate button on the upper right of the screen. Then, sign in to your Notion account if you haven't already. This will automatically add that Notion template to your account, and you'll be free to edit and use it as you please.
Familiarize yourself with the different content blocks
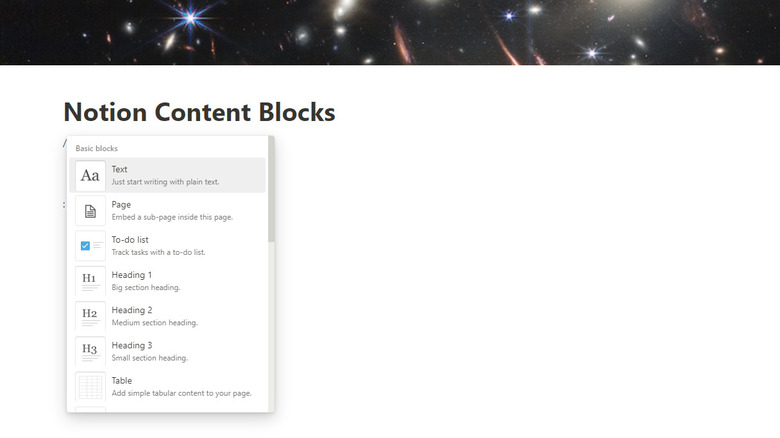
A Notion page is made up of so-called content blocks. Think of them as LEGO pieces that you can stack on top of each other to build a house. Just like there are different types of LEGO pieces, Notion has various kinds of content blocks, too. Here are a few of the most commonly used content blocks you'd want to familiarize yourself with:
- Text: The most basic content block there is. It's essentially plain text, best used for notes and wikis.
- Headings: Similar to plain text but come in three styles: Heading 1, Heading 2, and Heading 3, with Heading 1 being the largest. They're best used for titles, subtitles, and categories.
- To-do list: A list of checkboxes for your tasks.
- Bulleted list: A list but in bullet form.
- Numbered list: A list in number form.
- Toggle list: Creates a toggle that can be opened and closed to save space on your page. You can add any type of content block under a toggle, and it will be hidden when you close the toggle.
- Toggle headings: Similar to the toggle list, but use Headings 1, 2, or 3 in the toggle name.
- Table: A table with rows and columns. It can be used for making a simple name directory or definition of terms.
- Database: A more advanced type of Notion block. It comes in different styles or "views," namely table, board, gallery, list, timeline, and calendar.
- Image: Embeds a picture onto your page.
Organize your page
A great thing about Notion is that it includes features that can help you organize and rearrange your page however you like. Here are three of the features typically used to do so:
- Columns: You can use two to five columns to give some sort of structure to your page. To add columns, click on an empty space on your page, type /column, and select your preferred number of columns from the drop-down list. Alternatively, you can simply drag and drop a content block to the rightmost or leftmost side of an existing content block to make a new column next to it.
- Table of contents: It looks similar to a book's table of contents and provides users/readers more context as to what the page is about. This feature automatically uses the headings on your page to generate the table of contents. That means you need to add the headings first before creating the table of contents. To add a table of contents to your page, create a space at the top of your page and type /toc.
- Divider: A faint horizontal line that can separate blocks on your page. You can use it to break up a huge wall of text or isolate a specific portion from the rest of the page's content. To add a divider, type /divider between the blocks you wish to separate. Typing three consecutive dashes (—) also creates a divider in that block automatically.
Add stylings to your page content
If you are using Notion for several hours daily, you may want to add flair to your page to make it less boring and monotonous. Below are a few ways you can customize the look of your page:
- Change the text style and color. Highlight the text you want to customize and pick your preferred style (bold, italic, underline, strikethrough) and color from the floating menu.
- Change the font style and size. Click on the three horizontal dots on the top-right of the page. Under Style, select Default, Serif, or Mono to change the font style. Turn on Small text to make the font size smaller.
- Change the content block's background color. Click on the block handle icon on the leftmost side of the block and select Color. Then, choose your favorite one from the list.
- Use callout or quote blocks. A callout is a boxed text that starts with an emoji and can be used for warnings, tips, and important notes. A quote is plain text with a bold vertical line at the beginning to emphasize the text content. Add a callout or quote by typing /callout or /quote.
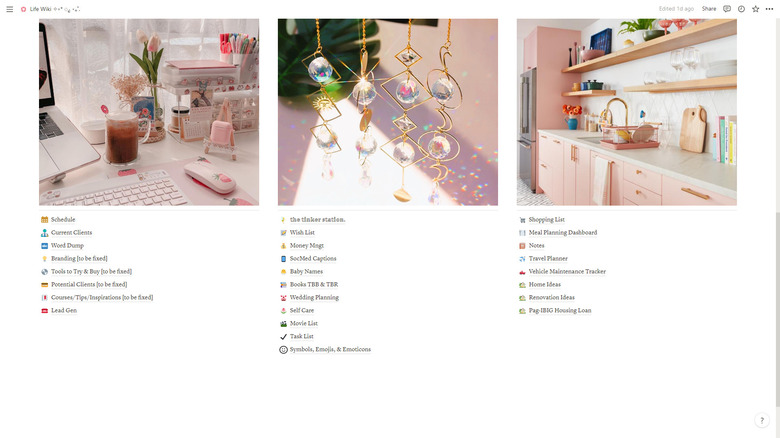
- Add a cover photo. On your page, click the "Add cover" button at the top of the page title. Upload your photo or search for one in the Gallery and Unsplash tabs.
- Embed content to your page. Type /media or /embed and select what content you'd like to embed.
Use keyboard shortcuts and commands

To be more productive while using Notion, you may want to note a couple of shortcuts and commands.
Keyboard shortcuts (activated when keys are pressed):
- Ctrl/Cmd + N on the Notion desktop app: makes a new page.
- Ctrl/Cmd + click on the Notion desktop app: opens the clicked link in a new tab.
- Ctrl/Cmd + P: opens the search function.
- Ctrl/Cmd + L: jumps to the browser's address bar so you can copy the page's URL easily.
- Ctrl/Cmd + D: duplicates the highlighted blocks.
- Ctrl/Cmd + ]: goes forward one page in a nested page (a page within a page within a page).
- Ctrl/Cmd + [: goes back one page in a nested page.
- Ctrl/Cmd + Shift + L: switches between light and dark modes.
- Ctrl/Cmd + Shift + M: adds a comment.
Keyboard commands (activated by typing the commands):
- + with space: generates a bulleted list.
- [] with space: generates a to-do list.
- > with space: generates a toggle list.
- " with space: creates a quote.
- # with space: creates a Heading 1 text.
- ## with space: creates a Heading 2 text.
- ### with space: creates a Heading 3 text.
- /turn: for converting the block to a new type of block.
- /date: adds a timestamp on the page.
- /emoji: shows the emoji picker where you can select what emoji to add to the text.
- /image: lets you embed an uploaded photo.
- /page: creates a new page on the current page.