How To Record Microsoft Teams Meetings In Windows
While video conferencing isn't a new technology, it wasn't until the COVID-19 pandemic that it became extensively used. It served as an essential means of communication then, but it has stuck around ever since because of its convenience and benefits. What makes it better than face-to-face meetings is the fact that users can record the sessions with ease. Instead of relying on written minutes, attendees can review the recording and watch the entire meeting itself. The video also comes in handy for sharing with colleagues who missed the meeting.
One of the top video conferencing tools is Microsoft Teams, used not only for virtual meetings but also for workspace chats and file sharing. If you're using Teams on Windows, you can readily record your Teams meetings utilizing the app's built-in recorder. However, there are also alternative ways to record your virtual session, all of which are detailed in the following sections.
Option 1: Microsoft Teams recorder
Microsoft Teams comes with a meeting recorder you can use. However, the feature is not available to all users. You must be subscribed to Office 365 Enterprise, Education, or Business. To record a meeting, you must also be the meeting organizer or are in the same organization as the one who scheduled the meeting. You can't access the Teams recorder if you're an external guest.
Here's how you can use Microsoft Teams to record your meeting in Windows:
- Join or start a meeting.
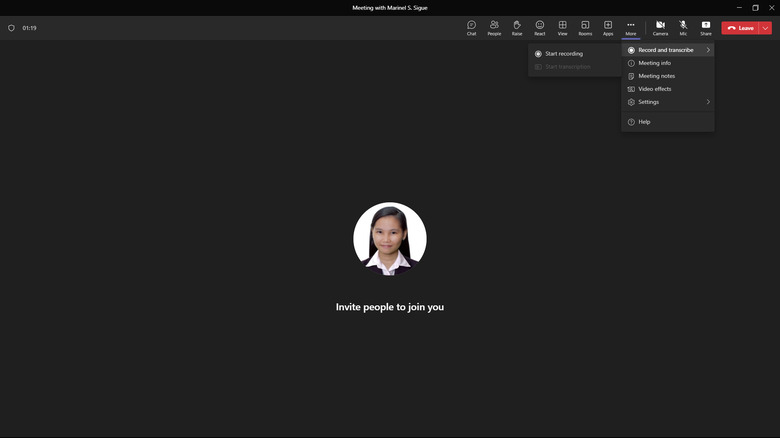
- In the meeting window, click "More" in the top toolbar.
- Select "Record and transcribe > Start recording."
You will see a red circle next to the meeting timer in the upper left corner of the screen, indicating that the recording has started. All meeting attendees will also receive a notification informing them that the meeting is being recorded. When the meeting ends or everyone has left, the recording will be stopped and saved automatically. Alternatively, if you want to record only a portion of the meeting, you can stop the recording anytime. Here's how to do so:
- Go to "More" in the top toolbar.
- Click on "Record and transcribe > Stop recording."
- In the pop-up, select "Stop" to proceed.
To view the recording, go to the meeting chat and click on the recording. This will redirect you to the video saved in your OneDrive or Sharepoint (if the meeting happened inside a Teams channel).
Option 2: Xbox Game Bar
The Xbox Game Bar is a built-in program on Windows 10 and later primarily developed as an overlay for games. However, you can also use it for non-gaming-related things like screen recording. To use the Xbox Game Bar to record your Microsoft Teams meeting, follow these steps:
1. Join or start a meeting in your Microsoft Teams app.
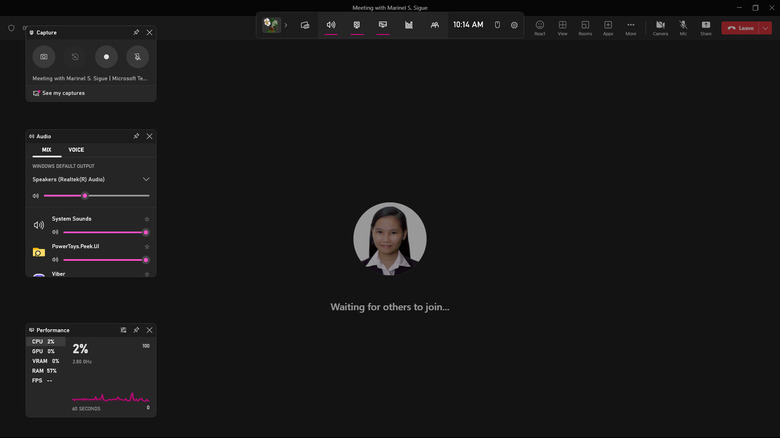
2. Press Win + G to open the Game Bar.
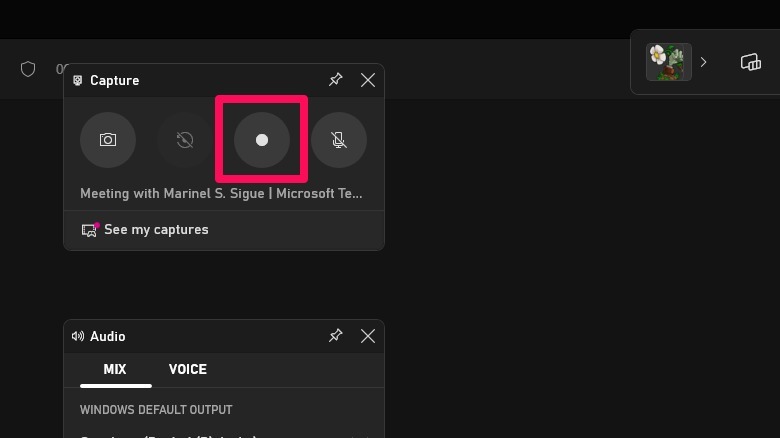
3. In the Capture widget in the top-left corner, click on the recording icon to start recording. Alternatively, you can start recording using the Windows keyboard shortcut Win + Alt + R.
 Marinel Sigue/SlashGear
4. In the recording widget, turn on the microphone icon to capture the voices/sounds from your computer's microphone.
 Marinel Sigue/SlashGear
5. Press the square icon in the recording widget to stop the recording.
 Marinel Sigue/SlashGear
You can then view your video in your PC's Videos > Capture folder. Unlike Microsoft Teams, the Xbox Game Bar doesn't inform the meeting participants about the ongoing recording. Recording without consent from the attendees is considered illegal in some US states, so be sure to let them know before starting the recording.
Option 3: ScreenRec

If you prefer using a dedicated app to record Microsoft Teams meetings in Windows, check out ScreenRec. Unlike other screen recorder apps, it has no time limits and doesn't add watermarks to the video. However, you need to create a ScreenRec account. Here's how to get started:
1. Go to the ScreenRec website to download the installer.
2. Install the app and launch it.
3. In the floating widget, select the Settings gear icon.
 Marinel Sigue/SlashGear
4. Click on "Sign up for free."
5. Create an account using Google, Facebook, Twitter, or your email address.
Once logged in, you can start using ScreenRec to record your Teams meeting.
1. Launch Microsoft Teams and join or start a meeting.
2. Open ScreenRec.
3. In the floating widget, select the camera icon to start recording.
 Marinel Sigue/SlashGear
Alternatively, press Alt + S.
4. Left-click and drag your mouse to choose the area of your screen to record. You can select your entire screen or a specific section.
5. The recording will automatically start once you release the mouse. If you want to record your PC's microphone and speaker, ensure both are turned on in the floating widget.
 Marinel Sigue/SlashGear
6. click the red blinking icon in the floating widget to stop the recording.
 Marinel Sigue/SlashGear
The video will automatically be uploaded to your ScreenRec cloud storage. To view the recording, open ScreenRec, and select the Gallery icon in the floating widget.