10 Basic DSLR Camera Settings Every Beginner Photographer Needs To Know
Photography was once an art form reserved for inventors, aristocrats, and especially enthusiastic hobbyists. The process involved complex chemistry, careful adherence to procedure, and more than a little bit of luck. As photographic technology improved, it became simpler to use and more affordable, transforming photography into an activity for the masses.
Most of us have had access to cameras for most of our lives — at the very least, through disposable 35mm cameras and one-hour photo booths or from carrying a smartphone around with us all of the time. Still, there are some pretty big differences — both in terms of quality and user experience — between snapping candid photos with your phone and using a dedicated DSLR camera.
If this is your first DSLR, you might be a little overwhelmed by everything they can do. Second to cost, frustration is the biggest hurdle to overcome when it comes to getting into photography. Knowing the basic settings of your camera, what they do, and how they can impact an image can go a long way toward having fun behind the lens.
Aperture
At its core, photography is about capturing and manipulating light. What you do with that light after you've collected it can dramatically transform the image you end up with, but it all comes back to decisions you made before you snapped a photo. There are three foundational settings on your DSLR that most immediately impact the light you're capturing and, therefore, the end result. Aperture is the first of these three pillars, followed by shutter speed and ISO. More on those in a minute.
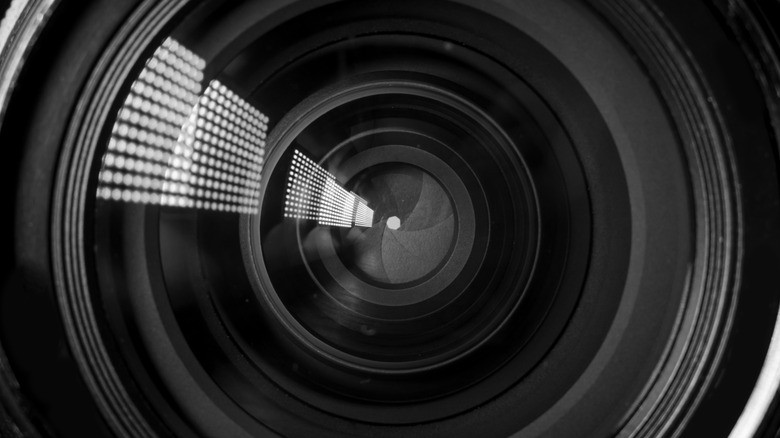
Even if you're totally new to photography, you've probably heard the word "aperture" in other contexts. It refers generally to any opening, but more specifically to the opening in a camera or telescope through which light passes. It's also a rogue research corporation experimenting with intelligent robots and teleportation, but we digress.
If you think of your camera as a mechanical eye, the aperture is its pupil. A wide aperture lets in the most light while a narrow one lets in much less. And just like your eye, the ideal aperture size depends on the conditions you're photographing. If you're in an especially bright environment, a smaller aperture can help to bring out less apparent details, while low-light environments like nighttime photography might require a wider aperture.
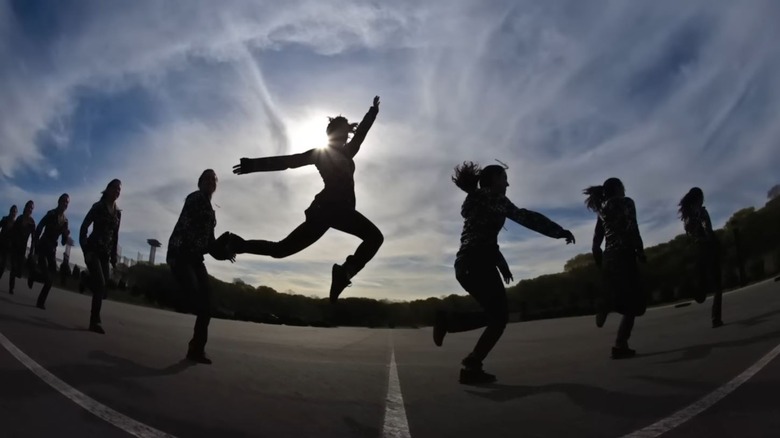
Shutter speed
Shutter speed refers to how much time passes between the shutter opening and closing. A fast shutter speed is just a fraction of a second while a long shutter speed can last several seconds or even minutes at a time. It should be easy to see how this can impact the amount of light captured by your camera
If you think of light as water rushing through the pipes of your camera, the aperture dictates how wide the pipe is, and shutter speed dictates how long you keep the tap open. A slow shutter speed keeps the shutter open longer and gathers a lot of light, which can be useful if you're capturing low-light images like nightscapes. However, that doesn't mean a slow shutter speed is always the right choice. In fact, it usually isn't.
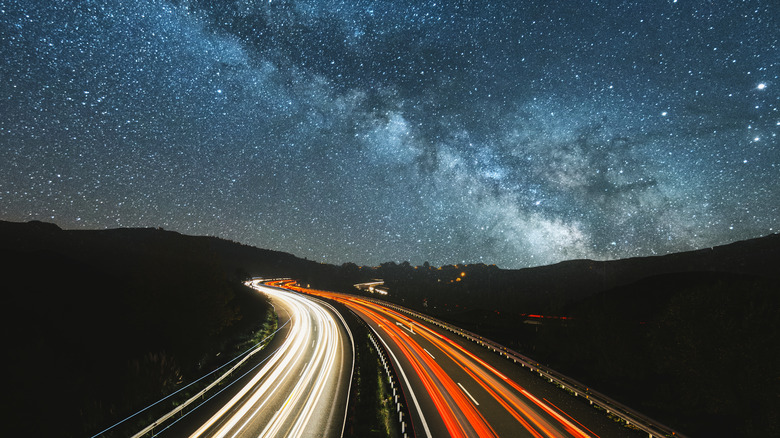
Your camera is gathering light the entire time your shutter is open. That means it's also going to catch any movement. If you're doing a family portrait, a too-slow shutter speed will leave everyone looking blurry and smeared out. Under the right circumstances, you can put captured motion to work for you to achieve cool effects, like the blurring of running water as a river flows across the landscape or traffic zooming over motorways in an otherwise still cityscape.
ISO

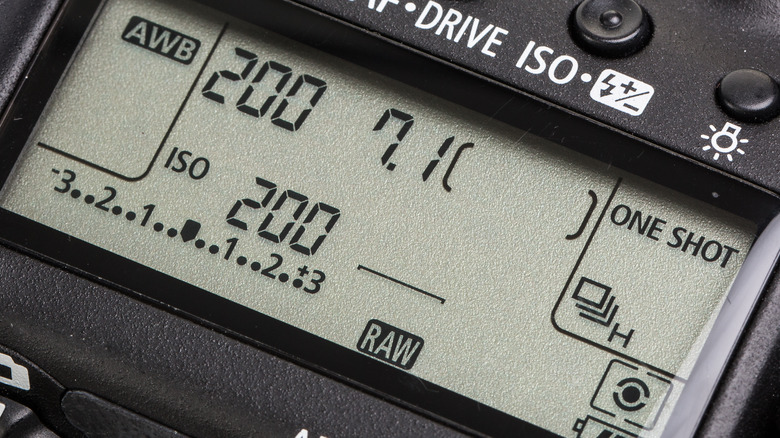
Your ISO setting is the last of the three fundamental pillars of photography. A wider aperture or slower shutter speed allows more photons to hit your camera's sensor, and a narrower aperture or faster shutter speed does the opposite. ISO, by contrast, refers to how sensitive your camera's sensor is to those photons. To better understand what ISO does, we need to go back in time to when photography was an entirely analog medium dependent on chemically treated photo paper.
When working with physical film, there is an innate ISO rating, referred to as film speed. The film speed tells you how sensitive the film is to light exposure. A film with a faster speed needs less light (is more sensitive) than one with a slower film speed. In practice, that means a photo that turns out perfectly with a slower film speed might be overexposed and washed out with a faster film speed. Choosing the right ISO is critical for getting the picture you want.
With a DSLR, you're working with a digital optical sensor instead of physical photo paper. And your sensor can simulate a range of film speeds, represented by ISO values in your camera settings. Upping the ISO brightens the image by making the sensor more sensitive, but it can also introduce more noise. High ISO values are best used in low-light conditions like astrophotography. Although, importantly, the moon is so bright that a low ISO with a slower shutter speed can work best.
Mode dial settings
In case the buttons on the back of your camera weren't enough to keep you busy, your DSLR also has a mode dial circumscribed by a collection of letters and symbols, each of which does something different. Knowing how to use them can be difficult at first, but they are some of the easiest ways to snap quick photos with a little more intention.
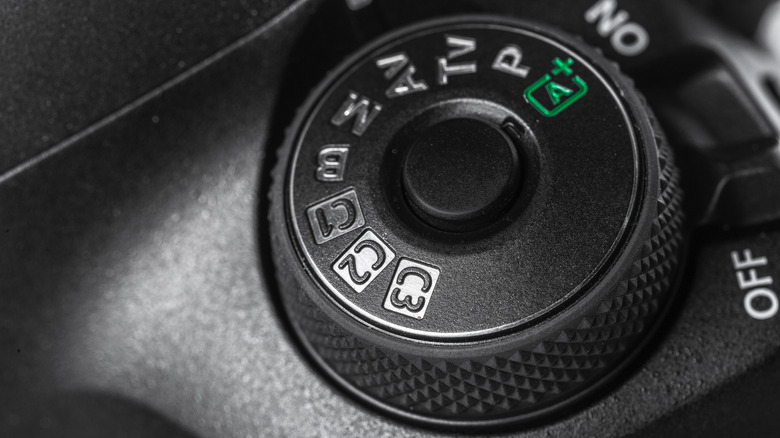
While your camera probably has a dozen or more modes on the dial, there are four that are the most immediately useful, if you know how to use them. First up is Auto (indicated by the word Auto or an A+ symbol). It's the setting many first-time photographers gravitate to because it does all of the work for you. The downside is that you give up control of how the image turns out. Auto is effective for most casual scenarios but isn't necessarily ideal for everything.
Next, we have Aperture Priority (A/AV) and Shutter Priority (S/Tv). Each of these is a sort of middle ground that gives you control over the associated setting — aperture or shutter speed — while your camera's onboard software takes care of the rest. Last is Manual (M), which gives you complete control over all of the settings. You won't need that kind of flexibility for every photo, but it can be the only way to capture certain kinds of images.
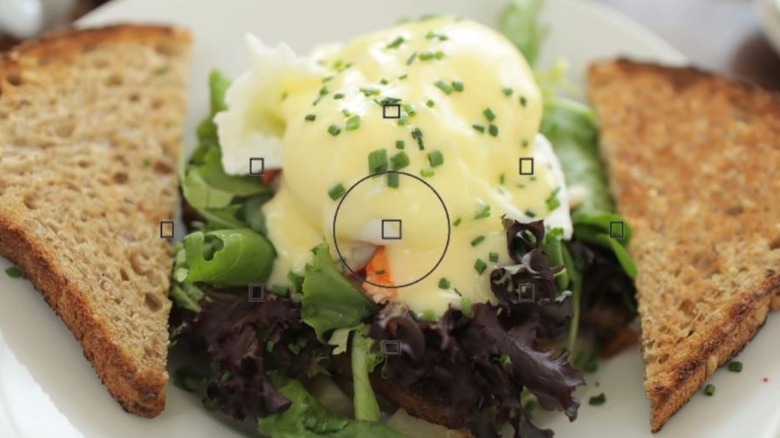
Focus modes
Camera phones automatically identify a point of focus when you open your camera app, and you can adjust the point of focus by tapping the screen. It's a compromise that gives you middle-of-the-road images in exchange for convenience. By contrast, a DSLR offers several different focus modes, each of which is ideal for different types of images.
The most common method is single focus. It's what your camera is set up to do, right out of the box, and is good for taking still or mostly still images. It works by focusing on an object a single time, when you first press the shutter release. Importantly, it won't refocus if the subject of your images moves. If the subject of your image is likely to move, you might be better off with Continuous focus. It does pretty much what the name implies, by identifying an object of focus, then tracking that object to maintain focus in real-time.
Last is Manual focus. In this mode, your camera stops assisting altogether and you must manually focus your lens to get the image you want. It can be challenging, but it can also achieve some of the best results.
White balance
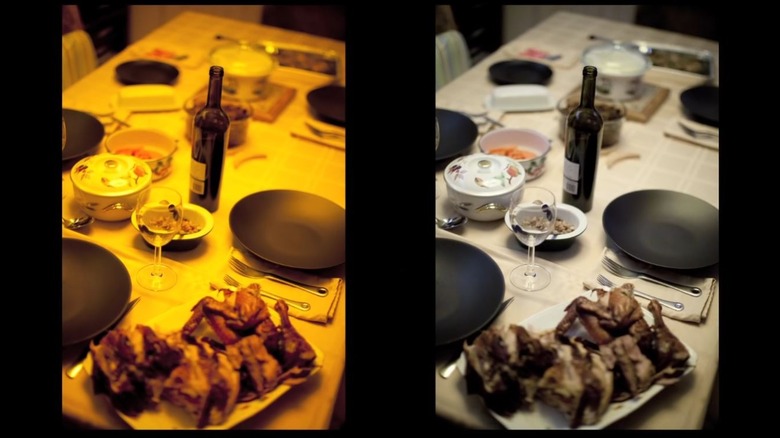
Have you ever walked into a room, maybe at a bar or museum, which had oddly colored lighting? It casts everything in shades of blue or pink, or whatever color the purveyors have chosen. Under those lighting conditions, it can be difficult or impossible to determine the true color of an object.
We experience something similar in our everyday lives, when looking at objects that are in shadow, next to objects that aren't. When you look at a scene, your brain does all kinds of wizardry in the background to correct for disparities in "color temperature" and deliver a cohesive picture of the world. White balance is a way of doing the same thing for your camera.
Your DSLR captures whatever is in front of it, even if what it captures is confusing. A well-known example of the havoc this can cause is the famous black and blue (or was it white and gold?) dress. Weird lighting in a photo twisted our brains so much that we didn't talk about anything else for weeks. All because a combination of shadow and bright light distorted the colors. White balance is a way for your DSLR to do some of the cognitive processing our brains do, to correct for color temperature and present a "true" image.
File format
Most of us don't spend much time thinking about the file format of our photos. Doesn't everything end up as a JPEG or PNG, anyway? The truth is the file format you choose depends largely on what you're going to do with your photos. If you're just snapping photos as a personal keepsake or to share with family and friends, you're probably fine shooting photos as JPEGs and calling it a day. But if you want to edit your photos in something like Photoshop after you've snapped them, you'll want to shoot in RAW.
As the name suggests, RAW preserves all of the raw data captured in your image, so that it's available to you for editing. Of course, that doesn't come without a cost. Shooting in JPEG automatically compresses the data so that it takes up less space on your camera. That means that shooting RAW images will take up significantly more space, allowing for few photos.
It might mean you need to be more frugal with your shots, delete them on the fly to clear up space, or invest in a larger SD card. It's probably not necessary while you're just learning, but all of that data unlocks the ability to add effects and manipulate the data to bring out certain features and suppress others. All of that potential is lost to you, the moment your camera compresses the shot into a JPEG.
Shutter delay
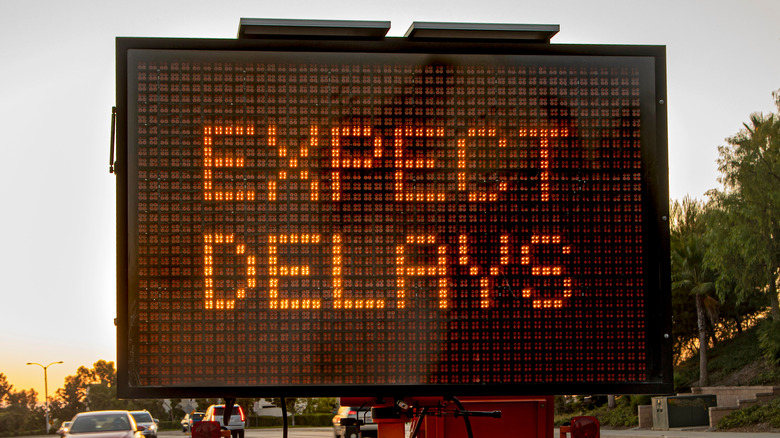
This is one of the simplest settings to understand, but it's also one of the most important. Out of the box, your camera won't have any delay. Depress the shutter release and you'll get an image right away. That's fine for a lot of situations, but it can cause problems for certain types of photos.
The most intuitive way to use shutter delay is to take a group portrait that you want to be in. Set your camera on a tripod, get everyone in position, set a shutter delay, press the shutter, and run to get into your spot before it's too late. It's a great use for shutter delay, but it's not the only one. A delay can also be helpful if you need your camera to be very still. Imagine that you've spent time lining up a bird in the far distance or a faint nebula in the night sky. You press the shutter release, review your images, and it's ruined. The force of you pressing the shutter release is enough to shake up your camera and wreck your shot.
Your DSLR has at least a couple of different shutter delay options, ranging from no delay to 10 seconds or so which allows you time to get into position or for your camera to stop shaking. Whichever you choose that's the amount of time between pressing the shutter release and taking an image. There's no right answer here, except what's right for the specific photo you're taking.
Metering
When shooting in Auto mode, your camera has to make all of the decisions about aperture, shutter speed, and ISO to make sure you get a decent shot. Metering is how it does that. Your DSLR has a built-in light meter, which senses the level of light in your image and uses that information to inform its decision. Each metering mode tells the camera to pay attention to different parts of the frame, potentially resulting in dramatically different final results.
Common types are Matrix or Evaluative Metering (two names for essentially the same thing) which breaks the entire frame into sections and considers them individually. Center-Weighted Metering focuses only on the center of the image and ignores the edges and corners. That's great for portraits, where you might want the background to be less defined. Spot Metering is similar but focuses on light only from a single point covering about 3% of the frame.
Depending on the make and model of your camera, you might have additional metering options to play with. The best way to understand what they do is to snap a bunch of photos and compare the results, with the aim of telling your camera what you want it to pay attention to.
Shooting modes
Even once all your light settings are in place and your camera is gathering exactly what you want it to gather, you still need to tell it what sort of photo to take. The most obvious and most common is the single shot. In this mode, you press the shutter release, and your camera takes a single image. That's it. It's what cameras were made for and they're very good at it.
Continuous shooting lets you press and hold the shutter release to take multiple shots per second. Depending on your camera, you may be able to dictate how many images you want it to take every second. It's a sort of middle ground between still photography and cinematography and is useful for shooting moving targets.
Finally, there's Multiple Exposure. In this mode, you can take multiple snaps and jam them together into a single shot. It's a compromise between a quick shot and leaving the shutter open completely. This way, you can take an image of the same object in multiple positions, all in the same photo. You're basically one button press and a few free hours away from making yourself a digital clone army in your backyard.