How To Use Clipping Masks In Adobe Photoshop
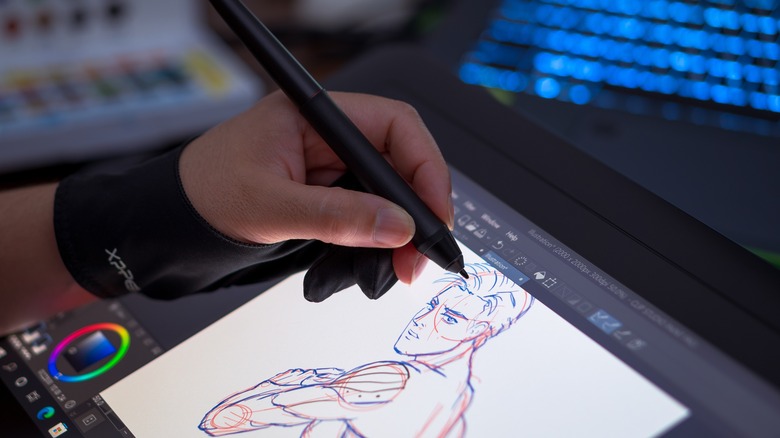
Adobe Photoshop is, for many, the very last word in image creating and editing software. Adobe boasts that "over 90% of the world's creative professionals use Adobe Photoshop," and the program is so outrageously popular that its name has become synonymous with photo editing.
Its mass appeal among enthusiasts and professionals, however, does mean that its vast suite of tools can be very difficult to manage for new users. There's an awful lot of features in Photoshop, and it's only with experience, practice, and know-how that users can begin to get the very best from it. Adobe offers a range of Photoshop tutorials to help with this, beginning with simple functions like resizing images, before tackling advanced features like layers and clipping masks.
Those who aren't so well-versed with the software or the ins and outs of digital art (using Photoshop or other similar software) may be unfamiliar with clipping masks, but they're almost essential to use when creating more complex, multi-layered images. Here's how to implement clipping masks in Photoshop, and why and when you might need them.
What is a clipping mask?
As a general rule, the more complex an image you create in Photoshop, the more layers it's likely to have. There isn't a limit to the number of layers that can be included in a given image, and if the user is adding shadowing, text, textures, and numerous other elements to a piece, there can be a lot of layers indeed.
The key with a multi-layered image is keeping those layers in the right order. They're usually positioned in a specific way because they affect the layers above and below them: hiding or revealing certain elements of the overall image, preventing elements that shouldn't overlap with each other from doing so, and so on.
From the Window menu, users can select "Layers" to reach the Layer panel, from which they can add new layers, change specific opacity and other options, drag and drop them to change their order, and much more.
A clipping mask, then, is a way of simplifying the process of interacting with all these different aspects of an image. With clipping masks, the boundaries of a lower layer can be used to frame aspects of layers above the mask. A rectangular border shape, for instance, can be clipped to a photograph larger than it. Because "the bottommost layer, or base layer, defines the visible boundaries of the entire group" (as Adobe puts it), the photograph will be neatly framed within the shape on the other layer.
Creating a Clipping Mask in Adobe Photoshop

While it's rather easy to add a Clipping Mask to an image, it's vital to note that the layers the mask is being applied to have to be in the right order in the Layer panel.
Essentially, users need to be sure that the layer "showing through" is higher in the order than the one serving as the "frame" for it. To do this, it's just a matter of dragging them into the right order from the Layer panel, if necessary. After that, right-click the top layer, then select "Create Clipping Mask."
This can also be done by clicking between the desired layers in the Layers panel while holding down the Alt key, a process that will remove layers from the Clipping Mask when repeated. With the layers clipped together in this way, one or the other (in the case of a two-layer Clipping Mask) can be selected and positioned independently.
By doing this, users can perfectly position the subject of a larger photograph in a lower-layer shape serving as the frame, for instance. Individual layers, if mistakenly selected, can be removed from the mask through the Layer panel by simply dragging them away from each other.