How To Record Your Screen On A Chromebook: A Step-By-Step Guide
If you're a Chromebook user, you're probably familiar with taking screenshots, but what's the easiest way to record your screen? Recording the screen on a laptop has multiple use cases. You could be a PC gamer who likes to record their gameplay and post it on YouTube, a developer demonstrating a software bug or glitch, or a company employee recording a meeting to share with colleagues who were unable to attend.
Chromebooks aren't as powerful as Windows PCs, and in many cases, the examples above may not apply to Chromebook users. The primary market for Chromebooks is the education sector, particularly among teachers and students looking for a low-cost option. The good news is that since 2021, Chrome OS has provided ways to record the screen without using an extension or third-party app, including one tool designed specifically for teachers: a built-in screen recorder tool and the Google Screencast app.
How to record your Chromebook screen with the screen recorder tool

The native screen recorder tool in Chrome OS is the easiest way to record what's on your screen; it offers multiple recording options. To record the screen on your Chromebook, follow these steps:
-
Press the Ctrl + Shift + Show Windows keys.
-
Click on the Screen Record button in the menu that appears.
-
Select one of the three options offered: record the full screen, partial screen, or window.
-
Click on the red Stop Recording button in the menu to end the recording.
Your video will now be saved to the Downloads folder, though you can choose a different save location instead. It's important to note that the built-in screen recording tool offers the option to record audio from the Chromebook's microphone, which means if you're speaking while recording the screen, the audio will be included in the saved file. It's also possible to record videos from your webcam. Both of these options can be accessed by clicking the gear icon in the screen recording menu. The only downside to using the screen recorder tool is that videos are saved in a WebM format, so those who need the files in MP4 format will need to convert them manually.
How to record your Chromebook screen with Screencast
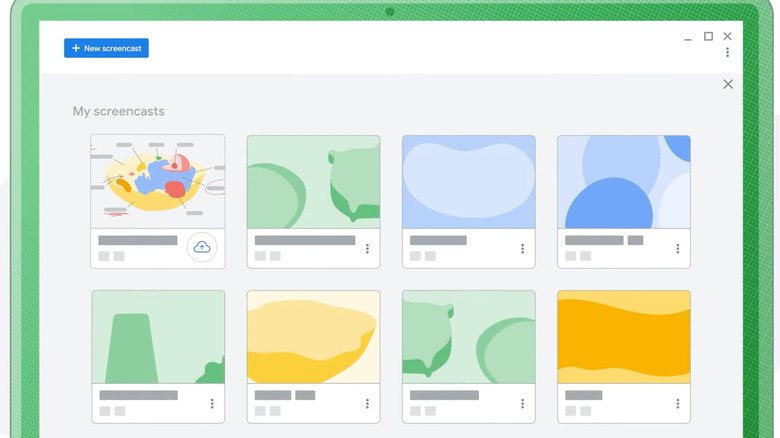
Another way to record your Chromebook screen is by using Google's Screencast tool. Introduced in 2022, Screencast is targeted primarily at educators, but it works just fine for anyone in need of basic screen recording, too. The app is installed by default on Chromebooks running Chrome OS 104 or later and can be found by opening the app launcher.
To record the screen with Screencast, follow these steps:
-
Open the Screencast app.
-
Click on New Screencast in the top-left corner of the app to open the menu bar.
-
Tap the gear icon in the menu bar to open Settings.
-
Select your audio input and camera devices.
-
Select whether you want to record the full screen, partial screen, or window in the menu bar.
-
Click the screen or app window to start recording, or click and drag the mouse to manually select the part of the screen to record.
-
Press the red stop button in the menu bar to end a recording.
The process of recording the screen using the Screencast app is similar to the inbuilt screen recorder tool, but there are some differences. For starters, the recording is stored in Google Drive and not locally. Additionally, recordings can only be viewed in the Screencast app, and viewing is only supported on Chrome OS. While this can be limiting, Screencast's additional features, such as automatic transcription and the ability to draw on the screen while recording, will be useful for some users.