How To Remap And Tweak Your Xbox Series X|S Controller
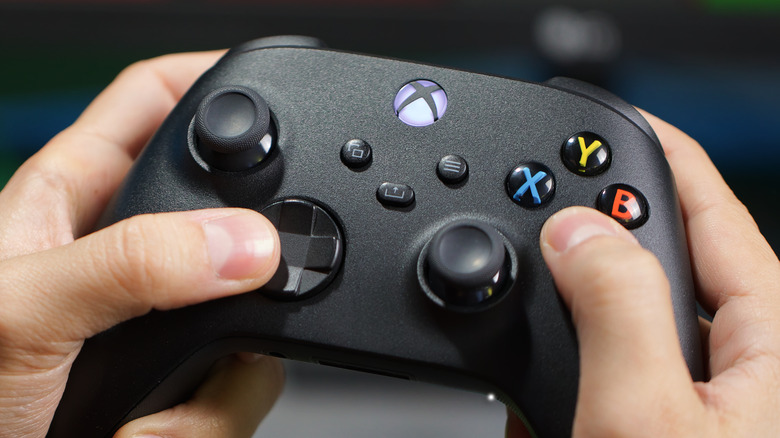
The controller is an essential tool for any gamer, but it can be frustrating when the buttons aren't in the right place for your gaming style. The ability to remap buttons on the Xbox Series X and Series S is an essential feature for gamers who want to personalize their gaming experience. A remapped controller can make all the difference between victory and defeat in games that require quick reflexes and precise movements. More than that, it's a near necessity to make gaming more comfortable for those who have disabilities that make it difficult to use the default controls, though there's also a special controller available for those gamers.
Luckily, the Xbox provides a button mapping feature that allows you to remap the buttons on your controller to suit your needs. Not only can you swap button placement, but the Xbox Series X and Series S also allow you to change the behavior of some default functions. You can also do the same if you game with an Xbox controller on a Windows PC. Whether you're a seasoned pro or a newcomer to gaming altogether, remapping the buttons on your Xbox controller is something that may come in handy throughout your career.
How to remap Xbox controller buttons on the Xbox Series X|S
So, how do you access the button mapping feature on Xbox? The process is straightforward and easy to follow. Here are the steps you need to follow to remap the buttons on your Xbox controller:
-
Open the Settings app.
-
Navigate to Devices & connections, then Accessories.
-
Select Accessories.
-
Find your controller and select Configure.
-
Select the default profile or, optionally, create a new one.
-
On the profile you want to customize, highlight and select the pencil icon.
Now that you're on the edit screen, use the dropdown box to select the button you want to remap, and then choose the button you would like to swap it with. (Alternatively, you can hold the button you want to remap for three seconds, and then press the button you want to swap it with.) This is great if, say, you're a Nintendo player who's used to the de facto "confirm" button being the rightmost face button as opposed to the bottommost button. In that situation, you can swap the "A" and "B" buttons. It's good practice to keep a separate profile with the default controls so you can change it in a pinch, but if you ever want to reset a profile, you can do so by selecting "Restore to default" on the button mapping screen.
How to remap Xbox controller buttons on Windows
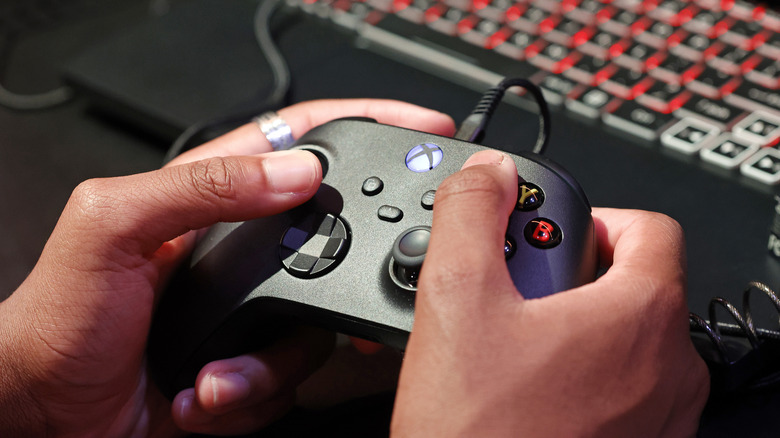
If you game on a Windows 10 or Windows 11 computer using an Xbox controller, you'll be happy to know button mapping is available there, as well. This is typically less of an issue on PC, as most games offer extensive button mapping features within their menus. But it's there if you ever need it, here's a quick guide to doing so:
-
On your Windows computer, open the Start menu.
-
Search for the Microsoft Store app and open it.
-
In the Microsoft Store app, search for the Xbox Accessories app.
-
To download the app, click the Get button.
-
Connect your Xbox controller using a USB cable, then open the app.
-
Select Configure.
You'll notice that the user interface is almost identical to the one on Xbox consoles, so you can follow the same instructions we already detailed above to switch things around however you like.
Other cool Xbox controller button mapping features
Beyond button swaps, Xbox gives you some other cool tweaks you can make to customize your gaming experience even further. Within the button mapping menu we showed you how to access above, you can find various toggles to swap triggers, analog sticks, and invert the Y axes on either of the analog sticks. You can also toggle vibration on or off (which might help you save a little battery, too).
Here's another cool one: if you're playing a game with someone who might need a little assistance — perhaps a handicapped gamer or a youngster who doesn't quite have a handle on how to play — you can enable a feature called Copilot. This will allow you to input commands from two different controls on the same profile.
This is great for helping someone through a single-player experience. Things can get a little hectic with too many cooks in the kitchen, but we can't quite help you with that. In any case, here's how to enable it:
-
Ensure both controllers are powered on and connected to the console.
-
Navigate to Settings, Devices & connections, and then Accessories.
-
Select the button with the three dots at the bottom of the controller you want to manage.
-
On the bottom left menu, select Turn on Copilot.
Now you can jump in and take the wheel whenever your friend or family member needs help.