How To Use Any Android Tablet As An Android Auto Car Head Unit
We may receive a commission on purchases made from links.
Android Auto is a popular feature found in many modern cars, but if your vehicle lacks support for the operating system, there is a way to add it using an old Android tablet that you may already have lying around. Android Auto isn't to be mistaken with Android Automotive, an operating system designed to run directly on the hardware in a vehicle.
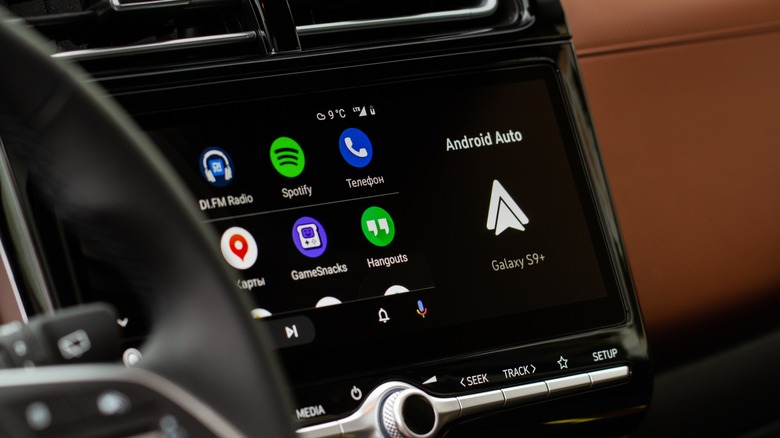
Although the list of cars that natively run Android Automotive is fairly short, a much larger pool of vehicles supports Android Auto (via Google). The latter product allows you to connect your phone to your car's infotainment system and control apps like Maps and Music using a touchscreen — in most cases, the one built into a car's head unit.
However, since most of the processing happens on the connected phone, Android Auto can work with even the most basic hardware, including an Android tablet that you may be able to buy for far less than the price of a full head unit. When paired with a dedicated app called Headunit Reloaded Emulator, the tablet can be transformed into an Android Auto solution that works even in older cars.
Prepare an Android tablet to run as an Android Auto car head unit
Foremost, you need an Android phone to be used as the host device and a larger Android tablet that will display the Android Auto interface, though you can use an old Android phone instead. You can also configure the DIY solution to work with the car's existing stereo system to utilize the car's speakers. A number of third-party mounting solutions exist, such as suction cup-based tablet mounts that be attached to a vehicle's dashboard.
Before mounting the tablet in the vehicle, however, you will need to download and install the Headunit Reloaded Emulator app on it. This is a paid app; you can either purchase it for $4.99 from the Google Play Store or download it from the developer's website and then transfer it to the tablet using an SD card or USB stick. If you want to try the app before purchasing, you can get the trial version for free. However, each session is limited to only 10 minutes, after which you will need to re-establish the connection.
How to set up an Android tablet as an Android Auto head unit (wired)
After you download and install the Headunit Reloaded Emulator app on the Android tablet, you will see an interface like this:
 Tushar Mehta/SlashGear
There are two ways to initiate the connection between your phone and the tablet: wired and wireless. First, we will go through the wired method with these steps:
- Park the car and turn off the ignition.
- Mount the Android tablet in the car.
- Connect your Android phone to the Android tablet using a USB cable.
- Wait for your phone to detect the USB connection.
- Set the mode to File Transfer/Android Auto.
- Under the "USB controlled by" menu, check "This device" rather than "Connected device."
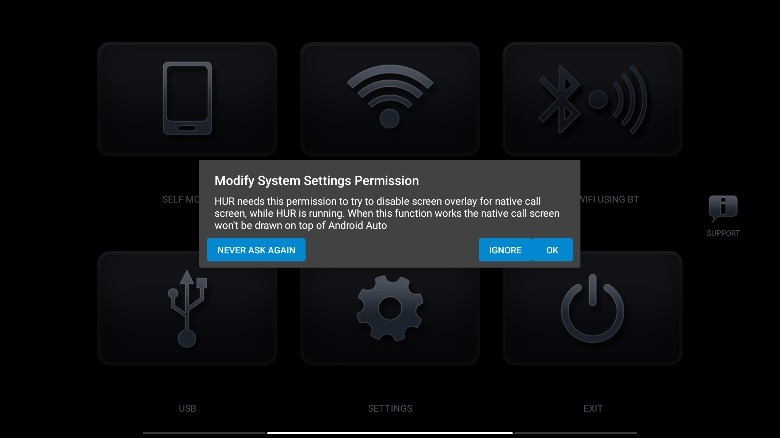
- Open Headunit Reloaded Emulator on the tablet.
- Tap OK when asked to grant permission to "Modify system settings."
You should now be able to use Android Auto on the tablet, making it easier to view navigation maps and control music while driving. If for some reason you can't connect to Android Auto, disconnect your phone and then reconnect it. On the Android tablet, close the Headunit Reloaded Emulator app and then open it again.
How to set up an Android tablet as an Android Auto car head unit (wireless)
If you want to avoid the hassle of keeping your phone plugged into the tablet, you have the option to connect to Android Auto wirelessly. This is a great alternative to using a USB cable, but make sure your phone is charged or connected to a charger, as the battery will drain faster than usual.
- Turn on your Android phone's Wi-Fi hotspot.
- Connect the Android tablet to the phone's Wi-Fi.
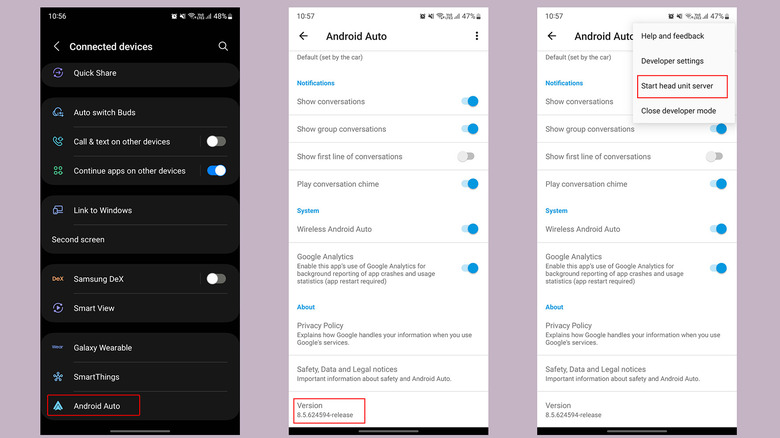
- Open Settings on your phone, and then go to Android Auto under Connections.
- Scroll to the bottom of the Android Auto menu.
- Tap Version several times until you see a pop-up asking if you want to enable the developer mode.
- Accept this prompt.
- Tap the three-dot button in the top-right corner, and then tap "Start head unit server."
- Go to the Headunit Reloaded Emulator app on the Android tablet and tap Wireless.
If you follow each step carefully, tapping Wireless will activate Android Auto on the Android tablet even though the phone is not connected using a USB cable.
Recommended settings for Headunit Reloaded Emulator
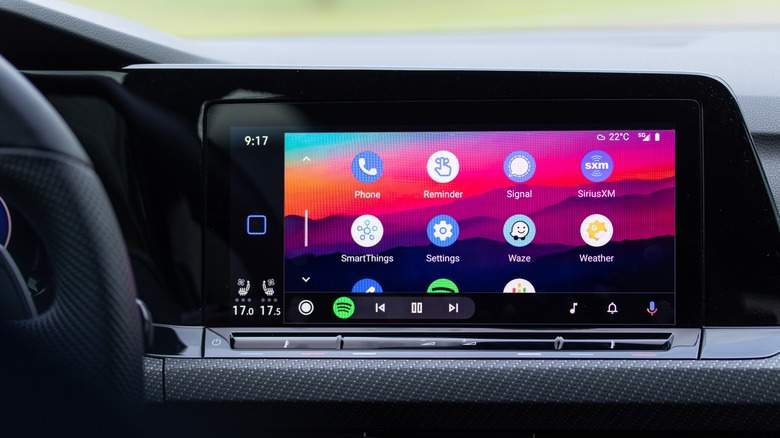
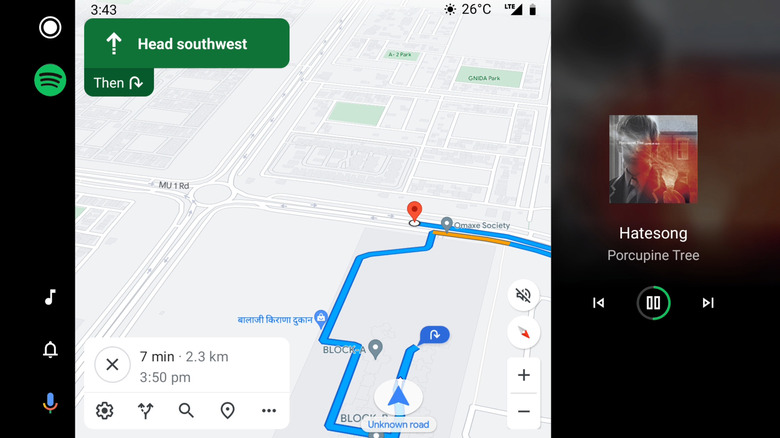
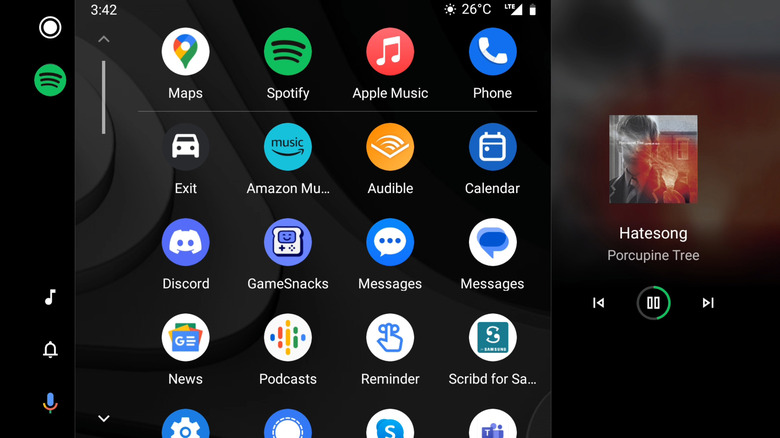
True to its name, Headunit Reloaded Emulator replicates all of the features found on a head unit that supports Android Auto natively. By default, the interface loads up with your default navigation app (Google Maps in most cases) and a media player. You can tap the circular icon in the top-left corner of the Android Auto interface to open the list of apps on your phone that support Android Auto. Besides navigation and media, you can also use Google Assistant, view notifications from messaging apps, or ask Google Assistant to read those notifications out loud.
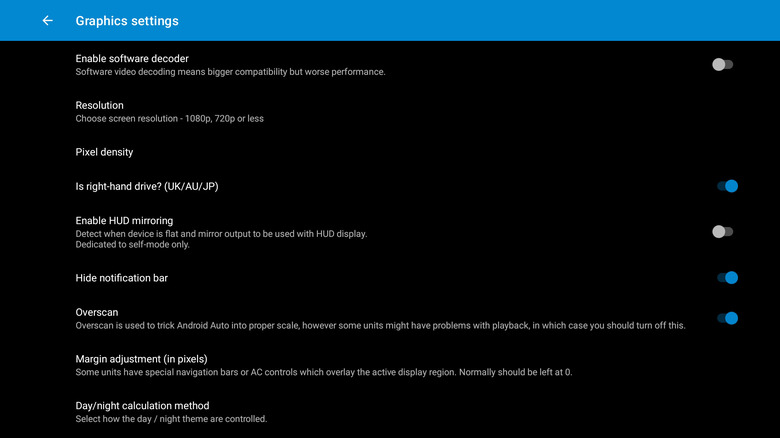
At the same time, you can change a bunch of settings for the best experience. For starters, you can go to the Settings menu from the main screen of the Headunit Reloaded Emulator app, then head over to "Graphics settings," where you can change the output resolution. While most new and shiny devices will be able to run the highest supported screen resolution, you can reduce the resolution to eliminate any lag if you are using an older or less powerful smartphone. You can also change the pixel density for the most optimal viewing experience based on your screen.
There are some other settings you can tweak, too
If you are from a country with right-hand drive cars, such as in the U.K., Australia, Japan, or India, you can also flip the orientation of the Android Auto interface so that the map is near the driver's side while the media controls are facing the passenger's side. You can also adjust the display margins, hide the Android notification bar, and adjust how the software toggles between the day (light) and night (dark) modes.
If your car has dedicated stereo controls on the dashboard or the steering wheel, you can also set custom commands in the Headunit Reloaded Emulator app with the "Custom Input" menu inside the touch and input settings. Keep in mind that this feature requires using the app on a supported car head unit that is wired to the vehicle's system. According to the developer's website, the app can be used with Android-powered head units from brands like Joying, Xtrons, and Eonon (via B3IT).