The Easiest Way To Set Up A Guest Wi-Fi Network

Just about everyone has internet access these days. The Census Bureau reports that 92% of American households have at least one computer and 85% enjoy a home internet connectivity service. But your network equipment can do more than meets the eye. The guest network is a secondary network your router can broadcast, granting a tunneled access point to your internet. It restricts connected devices to only the internet, walling them off from your other linked devices such as printers, servers, and storage devices. Businesses use guest networks to let customers connect to their Wi-Fi without exposing the primary network (via Cisco). But you can also set up a guest Wi-Fi network at home.
There are plenty of reasons you should set up a guest Wi-Fi network, but security and privacy are at the top of the list. Devices connected to your primary network, say a phone or computer, essentially have access to the entire network, including the router settings, network traffic, printers, file servers, and other IoT resources that may be in your home. If an infected or vulnerable device connects to the primary channel, it can put your entire network at risk.
Typically, you'd have to give away your master password to let visitors join your Wi-Fi. Furthermore, revoking access would mean the hassle of changing the strong, complex password you've already memorized.
But, with a limited guest Wi-Fi network, you can create a separate SSID (Wi-Fi name) and password for visitors, keeping your network secure and your master password private. You can also set up router parental controls on it and give the guest Wi-Fi to your children. Or, reserve it for IoT devices that can slow down or expose your main intranet network (via Netgear).
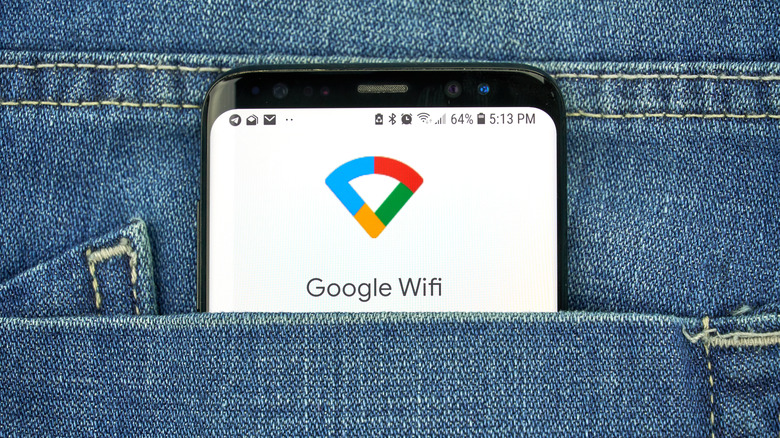
How to set up guest Wi-Fi with the companion app
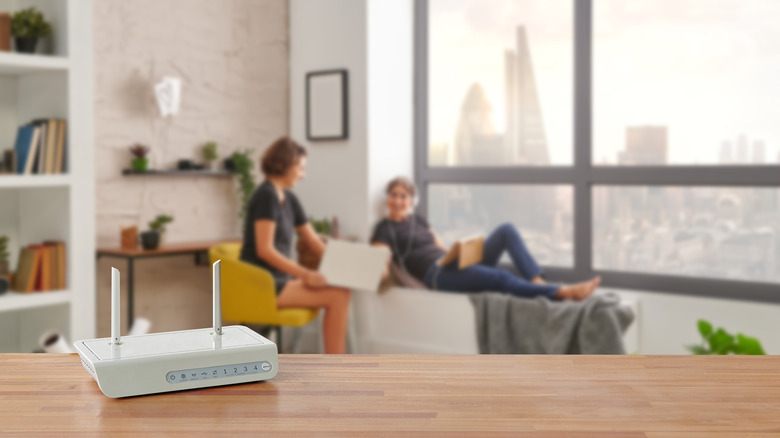
Most modern routers support at least one guest network. Some can even go up to six total networks for 2.4GHz and 5GHz frequency bands. You can decide on which frequency you wish to broadcast your guest Wi-Fi. The 2.4GHz band is slower but enjoys an extended range; 5GHz is faster but doesn't provide the same broad coverage (via Netgear).
New routers often come with companion apps. The apps make it effortless to set up a guest Wi-Fi network (via Google). You open the app on your phone, select Wi-Fi, and find the guest network settings (they might be labeled guest zone, guest access, guest network, or something similar). Choose a name and password for the guest network.
From there, you can grant selective or no access to other hardware on the network. The apps also let you delete or edit your guest network. And you can easily share the guest Wi-Fi password from within the app.
How to set up guest Wi-Fi using the router portal
The other way to set up guest Wi-Fi is slightly more involved and long-winded. You'll need to log into your router's dashboard (via Nokia). To do this:
1. Open the web browser of your choice.
2. Enter your router's IP address or URL (you'll find it on the back of your router; consult the router's manual if you can't).
3. Login with your network credentials.
4. When you land on the dashboard, locate the wireless or guest network tab; it may vary between manufacturers.
5. Depending on your speed and range needs, you can pick from a 2.4GHz or 5GHz connection (via Netgear).
6. Create a password and SSID name to enable the guest Wi-Fi.
If you see a tab for intranet access or hardware access, disable it. Some routers also let you hide the guest Wi-Fi SSID so that the Wi-Fi won't appear with other networks. But you can manually connect to it by entering the correct SSID and password.