14 Best Uses For Old Cameras And Lenses
We may receive a commission on purchases made from links.
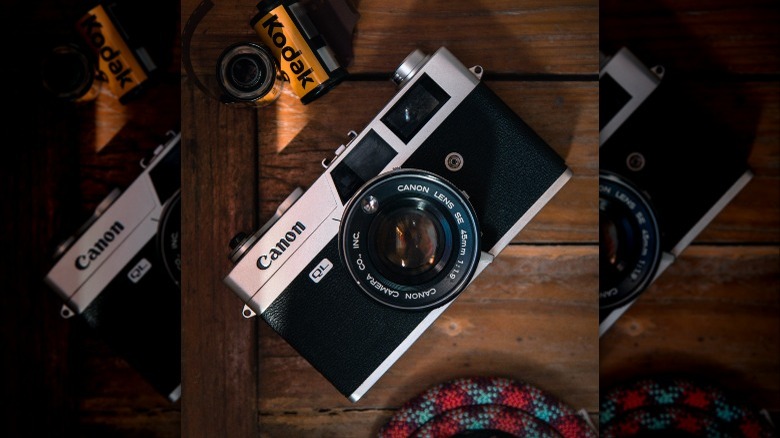
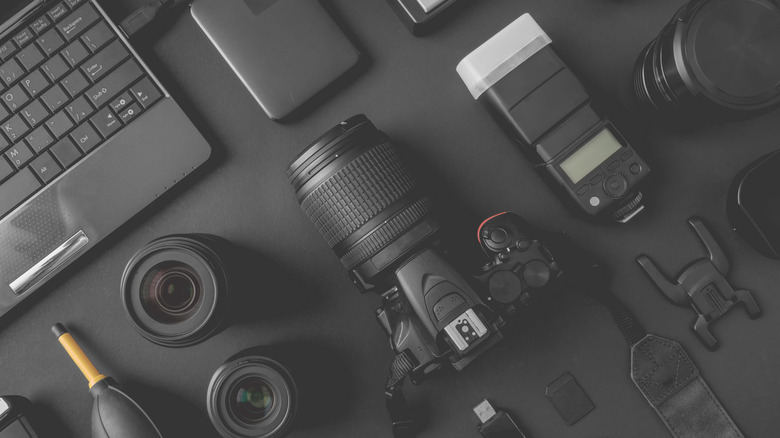
The latest and greatest in the camera industry is swiftly evolving. Cameras — whether they're fresh-off-the-shelf mirrorless bodies, DSLRs in their twilight of relevance, vintage film gems, or even the 2000s-era FinePix point-and-shoot in the back of your junk drawer — are always an investment, and even more so are the top-of-the-line lenses we see today. According to data from the Camera and Imaging Products Association, there are hundreds of thousands of cameras and lenses purchased and shipped each month ... and at least a portion of those are replacing something outdated or broken.
So what do you do with that Rebel from 2005? It's hard to let go of an older camera body or lens when you've got a shiny new one. Tossing them in the trash would be a crime, but even leaving them to collect dust feels like an injustice. There are plenty of ways to offer your old camera or lens a second life. Some of these ideas may completely transform your approach to photography, or even open up an entirely new niche.
Manufacturer recycling and trade-in programs
You may really just want to get old photography gear out of your space, but there's no resale value and you want to avoid condemning the stuff to the landfill (some states forbid dumping electronics in this way, anyway). There's a good chance your camera's manufacturer has a recycling or trade-in program that'll allow the camera to be properly disposed of, refurbished, or taken apart for parts — and you might get some cash out of the deal, too.
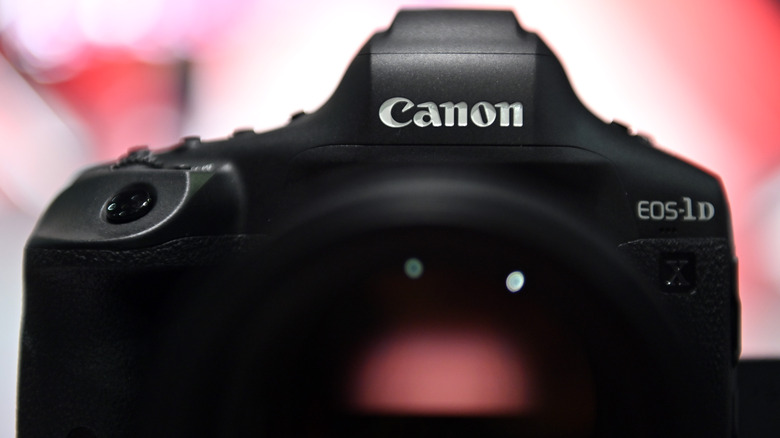
What you'll get will vary widely by the model and condition, of course. For example, according to Nikon's trade-in program, an old Coolpix AW110 will only pay out $30 in excellent condition. But a Nikon D780, a full-frame, 24-megapixel DSLR, will get you back $1,095 if it's in excellent condition. It's a steep drop from what you probably paid to purchase a brand-new one, but it's better than nothing. Electronics retailers like Best Buy or Adorama may also offer trade-in or recycling programs if you're unable to do it through the manufacturer.
Recycling programs may not have a payout, but it's nice to know that your old gear is being disposed of properly.
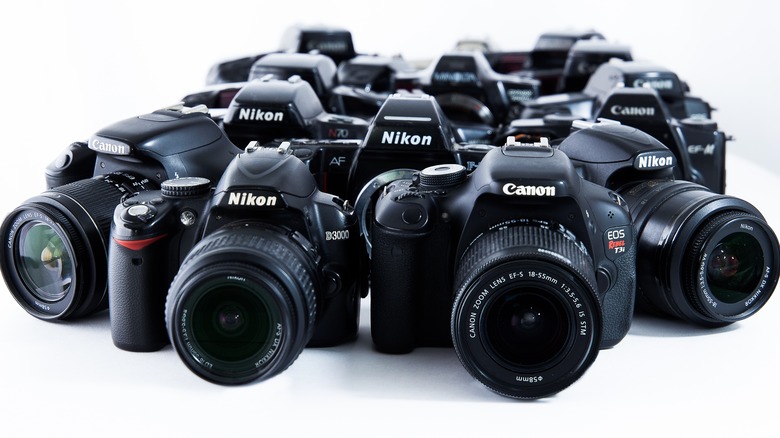
Keep as a backup to your main camera
Catastrophe is always lurking when you're out and about shooting, which is why having backup gear is a good idea. You should never count on your main camera and lens operating perfectly 100% of the time — a drop could cause physical damage, or a simple stroke of bad luck could cause random mechanical failure. If you're shooting in public or outdoor spaces, you also run the risk of theft, elemental exposure, and overheating.
There's an old adage that a photographer's spares should be capable of just as much as their primaries, meaning if your primary body is a full-frame mirrorless and your primary lens is a prime f/2.0 USM, then your backups probably shouldn't be a cropped-sensor DSLR and a variable aperture kit lens. (The idea behind this is that, if you promise clients photos that your primary gear can deliver, your backups should be capable of delivering those results, too.) But, this is a big ask for most of our pocketbooks, so if your old camera and lens are still functional, it's a great idea to throw them in a separate bag (the small, square, crossbody bag that comes with camera kits is perfect for this) and bring them along just in case. Something is better than nothing. Be sure to store batteries and cards outside of the camera, and if it uses a different battery type than your primary, always check its battery levels before heading out. And don't keep your spares in your car, either!
Use for BTS or B-roll content
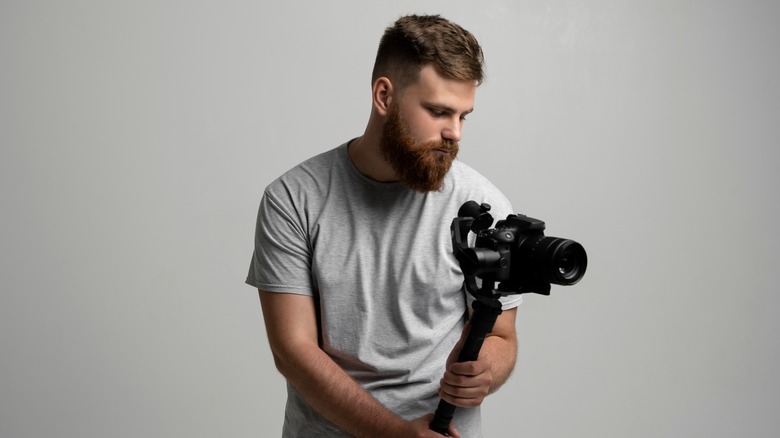
Behind-the-scenes content and B-roll footage are created for use in social media and marketing projects. Your followers may be fascinated by what is going on behind the curtain for photographers, and filming snippets of you shooting, building a set, or editing may draw in new traffic and inquiries. For this kind of short-form footage that'll most likely be shared on a social media platform, you probably won't need to buy any additional gear — a tripod and maybe a microphone at most.
If you have a photography assistant or second shooter around you can hand the B-roll camera off to, that's even better. While you're busy doing the big important part, they can capture the little things happening that may have gone under the radar otherwise. Even the fuzzy, blurry, random missed shots can add humor and interest to your social media videos and marketing material.
Look for adapters
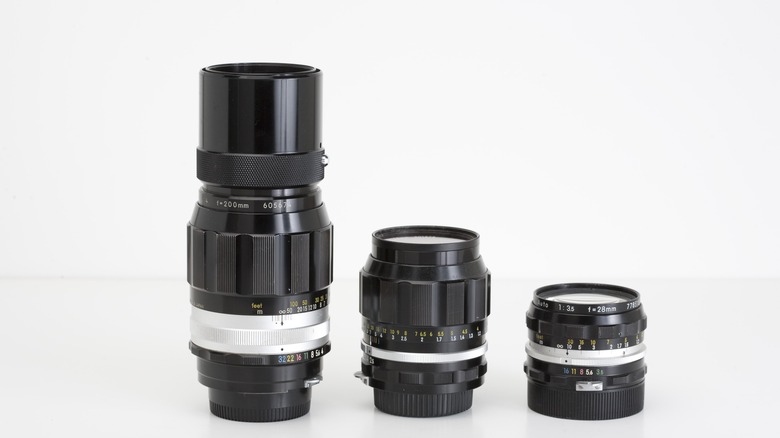
Upgrading camera bodies and finding out that none of your old lenses have compatible mounts is a major downer, but there's no reason to run out and buy all new ones. A plethora of adapters are available to make just about any lens fit just about any camera. There are adapters to retrofit lenses (that is, put manual focus or film lenses on modern cameras), or to put lenses meant for DSLRs on mirrorless cameras. You could even adapt a Nikon lens to a Canon body, or a Canon lens to an Olympus body.
Adapters range pretty significantly in price. You can get a bare-bones, third-party adapter that puts older Canon lenses on mirrorless bodies for barely over $50, but for $400, Canon will give you an adapter with a drop-in slot for neutral density (ND) filters. Other filters come with a control ring function, something present on the newest lenses.
All in all, there's something out there for just about all budgets and expectations. The most important thing to do is make sure you are purchasing the correct mounts (don't flip the mount numbers around!), because just about all manufacturers have changed their mounts over time.
Use for experimental/risky shots
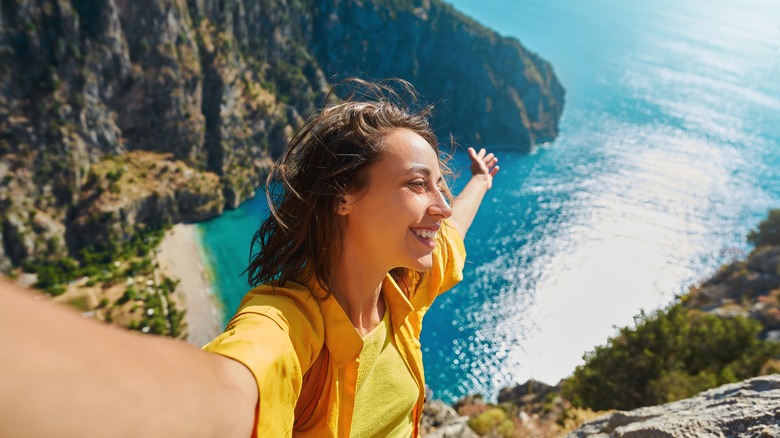
Look, you probably don't want to dangle your $2,000+ new camera (and a lens that might have cost even more) off the cliffside when you visit Angels Landing. You're putting way too much faith in that monopod, and it's a great way to ruin a Zion visit (for you and for the people below you). Why not hang on to your old gear for those high-stakes shots?
If you often find yourself putting your camera and lenses at risk while you're shooting, whether it's taking shots while hiking, wading in rivers or oceans, in the extreme heat or cold, or underwater, it may be worth utilizing your old gear instead. There are also a number of DIY lens effect tips out there that could harm your camera — notably petroleum jelly or water droplets on the lens glass. Rather than putting your newer or higher-shelf equipment on the line, reserve your photography hand-me-downs for these types of experimental shoots.
Save for spare parts
If you've got the savvy or the willingness to learn how to disassemble your camera for basic repairs, you could hang on to your old gear to salvage for parts if something breaks or wears out on your new one. Some things may not be compatible if you're not working with two versions of the same model, but you could pick apart the old camera for things like buttons, dials, casing, lens mounts, etc. Guides for more extensive replacements can probably be found online (like this Nikon motherboard replacement guide from I Fix It), and you may want to invest in some precision screwdrivers if camera repairs are something you plan to do at home. Some specialized tools, like a lens opener, lens vice, blower, and a workman's compass would likely come in handy, too.
If diving into camera repairs at home isn't something you want to tackle, hanging on to the old gear would still be a good idea. If you ever need to bring your camera to a local shop for repairs, having the old one for spare parts may save money and time.
Try out free-lensing
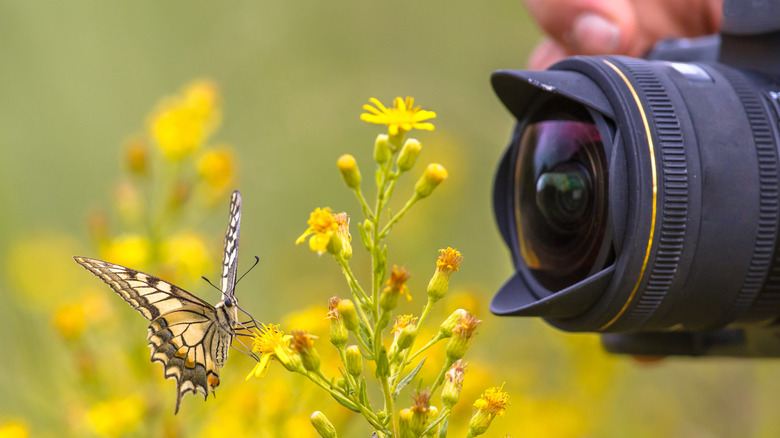
An old camera, even one that you don't have any compatible lenses for, is far from useless if you are interested in a new type of photography. Free-lensing just means that you are taking pictures without a lens attached to the camera. The results are soft, artfully blurred photos with a dream- or vintage-like feeling. It's commonly used for flower photography, but can be applied to anything you want, like shooting weddings. You may have to put quite a bit of practice in, but freelensing is a great way to get creative with blurring, vignettes, and light leaks.
You do need a lens for free-lensing, but it's not attached to the camera. Instead, the lens is held close enough to the sensor that you can focus through it. If the lens mount is not compatible with the body being used, you'll need to be familiar enough with ISO, white balance, and exposure for the shooting environment to make those settings without looking through the lens.
To take a free-lens shot, you'll set the lens to an infinity manual focus. You'll have to hold the body in one hand and the lens in the other, but you can use a tripod for stability if needed. There is a lot of creative freedom here; move the lens horizontally and you'll lose focus on the edges of the frame, tilt the lens vertically to move the focus up or down the photo, and move the lens further away to let more light hit the sensor. Practice will make perfect!
Craft a DIY microscope
Film photography changed the world of photography forever, and it's making a comeback as of late. If analog isn't your speed, you could still hang on to your old SLR if you're up for an interesting DIY project. According to Instructables, old film SLR lenses — and, theoretically, any lens could probably do this — can be turned into a microscope. We haven't tested this out, and aren't sure how much use you'll get out of a home microscope, but the process seems pretty easy.
To turn an SLR lens into a microscope, you remove the lens from the camera and fully extend it, then secure the extension with super glue. Instructables says you should then attach a handle to the lens if desired, then hold the lens to your smartphone camera to use it as a makeshift microscope. It's only as powerful as the lens, and really, we'd describe it more as a magnifying glass, but this could be a fun project to do with kids if you've got an old lens just serving as a paperweight right now.
Convert an analog camera into digital

As stated said earlier, film photography is still going strong, but if you absolutely have no interest in an analog camera, you could convert it to digital. There are kits said to be in development to help make this process easier, and will theoretically come with a sensor, module and backing, viewfinder, and other parts needed for the conversion (via Kickstarter). But even if you had the help of a kit, you would still need to have a collection of camera-related tools, like precision screwdrivers, on hand.
If you're familiar with Raspberry Pi, that's another potential route. You can develop customized film cartridges capable of allowing your analog camera to take digital photos and videos. This process is pretty involved, but if you're coming into it with some prerequisite Raspberry Pi knowledge, it should only take you a couple of hours. (Proceed at your own risk, though — we haven't tested this.)
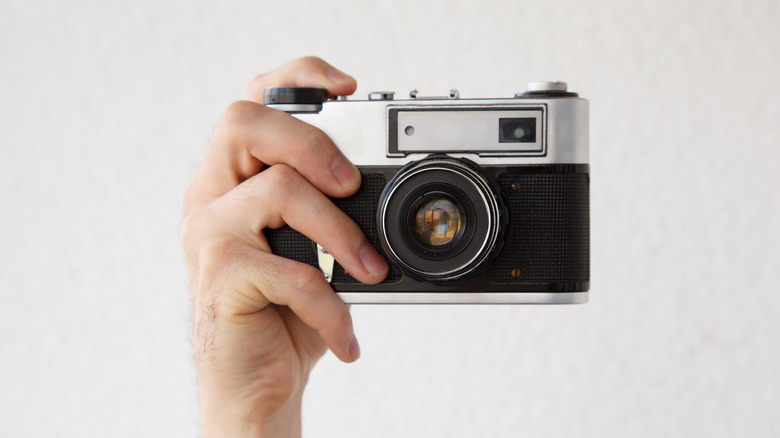
Embrace a new shooting style
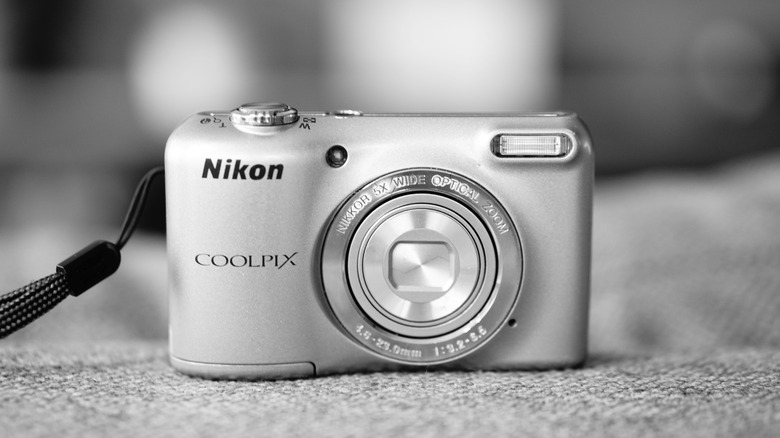
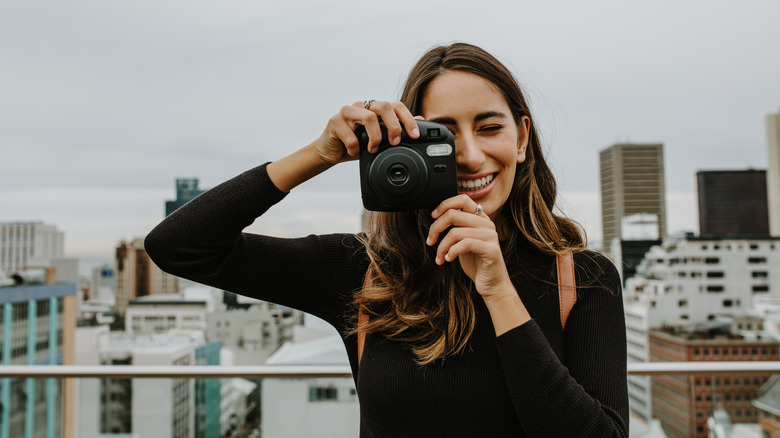
The great thing about trends is that they always come back around. Don't write off your old film, Polaroid, Kodak disposable, or old digital point-and-shoot like the Coolpix pictured just yet. It can be fun to bring older cameras along and get shots that aren't sharp as a tack or crystal clear. So-called vintage shooting mediums can add depth and intrigue to your collection after a shoot; shots that are blurred, differently toned, or imperfect in their own ways (as is the risk we run with disposable cameras, Polaroids, and film) can draw a lot of interest.
Especially if you're photographing weddings, your clients and guests will take delight in the novelty photos. Use an instant camera and drop Polaroids on guest tables, or hand out disposable cameras to guests and then give the film rolls to your clients to develop when you deliver their actual album. The crisp photos captured by your brand-new mirrorless camera are wonderful, but a little nostalgia never hurts.
Take in a mentee or donate old gear
Perhaps the next chapter of your old camera gear involves a different user. If you are a photography hobbyist, you may not have much interest in taking in a beginner photographer, friend, student, or child interested in photography as a mentee, but it could be good PR, and even a learning experience for you, too. Even if that's not the case, professional or otherwise, it may be nice to have an extra set of hands and someone to talk shop with.
Schools, art programs, and charities may also find use in your hand-me-down gear. The Film Photography Project takes old film cameras and film supplies, and donates the gear to schools. Photo Start accepts anything from cameras to lenses to grips, tripods, and lighting to give to children who want to learn photography throughout the U.S. and Kenya, South Africa, and Uganda. If you want to keep your philanthropic ambitions local, get in touch with your neighborhood grade schools, community colleges, or childcare centers. Even if their students aren't in need of any donated equipment, their marketing team definitely might be.
Turn an old DSLR into a webcam
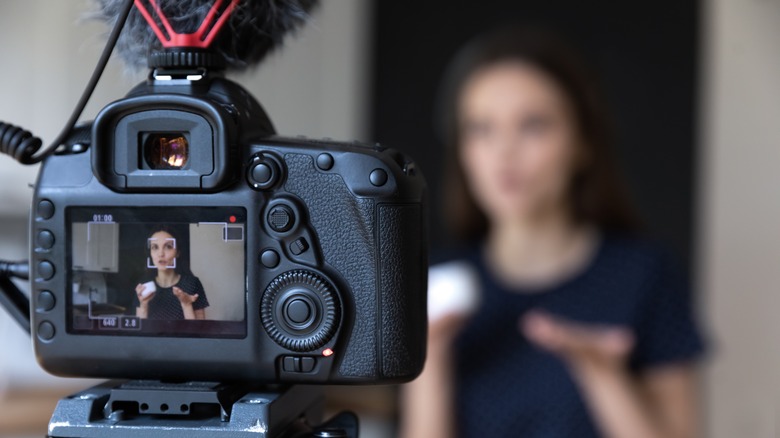
Whether you're in school and need a high-quality camera for video projects, work remotely and need a clearer image for Zoom conferences, or are breaking into the streaming and vlogging worlds, you're going to need a good webcam. Built-in webcam quality on most computers is no match for even a lower-tier DSLR and decent lighting. There are new attachable webcams out there you can purchase, but there's no reason to shell out the cash if you've got an old DSLR camera that needs to be put to use.
How worthwhile this is will also depend on what other gear you have on hand. You'll also need a capture card or device, a stock of batteries, external microphones, and mounts and lighting. The capture device is going to be important; it's needed to convert video and audio data into signals that your computer understands and can stream. The Magewell Pro Capture is about $300 at Adorama and is a well-rated choice, and if you'd like more guidance on setting up your DSLR as a webcam, there are many tutorials on the internet.
Rebuild an old DSLR into an entirely new camera
If you've ever been curious about capturing infrared light on your camera, it's possible with a rebuild. The way DSLRs are built includes a filter that prevents most infrared light from hitting the RGB sensor. Replacing the IR filter with one that blocks visible light instead would create a camera that only captures images in infrared light (this would actually technically be near-infrared, not to be confused with far-infrared, which is what is used for heat-based imaging). Pictures captured in infrared light are eerie and otherworldly, with often black skies, stark clouds, and deep red hues.
DSLRs could be capable of capturing both if you use a two-spectrum filter instead, meaning the only light blocked is UV. A full-spectrum camera would technically capture UV too, but UV light can be damaging to the sensor. You can then choose which light is filtered and which is captured by screwing a filter onto the lens. The downside is that removing the built-in filter and replacing it can be tricky if you're not comfortable with that kind of work, but Kolari Vision is a good resource for anyone diving into infrared photography.
Break into wildlife photography
Ever wondered what roams around at night in your backyard? You could try finding out by setting up your old DSLR as a wildlife camera trap. The idea is pretty simple: When the sensor detects an animal in frame, the shutter will fire. If you're confident that the camera won't be rained on, stolen, or otherwise disturbed, you could leave it for days, explains Digital Photography School. According to DPS, a good sensor for animal detection is a passive infrared motion sensor (PIR sensor), similar to what's used for motion-detected exterior lights. If you hope to capture animals at night, you will need to set up a TTL-wired off-camera speed light, too.
With nighttime wildlife shots, Digital Photography School recommends using aperture priority at a small aperture. With a larger depth of field, your animal is less likely to be out of focus if they're in motion or towards the edge of the frame. The settings will probably need some trial and error at first, and you may find that under-exposure is necessary to prevent images from blowing out or losing detail, but the right shots will capture the animals clearly with some of the background included, too. Image preview can be disabled to preserve battery life, but powering your setup may be the biggest challenge. Digital Photography School goes into depth on potential solutions.