Tips And Tricks For Your DSLR Camera You Need To Know

We may receive a commission on purchases made from links.
The camera and photography industry is swiftly evolving. The same innovators that bring us the latest and greatest are also the swiftest and most unrelenting hand in determining those same cutting-edge developments obsolete. Canon alone, arguably the most prolific manufacturer in the field, cranked out at least one new model per quarter this year, and they're not done. The brand even announced in late 2021 that it's bringing the axe down on DSLR cameras altogether, bringing almost two-and-a-half decades of digital SLR development to a bitter end (via PetaPixel).
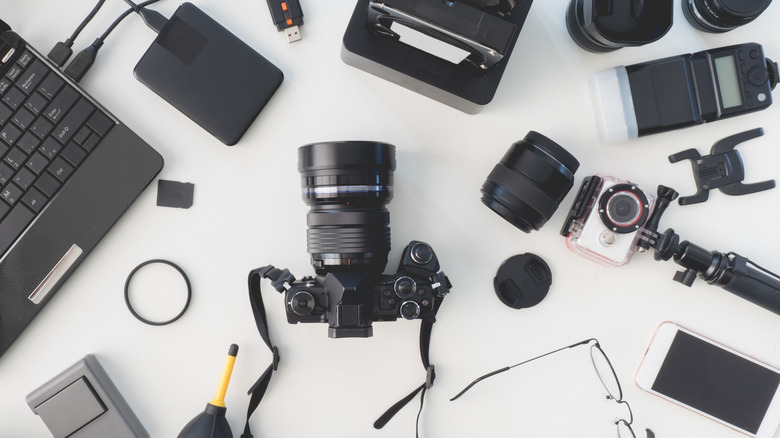
However, if you've been in photography for any longer than a couple of years, there's a good chance that a stockpile of DSLR accessories still sits in your armament. And in fact, just because there will be a day in the near future when factory-fresh DSLRs become extinct, that doesn't make starting off with a DSLR a senseless move for beginner photogs. Many DSLR models are absolute workhorses of a camera that will faithfully serve you for many, many years to come. Whether you're just opening up your first-ever camera kit or are just looking to refresh your DSLR know-how after falling complacent with a mirrorless model, here is a comprehensive guide to everything you need to know about DSLRs: using them, maximizing them, and preserving their relevance long after their own makers deem them dead.
Steer clear of off-brand batteries
Among any crowd of photographers, it's guaranteed that you'll encounter at least a few who say they've been using off-brand DSLR batteries for years with no incident. As tempting as the lower price point may be, we urge you not to buy into that confirmation bias — there is a chance you pay the price with the health of your camera. While a few third-party brands out there aren't seeking to inflict destruction on your camera and your wallet, there are plenty of embarrassingly low-quality clones in the mix to drown them out. Just take it from the numerous frustrations expressed in user reviews of cheap third-party batteries shared on Amazon.
The thing is, you're not entirely doomed by using a third-party battery, and many photogs might brand you naive for shelling out for a name-brand one. If you've got the time and resources to shop around, reliable third-party brands do exist (via Expert Photography). The best-case scenario in using off-brand batteries is that your camera is fine, but can't hold a charge to save its life. You might also end up with third-party batteries that annoyingly don't fit your manufacturer's battery charger, so you have to keep up with an entirely different setup. The battery may go kaput after just a few charges. On the other side of the coin, you might be gambling some major repairs for your camera. Off-brand batteries have been reported to heat up and swell while in the camera — thus becoming lodged inside and unable to eject (via Reddit). The chances are slim, but why risk it?
Always shoot in RAW format
So first, let's cover what the difference is: a RAW image file is one in which all of the data is preserved when a picture is taken. Nothing is compressed or omitted. JPEG images, while smaller and easier to manage if you aren't equipped to cull large amounts of large files, compress and omit image data. Basically, when your camera is set to write JPEG files, you're leaving it up to the camera's brain instead of your own to decide which information is worth preserving and what can be tossed.
Especially when using a DSLR camera that may not perform well in low light or other inopportune shooting environments, RAW image files will be your best friend in preserving the sharpness, highlights, and shadows of an image. This is because 8-bit JPEG files only contain 256 RGB color levels, while 16-bit RAW images are capable of an RGB spectrum of over 65,000 color levels (via Nikon). Not only are you able to capture brighter highlights, but you'll be more powerful in editing with more fine-tuned increments between brightness adjustments.
Additionally, when RAW files are imported into an editing program like Adobe Lightroom, the data of the image is replicated, altered, and saved as a new file. Unless JPEGs are not actively duplicated before you save changes, you're pitching the data and compromising the quality of the JPEG with each new version saved.
Don't sleep on the semi-auto modes
It's likely, if you're a photography beginner, that you've been advised to "start in auto." In fully automatic mode, DSLR cameras are instructed to choose what is assumed to be the ideal shooting settings — shutter speed, aperture, and ISO — based on data received by the camera's sensors and what it detects you're trying to focus on. Generally speaking, the goal is to work out of automatic into fully manual mode, but this doesn't have to be a direct leap.
Most DSLR cameras offer two rungs to support you on the climb to fully manual: aperture priority mode, and shutter priority mode. Aperture priority will appear on your DSLR's dial as A or Av; this mode gives you control over the aperture, while the camera automatically determines the shutter speed. The photographer then holds one of the most powerful tools in shooting: Aperture is the difference between sharp or fuzzy landscapes, and beautifully blurred or disappointingly flat portraits. On the other hand, let's say you'd like to photograph a track meet, but are struggling to land the right settings. Shutter priority mode might appear on your camera's dial as AE (meaning auto exposure) or Tv mode. In shutter priority mode, you decide the speed of the shutter — which would be quite high to freeze a runner in motion, for example — while the camera handles the rest.
Manual mode is the zenith of freedom in shooting, but if you're not quite there, give these two intermediate modes a shot.
Carry paint swatches to optimize white balance
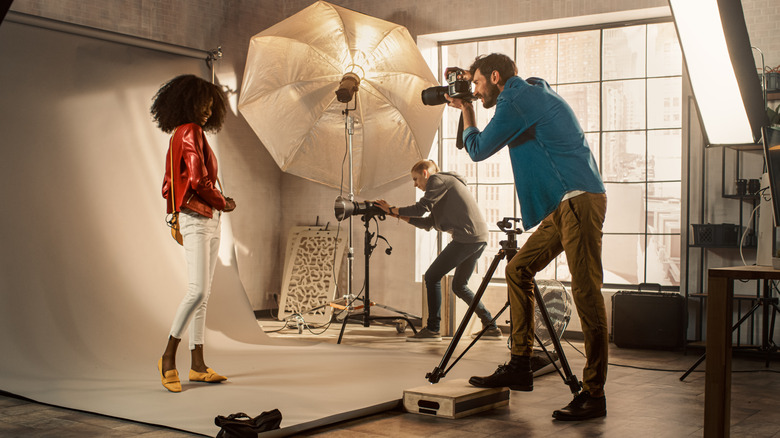
Indoor photography can be tricky with a DSLR, since your adjustments to the settings aren't seen in the viewfinder in real-time like with a mirrorless camera. For instance, let's say you're shooting real estate. Your picture of the living room looks perfect, but using the same settings when photographing the kitchen just doesn't seem to work. Artificial lighting is almost always the culprit in throwing off the temperature (how "warm," or yellow-tinted, vs. how "cool," or blue-tinted your photo appears) as you move from room to room.
The term to describe this is white balance, and an off-kilter white balance might make skin tones look jaundiced or purplish-pale, as well as skewer the whites and highlights in your image. If you're not super familiar with white balance yet and try to adjust it manually, you may thwart the temperature even further. A good way to recalibrate the white balance is to look at a white surface through your lens and adjust the balance tick by tick until pictures of that surface look like a pure, neutral-temperature white. With mirrorless cameras, you'd be able to see this adjustment in real-time, but with DSLRs, you will need to take pictures to see your adjustments. Walls are a great example of surfaces to use, but walls are usually more of an eggshell, cream, or off-white color. This is where a paint swatch of pure white comes in handy. Just throw it in your camera bag, fill the frame with the swatch when you need to calibrate the white balance, and alternate between test pictures and adjustments until you're satisfied.
Format your memory cards regularly
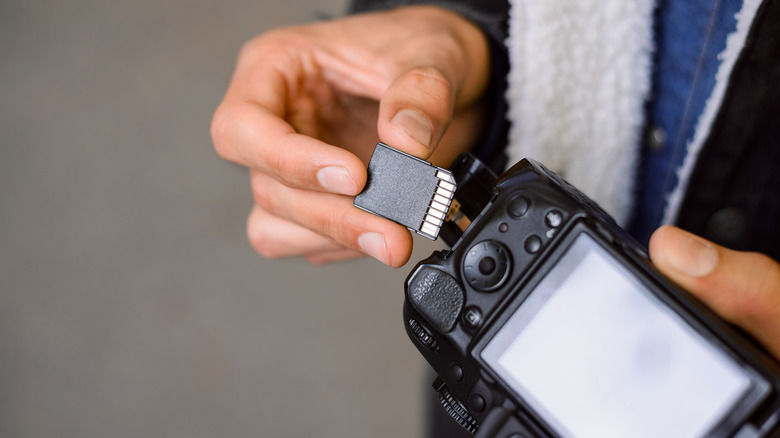
It seems we photographers forget how imperfect SD cards can be until we are suddenly forced to deal with the consequences. The memory cards used in DSLR cameras always have the chance of sputtering out when you need them the most, and while there are times when extreme measures (usually expensive recovery software) will restore those corrupted files, there are also times when your images and hard work are just lost.
Reformatting a memory card is good preventative care to make sure you don't fall victim to this. Doing so wipes the card clean of all existing data. Cards can be easily reformatted while in your camera, and should be done if any of these criteria apply: the existing files have been securely backed up elsewhere and you are confident that nothing still on the card is needed, you are headed to a new shoot, your camera is giving error messages for the card or you have other reason to suspect it's not functioning properly, or you've been using the card for a while without formatting. SD cards can withstand hundreds if not thousands of reformatting cycles, so feel free to do this liberally. Just be sure to always check through the card's contents in your camera preview to make sure precious memories aren't about to be wiped forever.
Save your common shooting scenarios under a custom function
If you are a photographer who frequently shoots indoor portraits with studio lighting, your most frequently used combination of settings will look different than someone who most often is outside capturing pictures of birds. It's also unlikely that any of the shooting modes default to the exact shutter speed, ISO, and aperture that you tend to choose. That is why most DSLRs (likely excluding the lowest-end and earliest models from each brand) offer at least one or two custom shooting mode buttons to which you can save your preferred settings.
Exact labeling and location in the settings may vary based on your DSLR's make and model, but the custom functions are likely to appear on the shooting mode dial as C1, C2, C3, etc. Instructions for configuring a custom mode can be found in the user manual or by searching for tutorials online, but the process is usually very easy — it often involves setting your camera to the specifications you wish to save, and then finding a tab labeled something like "custom shooting" within the menu.
Utilize subject tracking and half-depression focus
Lesson one of Photography 101 is to press the round button to take a picture, right? Some beginner DSLR users may not know that pressing down only halfway on the shutter button activates useful focusing tools. What is automatically programmed into the camera and what has to be set up in the settings will depend on your make and model, but major manufacturer DSLR cameras come with the function to lock in the focus when the shutter button is held halfway down. This means that if you lock your focus on, for instance, your dog, the dog will remain in focus even if it moves around within the frame. Fully depressing the button will take the picture, while releasing it will release the focus lock.
This function comes in handy for any kinetic and unpredictable shooting environments, like wildlife and sports. If you are at a basketball game and want to take a picture of a particular player, but another player steps into frame closer to you, the automatic focus would assume you want to focus on the closer subject. If your player had been locked into focus, you could photograph them with the closer player out of focus. By utilizing a DSLR's subject tracking features, you can capture images in swiftly-changing scenarios with greater depth and interest, where your focal point isn't at the foremost spot of the picture.
Adjust your camera to shoot without eyeglasses

Glasses wearers know how much of an annoyance trying to see through the lenses of glasses and the lens of a camera can be. Some DSLR users may not be aware of the dial on their camera that can help with this struggle — called the eyepiece diopter adjuster. This dial is tucked up by the viewfinder (on our Canon models it's almost entirely obscured by the viewfinder's cushioning), so it's definitely easy to miss. The range of this adjuster is usually around +5 to -5 or less. It's likely to cover most of the spectacle prescriptions within the middle of the bell curve. Unfortunately, if you have a particularly strong or otherwise out-of-the-ordinary type of eyeglasses, it might not work for you.
If adjusting the diopter dial doesn't do much for you, there are a few ways you might make wearing your eyeglasses while shooting more comfortable: Removing the rubber cushion around the viewfinder, using extended eyepieces to look into the viewfinder from a few more inches away, or utilizing the live view on the back screen instead of the viewfinder may help.
Save strain on your future self by rating images
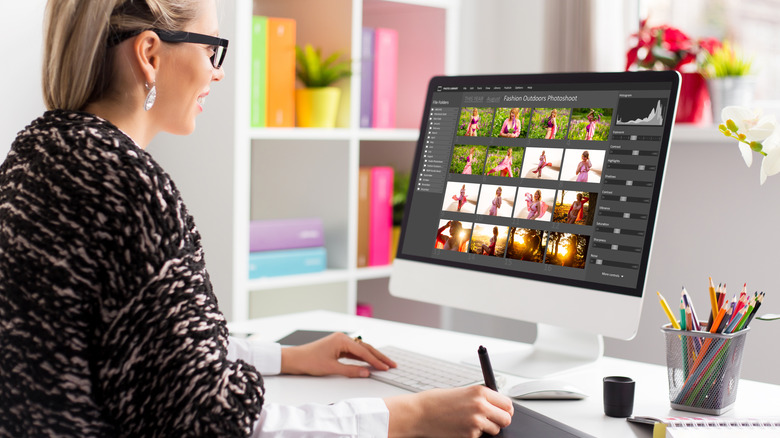
As a photographer, there is little that will exhaust you more than flicking through thousands of images that vary by just the tiniest degree in your post-processing software. A tiny bit blurry here, an unfortunately-timed blink there ... it is time-consuming and tiring to sort through. Most processors, like Lightroom, have the option to apply a rating (on a scale of one to five stars, in the case of Lightroom and most others) to your images while culling. This comes in handy if, for example, you need to deliver 20 prime shots for a project, so you need to reach 20 five-star photos, but would like a group of four-star backups in case more options are needed. The organization is incredibly helpful: You can then filter or sort the images by their ratings.
You may decide that setting the superstar shots apart from their not-so-great counterparts is easier in spurts while shooting. On most DSLRs, you can apply a rating directly in the camera, so you could take a quick break every now and then to throw a rating on your heck-yeahs and your absolutely-nots. Depending on your personal preference and the type of photography you do, this might also help to show your client the photos while still at the shoot and let them mark their favorites with five stars.
Don't be a servicing cheapskate
The days of hot-off-the-press DSLR cameras are numbered, so you need to take every precaution in preserving your camera for as long as possible (mirrorless bodies certainly aren't getting any cheaper). A critical part of this will be regular professional servicing. Currently, DSLR users hold the advantage that any camera servicer, whether licensed by a manufacturer or not, is likely going to be far more familiar with the ins and outs of a DSLR camera than a mirrorless, so you could probably rest assured that your gear is in good hands. We aren't advocating for going to unlicensed servicers, though.
As Nikon explains, maintenance servicing should be done every one or two years (depending on how much you use your camera) and ensures that a camera has been thoroughly cleaned, calibrated, and inspected. Think of your DSLR like your vehicle — each click of the shutter is like racking up another mile driven, and your camera's sensors and mirrors will accumulate grime and dust, or wear out. Major brands offer in-house servicing that usually takes only a few days and likely won't cost more than $100-$150, unless a need for repair is noticed. In the moment, it may feel like a hassle, but you'll appreciate the proactivity in the long run.
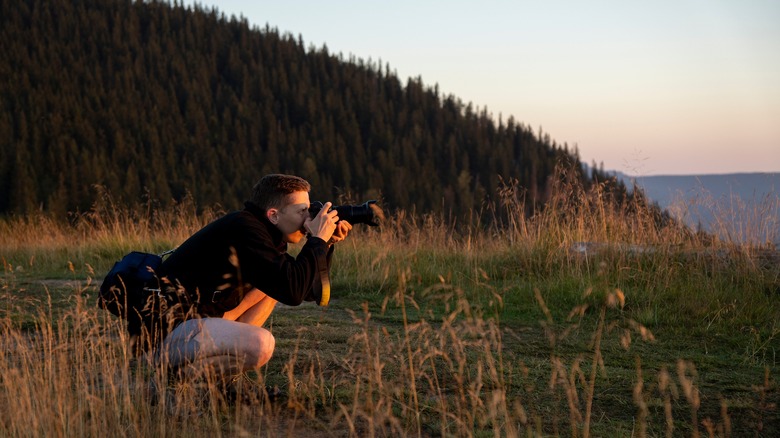
For adventure photographers, invest in quality camera protection
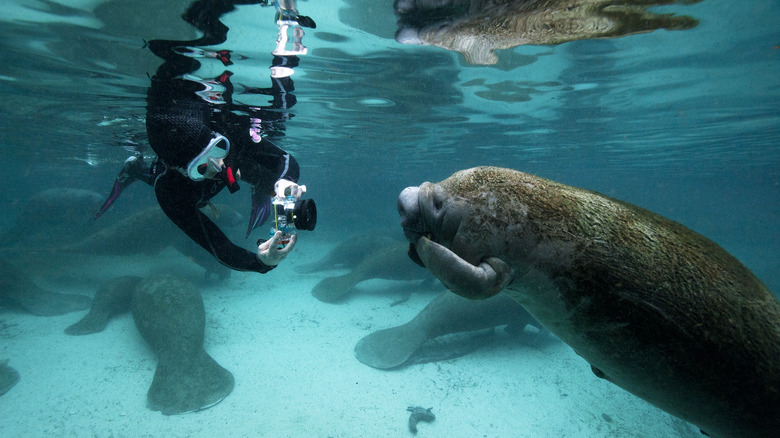
Okay, so it's pretty obvious that you can't take an unprotected DSLR scuba diving, and most of us aren't going to sink a couple of grand into best-of-class underwater housing for our cameras. But, if you do even a moderate amount of risky photography — out on boats, on beaches, rock climbing and hiking, or even just outdoors where you could be caught with your gear exposed — it's still smart to have precautions in place for when (but hopefully if) things go wrong.
If you switch out the straps on your camera, double and triple-check that the new straps are secure and reliable. For some cameras, the space afforded by the strap anchor is too slim and the strap's metal clasp can't close entirely through the gap, leaving your camera vulnerable to dropping. For photographers that do a lot of outdoor, daytime shooting, always have lens hoods and polarizers handy. These things won't be foolproof protectors against major impacts to your lens, but they help protect the glass from sand and blowing debris, moisture like ocean spray, and light to moderate impacts and scratches. And lastly, a rain cover, while definitely a cumbersome and at times annoying thing to carry, will help protect your camera from devastating water damage caused by rain. Better safe than sorry!