How To Set Up Your Own Raspberry Pi Web Server (And Why You Should)
Every Raspberry Pi owner knows the diminutive device can do nearly anything tech-wise. From replacing your slow PC to improving your hangout space with mood lighting and more, a Raspberry Pi is a wise investment for techie DIYers. Once set up, there's one function that can handle an enormous variety of tasks both online and off.
If you're contemplating using your Raspberry Pi to create a web server, it may help to know that it's quick, easy, and — in most cases — free. If you're on the fence, read on for a few reasons why it's worth setting up a web server with your Raspberry Pi.
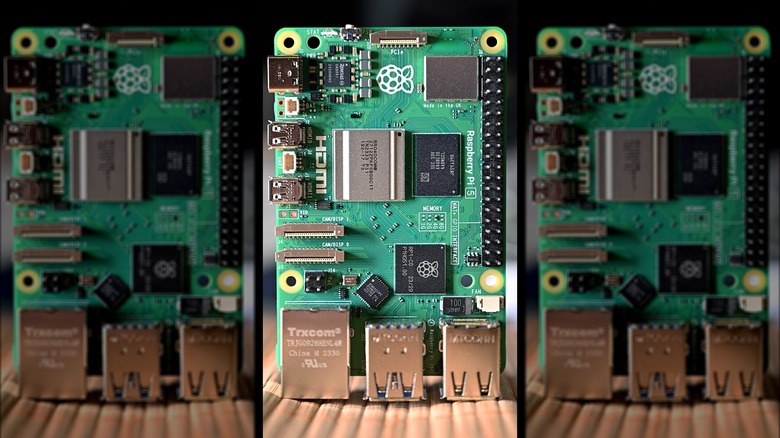
These instructions work with any up-to-date Raspberry Pi, though there are noteworthy differences between the 4 and Model B+. As with any other Pi project, the best practice is to update your system before setting up a server to avoid security issues and minimize workarounds.
What is a Raspberry Pi server?
A Raspberry Pi is useful for many different functions, and there are many cool things you can make with a Raspberry Pi with some time and equipment. If you're ready to venture beyond kitschy projects and want to make your Pi work harder for you, using it as a server might be the ideal next step.
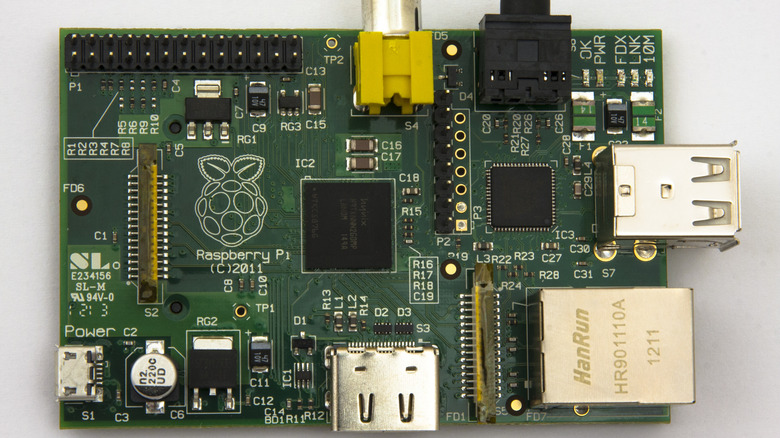
Raspberry Pis are handy as servers because they don't use a ton of power, don't require peripherals for many functions, and are affordable. A Raspberry Pi 4 Model B starts at around $35, much cheaper than most packaged server setups.
Of course, any Raspberry Pi device can function as a server (even an older model), but you can also link multiple Pis for different tasks. A server can make your files more easily accessible, automate processes, run background applications (like ad blockers), maintain VPN coverage, and more. However, connecting your Pi to the web gives it even more functionality.
This guide will cover setting up a single web server and linking your Raspberry Pi to the Internet via your home network. You'll reap the benefits of a home network and be able to host publicly accessible sites and resources.
Choose your Raspberry Pi server type

Setting up your Raspberry Pi as a web server means it will connect to the internet. However, if your goal is an in-home network server — a local server — a web server may not be necessary. A Network File System (NFS) allows you to host files for your home network without involving the World Wide Web.
Many Pi owners find that a local server is all they need, but there are scenarios where it makes sense to go through the web server setup. For example, if you want to host files for public access, a web server makes more sense than a local server. A web server makes the most sense whether you want to host your professional portfolio online, share files with friends (and strangers) for a special interest, or even earn cash by renting server space.
Raspberry Pi isn't limited to a single server application, but the most popular and easy to install seems to be Apache. Apache has been around since 1995 and caught on the next year.
Despite being around since the advent of the Internet, Apache has since evolved and is just as popular today, making it the perfect solution for transforming your Raspberry Pi into a web server.
Install Apache (the easiest web server) on Raspberry Pi

Apache is one of several open-source web server applications compatible with Raspberry Pi. It's easy to install and might be the most popular web server app. According to W3Techs, 30.2 percent of known web servers use Apache.
Once you realize that installing Apache is nearly as simple as entering one command, it makes sense that it's the top-rated option for making your Pi a web server. There are a few follow-up steps, but your first move is to navigate to the terminal and enter the command sudo apt update to get the most updated packages available.
Next, you'll install Apache: enter sudo apt install apache2 -y into the terminal. While it's possible for things to go wrong (for example, if your software isn't up to date), this should be the only step needed to initiate Apache.
Once installed, Apache places an HTML file in the web folder for testing. The test file lets you confirm that the server is functional.
Test the web server

Before going any further, test to make sure Apache is working. You'll navigate to the default web page to see if a success message appears.
On any device in your network, navigate to your Raspberry Pi's IP address; enter http:// then the IP address into your address bar. Alternatively, on the Pi itself, navigate to http://localhost/ to check for the confirmation page.
If everything looks good (the web page will declare "It works!"), you're officially online. Then, you can edit the HTML files to load your content. To do this, locate the HTML file at /var/www/html/index.html, then use a command to change ownership from the root user to your username.
The command to insert your username is $ sudo chown : index.html
After using the command, refresh the page, then add your HTML files. From here, you can build a website or add files to share online.
Install PHP for Apache
You can easily create a web server on Raspberry Pi with HTML, but an additional step is required if you want the server to process PHP files. Without the PHP installation, your server can only process HTML files, which isn't necessarily a negative.
Deciding whether to install PHP for your Pi depends on what you hope to accomplish with it. HTML can do many things, from indicating colors to formatting text, but PHP is a bit more complicated. PHP is more dynamic and handy for sending emails, downloading files, and more, but it's not necessary for a web server.
If you do want to install PHP, RaspberryPi.com gives simple instructions:
First, install the latest version by using the command sudo apt install php libapache2-mod-php -y
Then, remove the index.html file with sudo rm index.html
Create the index.php file with the command sudo nano index.php
Finally, add some content and test things out.
[Featured image by Kristian Mollenborg via Wikimedia Commons | Cropped | CC BY 2.0 DEED]
Designate a static IP address

Now that everything is connected and functioning, there are a few more steps to ensure your Raspberry Pi performs reliably as a web server. The first is to maintain a stable connection to the internet via your Pi.
If you're connecting your Raspberry Pi to the internet, establishing a static IP address ensures that your connection is consistent. Without a static IP address, it could change each time the Raspberry Pi connects, which is not good for visitors (or you) accessing the server from outside your home network.
A simple way to use a static IP is to connect your server to an internet service with a static public IP address, but that's not something most residential internet users have. The alternative for setting up a static public IP address is dynamic DNS (DDNS). This might involve a fee (though there are some free DDNS services), but if you're hosting a website, the investment may be worth it.
Setting up a private static IP address is simpler. The basic process is the same, but each router has different labels and settings. You'll manually configure the API, and there should be a checkbox with the option to use the same IP address each time you connect.
Secure your Raspberry Pi

Connecting to the internet always invites some risk, but with a Raspberry Pi web server, other devices on your network are vulnerable without the right security measures.
Securing your Raspberry Pi involves multiple steps and precautions, but most are common for any device — web server or otherwise. Regular updates are essential, so check that your Raspberry Pi has the latest OS via the terminal by using the command sudo apg-get update && sudo apt-get full-upgrade
Using strong passwords, creating a unique username, and installing a firewall are other measures to help protect your device and data. Careful configuration can also help avoid security risks, though most Pi users will have already covered these steps.
For example, enabling SSH to access your Raspberry Pi remotely (the default is SSH off) can pose a security risk. Raspberry Pi recommends enabling SSH only if you have a secure password for each user.
[Featured image by Michael Foertsch via Wikimedia Commons | Cropped | CC BY-SA 4.0 DEED]
Connect your web server to the internet
The final step in launching your Raspberry Pi web server is connecting it to the internet. This step makes your server discoverable to anyone online. Once you've upgraded your Raspberry Pi's security and set up a static IP address, you're ready to go online.
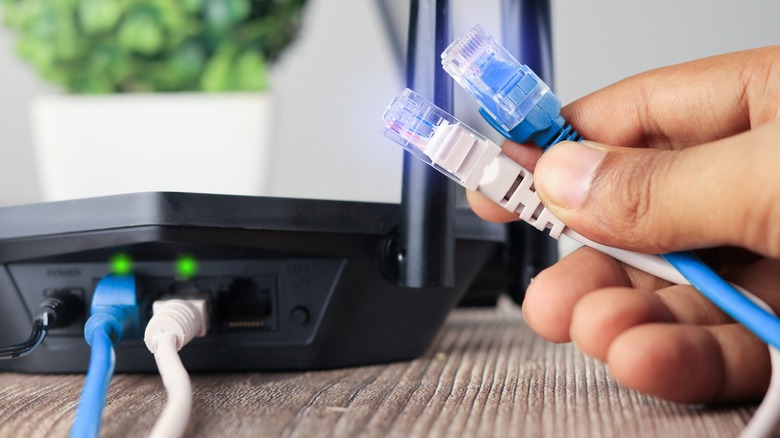
Navigate to your home router's home page and find the settings for Virtual Server or Port Forwarding. There, you'll enter the service type (HTTP), external and internal ports (both 80), the internal IP (your Raspberry Pi's IP), and TCP for the protocol.
These settings ensure that any time there's an incoming request on the public IP, it is sent to the Raspberry Pi. You can also sign up for a free (or paid) domain name to bind to your public IP address. Depending on what you're hosting, a domain might be essential (a professional website), whereas it's optional for more casual uses (sharing with friends).
Navigate to your domain provider to update the record; the exact steps vary by provider, but the "point to" address should be your static public IP. The good news is that if you purchase a domain, you'll likely have access to support for this step, at least!
Why set up a Raspberry Pi web server?
If you've made it this far, you probably recognize the benefits of setting up a Raspberry Pi web server. A web server gives you all the benefits of a local server and allows you to host files — including websites — from your home network.
The benefits of a local server are broad and varied; you can run processes without slowing down your main computer, back up files, photos, videos, and other media, and connect to and manage other devices (like a 3D printer or smart home equipment). A local server can even protect against nefarious internet characters if you use strong passwords and back up all your devices' content to the server.
So why make your Pi a web server rather than a local server? The ability to access your home files from anywhere is a clear perk. Yet the most common use is for web hosting, whether a single-page resume for professional purposes or a full-on website that sells a product or service.
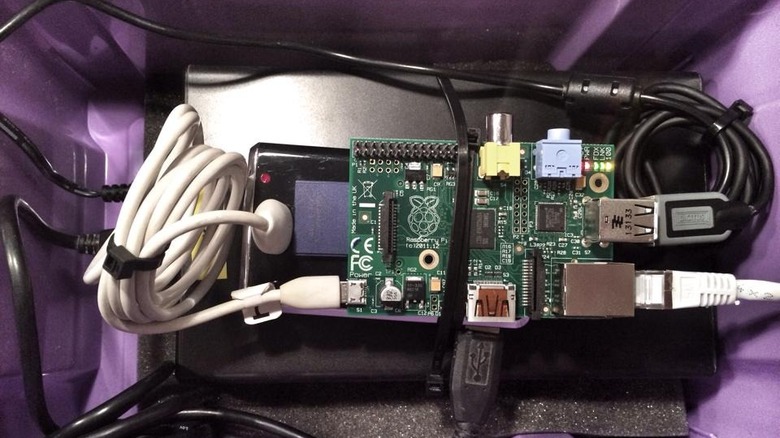
[Featured image by SimonWaldherr via Wikimedia Commons | Cropped and scaled, mirrored | CC BY 4.0 DEED]
A Raspberry Pi web server can host websites for free

If you've ever had a website or thought about setting one up, you'll know that it can get expensive fast. There's no hosting cost with a Raspberry Pi web server since you don't need an external service (in most cases).
That said, you do have to purchase a domain or find a free one to set up a website. Depending on your setup, you could host multiple websites and run various processes through your web server.
However, there are limitations to how many websites a Raspberry Pi can host. Capacity depends on your internet speed and bandwidth, website size and visitor count, and whether bots, as well as human visitors, discover your site.
Whatever your server's capacity, you'll want to avoid overclocking your Pi regardless. This might be why most Pi owners have multiple servers, each for a distinct purpose (and not all web servers, either).
Investing in Raspberry Pi accessories like a fan and proper power supply helps your Raspberry Pi perform its best whether you're hosting websites or streaming from your collection of movies.
Your Raspberry Pi becomes its own cloud service

Once your Raspberry Pi is converted to a web server, you can access it from anywhere and allow others to do the same. Practically speaking, a web server (private or public) becomes your own cloud storage. The benefit is that you control the server's security versus entrusting your data to a company (and for a fee).
With the help of some additional software, your Pi can also function as a smart TV to play either downloaded shows from your server or media from a streaming service. One of the most popular web server uses involves media storage, but there are specialized applications, too.
For example, if you like to game online and host a server, your Raspberry Pi can keep hosting even after you've logged off. Whatever you decide to do with your web server, the main benefit is that you own and manage it all. While that comes with a heavy dose of responsibility, it means you're not beholden to a set of terms and conditions, nor are you reliant on someone else for privacy and security.
A Raspberry Pi web server is cost-efficient
While a Raspberry Pi can be hard to find due to high demand, the price is almost always right. With devices starting around $35, there is no cheaper way to dabble in web server development.
Especially for technology lovers who are still learning, setting up a Raspberry Pi may be more rewarding than buying an out-of-the-box server, but it's also less expensive. You can buy multiple Pis for the cost of a Lenovo or Microsoft server with similar RAM (though capacity ranges higher in other server packages).
Not only are startup costs lower with a Raspberry Pi, but cloud storage subscribers can also eliminate that expense. The same goes for hosting if you already pay for services, whether you host websites, gaming servers, or anything else.
Turning a Raspberry Pi into a web server may be a niche pursuit, but that doesn't mean it's not worth doing if you fit the profile.