Xbox One X Teardown And Unboxing
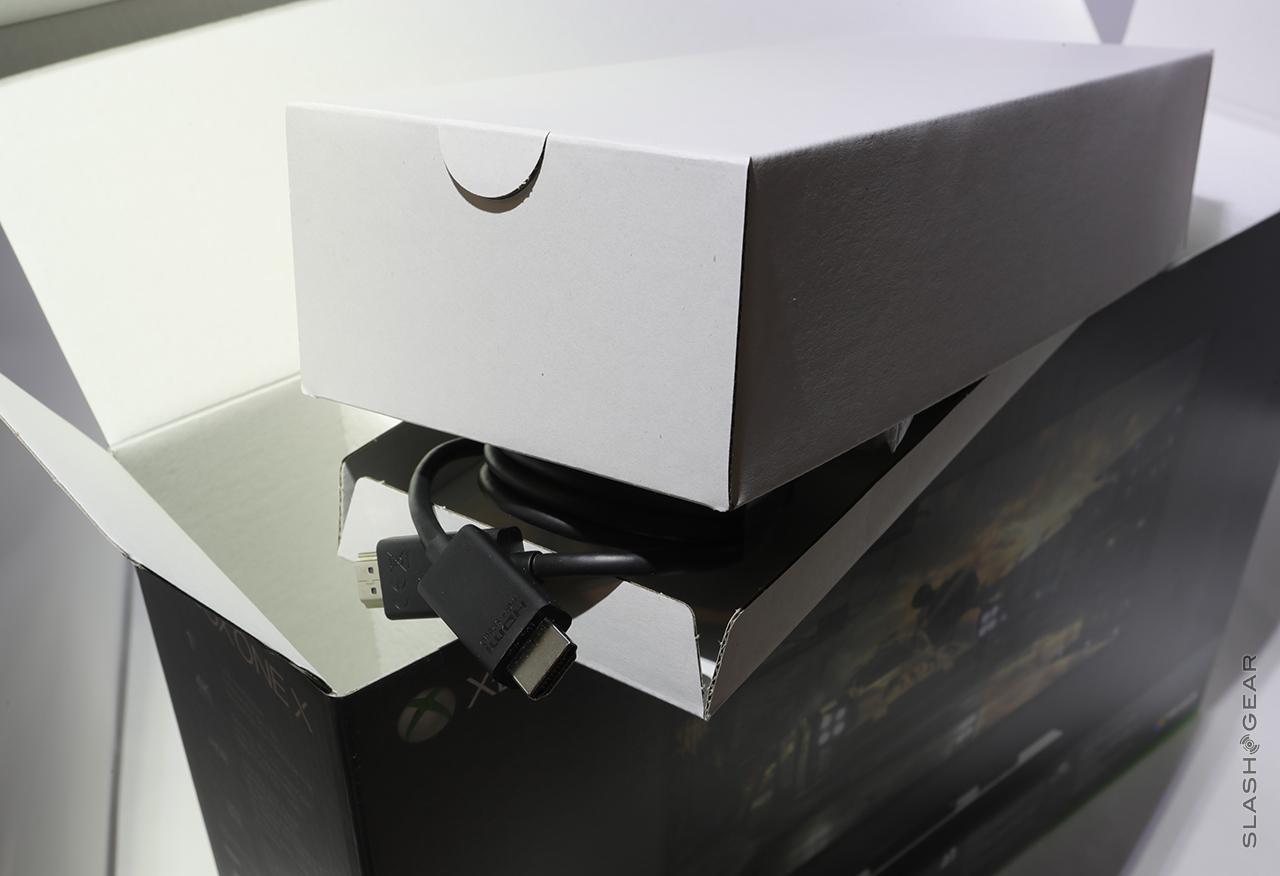
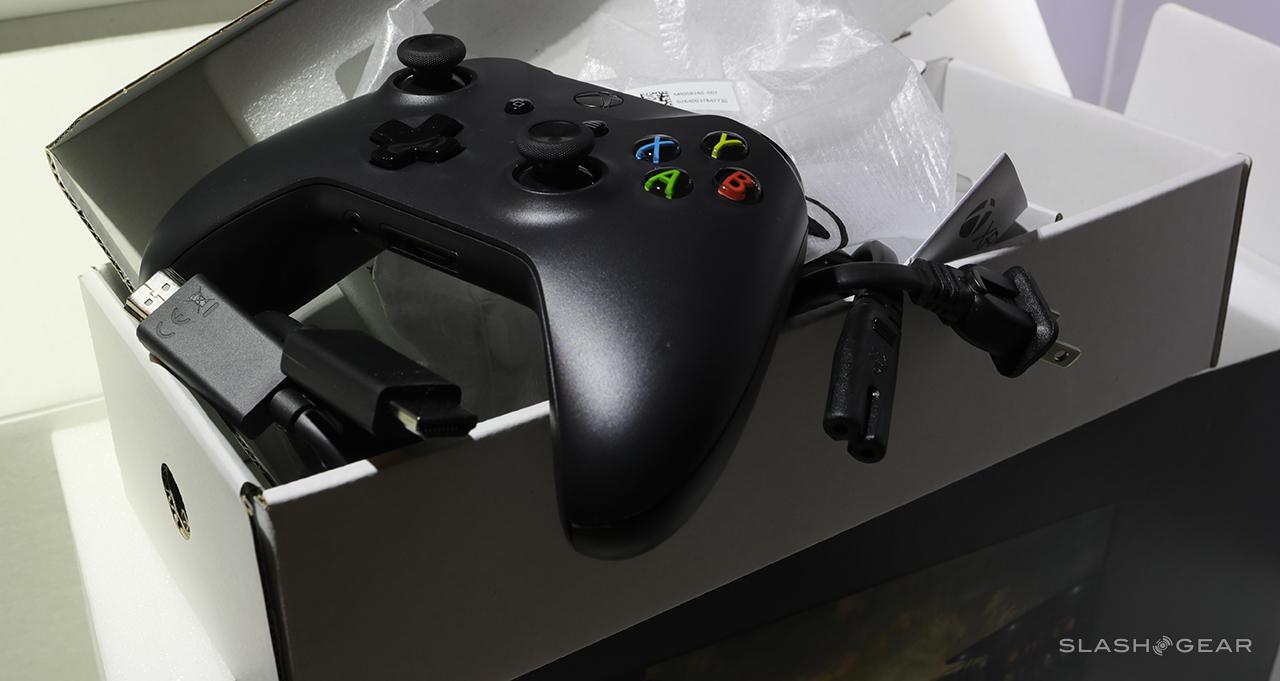
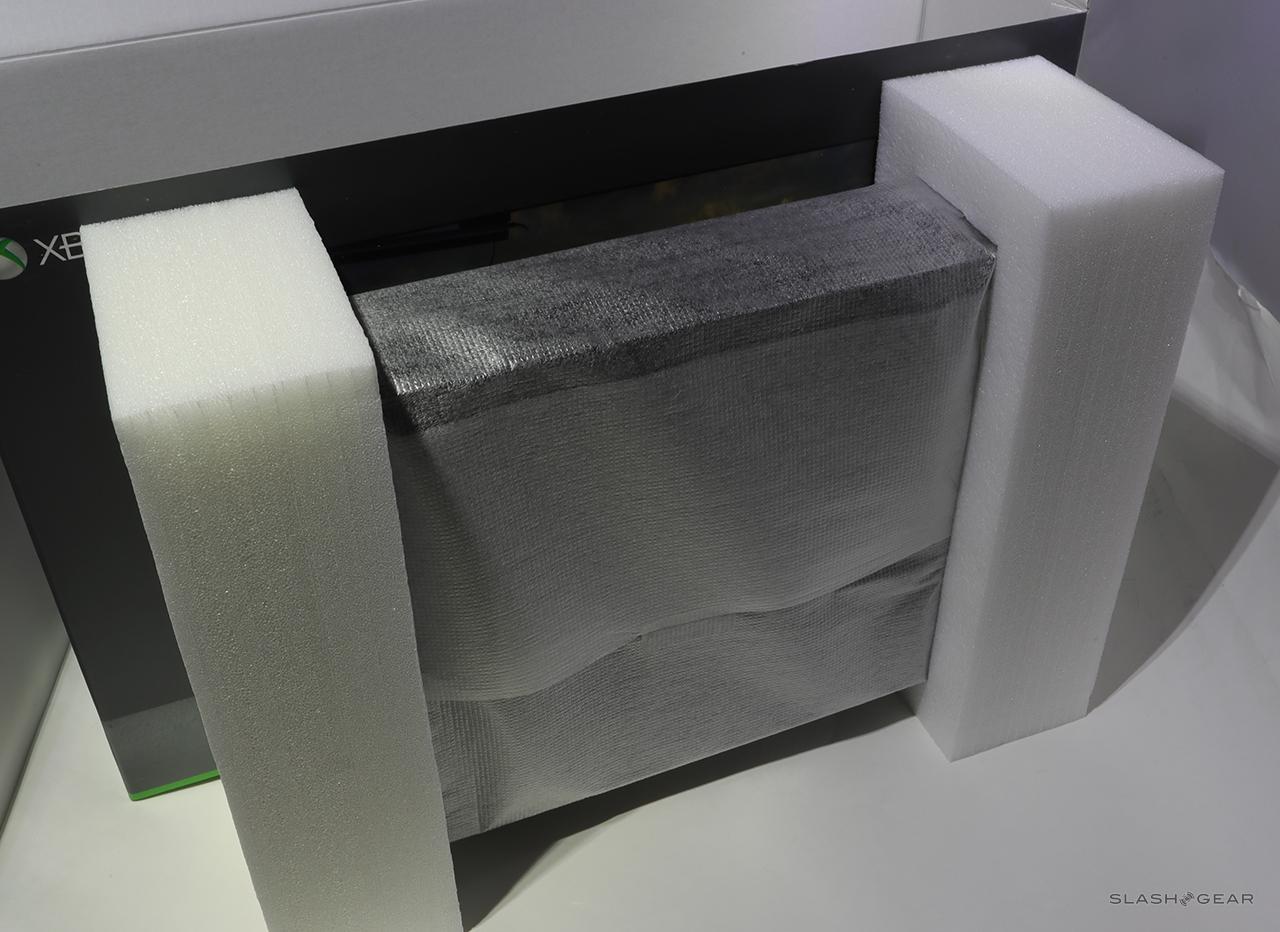
Now that we've got our very own Xbox One X, we're unboxing it, piece by piece. But we're not stopping there. We're going deeper, under the outer encasement into the guts of this machine. This unboxing and teardown of the Xbox One X precedes our full review which will quite possibly have appeared by the time this article is read by you in the future – look up SlashGear Xbox One X Review to be sure!
Before we go anywhere, take heed: tearing down your Xbox One X is not a good idea. Doing so will void your hardware warranty and likely any other sort of warranty you might have. Tearing down this Xbox One X, an average everyday person stands a good chance of ruining the whole machine.
It may look simple here, but it's really, truly not worth the hassle unless you absolutely MUST make it happen. But you've gotta do what you've gotta do. SlashGear takes no responsibility for whatever that might be – stay safe!
Externals
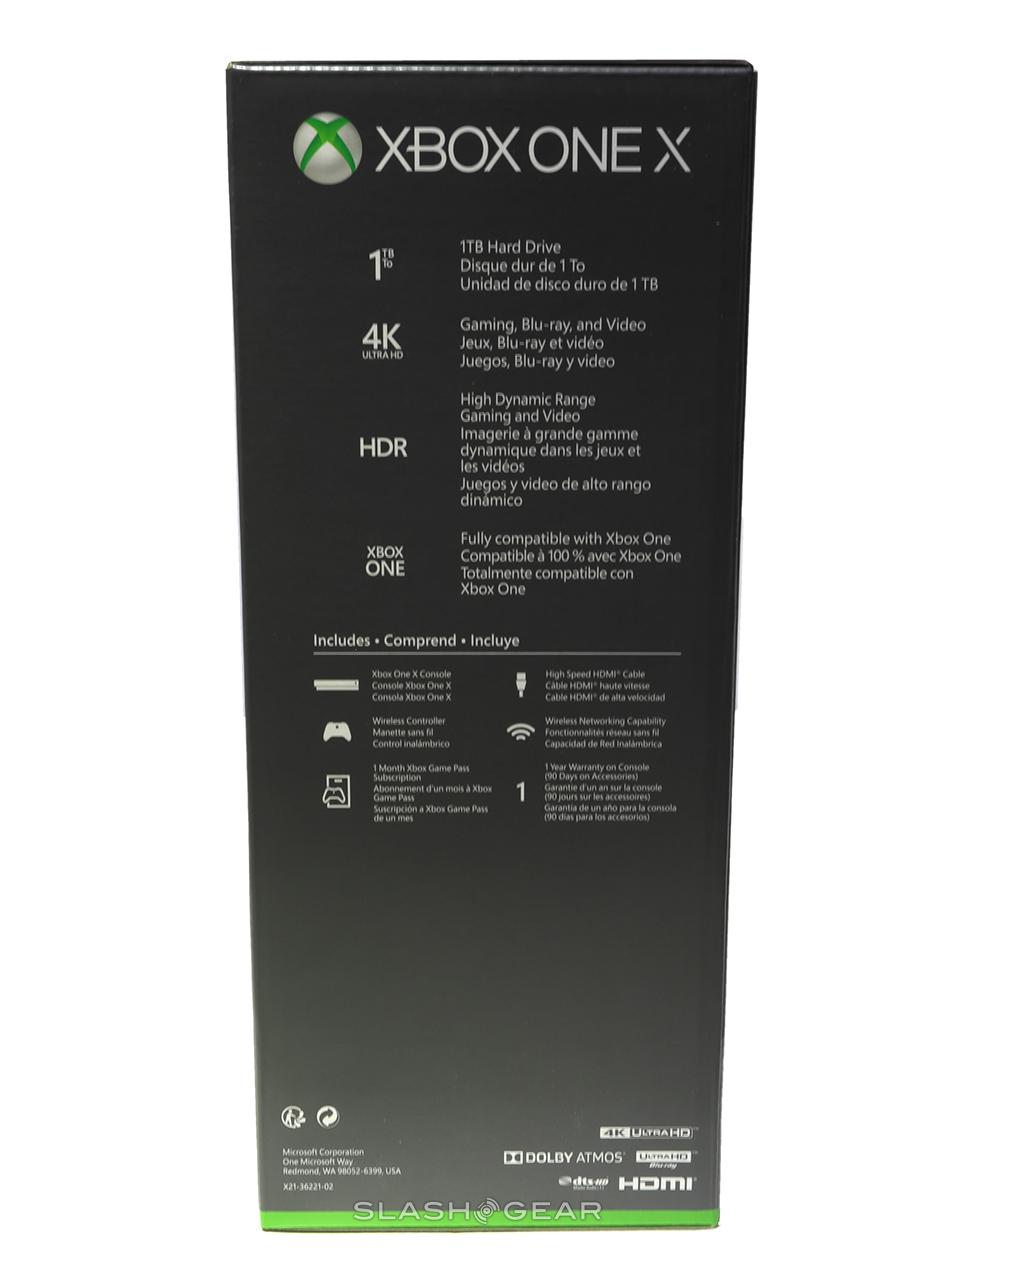
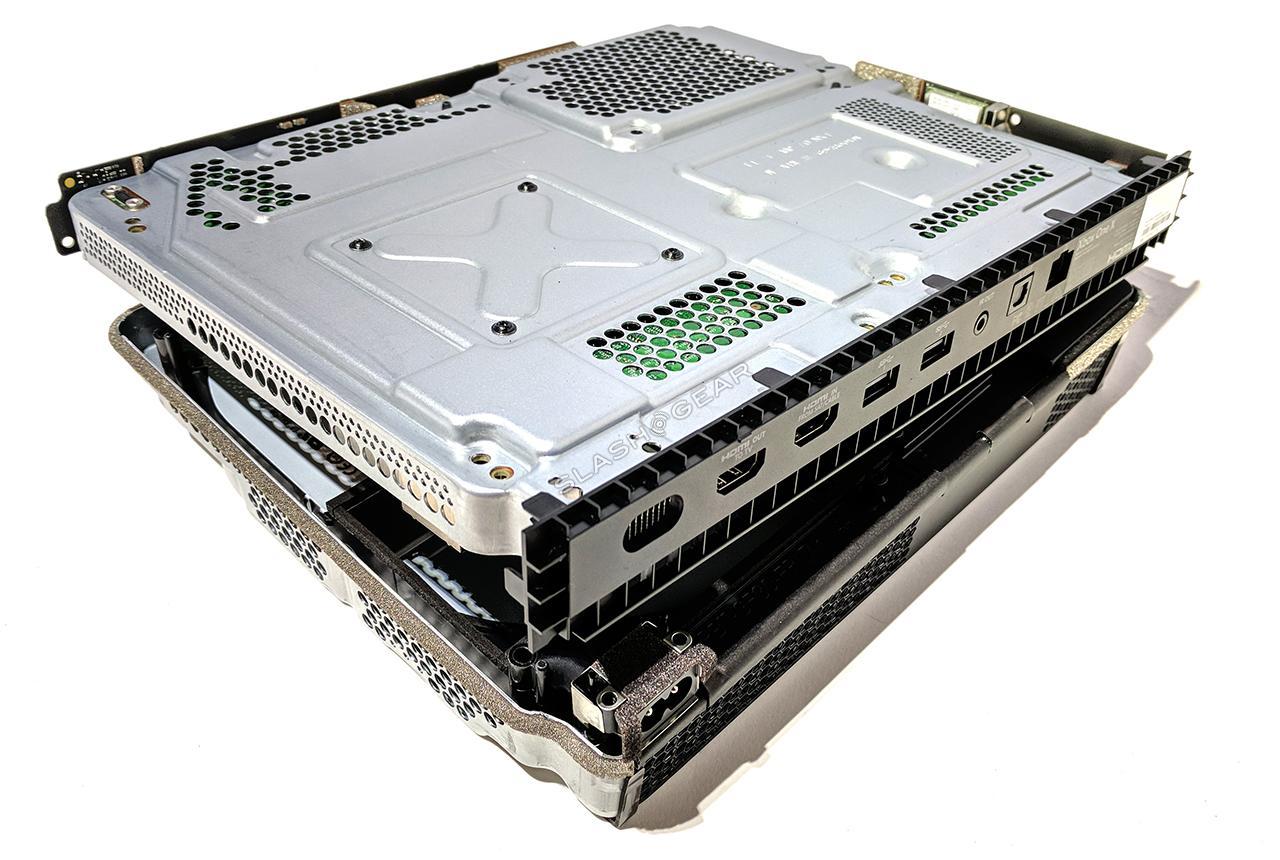
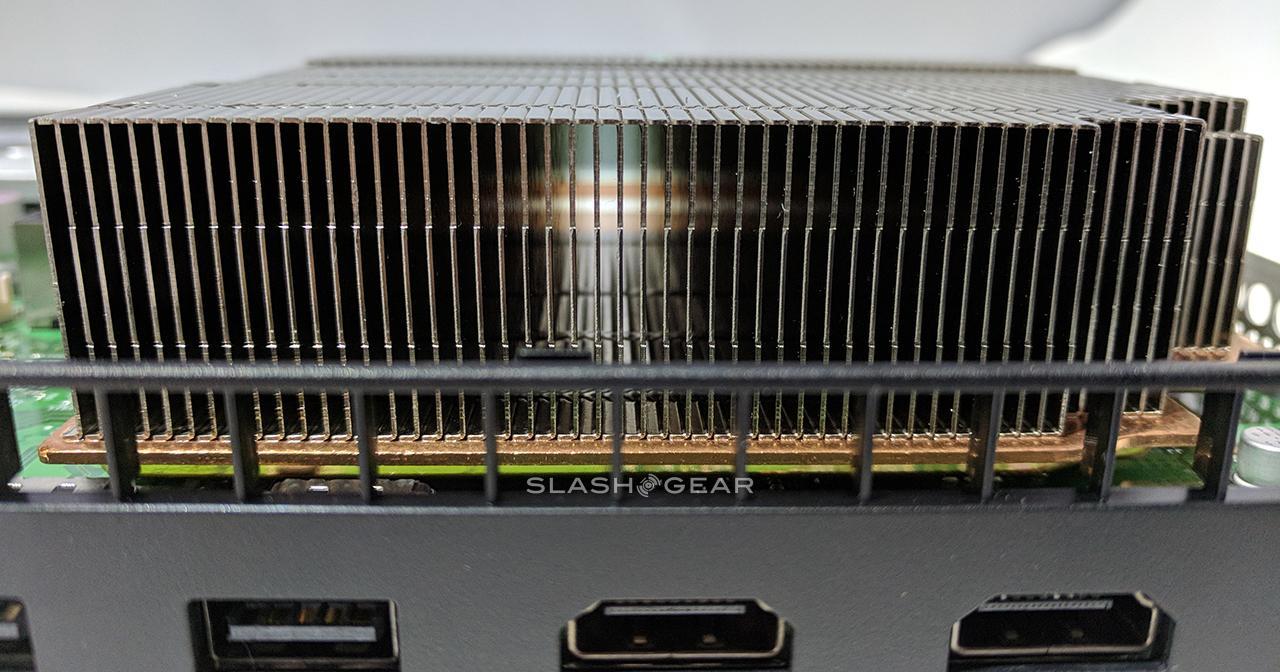
Along the back of the Xbox One X we've got power, HDMI out, HDMI in, USB 3.0 x2, IR-out, S/PDIF for digital audio if you wish, and a single Ethernet port. This set of ports is the same as what's found on the Xbox One S. Cord switching is easier here for upgraders here, S to X, than it was from One to S.


Up front of this Xbox One X is an IR receiver for controls that use infrared blasters. There's also a physical button for the Blu-ray disk drive, which now sits semi-hidden under the longer half of the console. Both of these elements are on the left side of the box (or the top, however you end up setting it up).

On the other side – right or bottom, you'll find another physical button. This button is for wireless controller pairing. There's another USB port on this side as well – best for connecting controllers with USB cords or other USB-friendly oddities.

Removing the outer casing of this machine is extremely simple – it's held on by two screws and an array of fast-hold plastic claws which slide out easily once the screws are out. One of these two screws on the exterior of the case is covered by a very special sticker which, once removed, voids any sort of warranty the machine came with. This side of the casing slides off and de-hinges – pull out, then up and off.

ABOVE: Screw on the back right side with the sticker. BELOW: Screw on the back left side, not hidden from the end user.

OF NOTE: The vast majority of the screws used in this machine's construction are the same size. Be sure to keep an eye on the very few that aren't exactly the same as the rest, as their seemingly-insignificant differences are actually vital to the construction of the machine. All of the screws that I needed to remove to gain access to the replaceable parts shown in this article had the same size: T9 Torx.
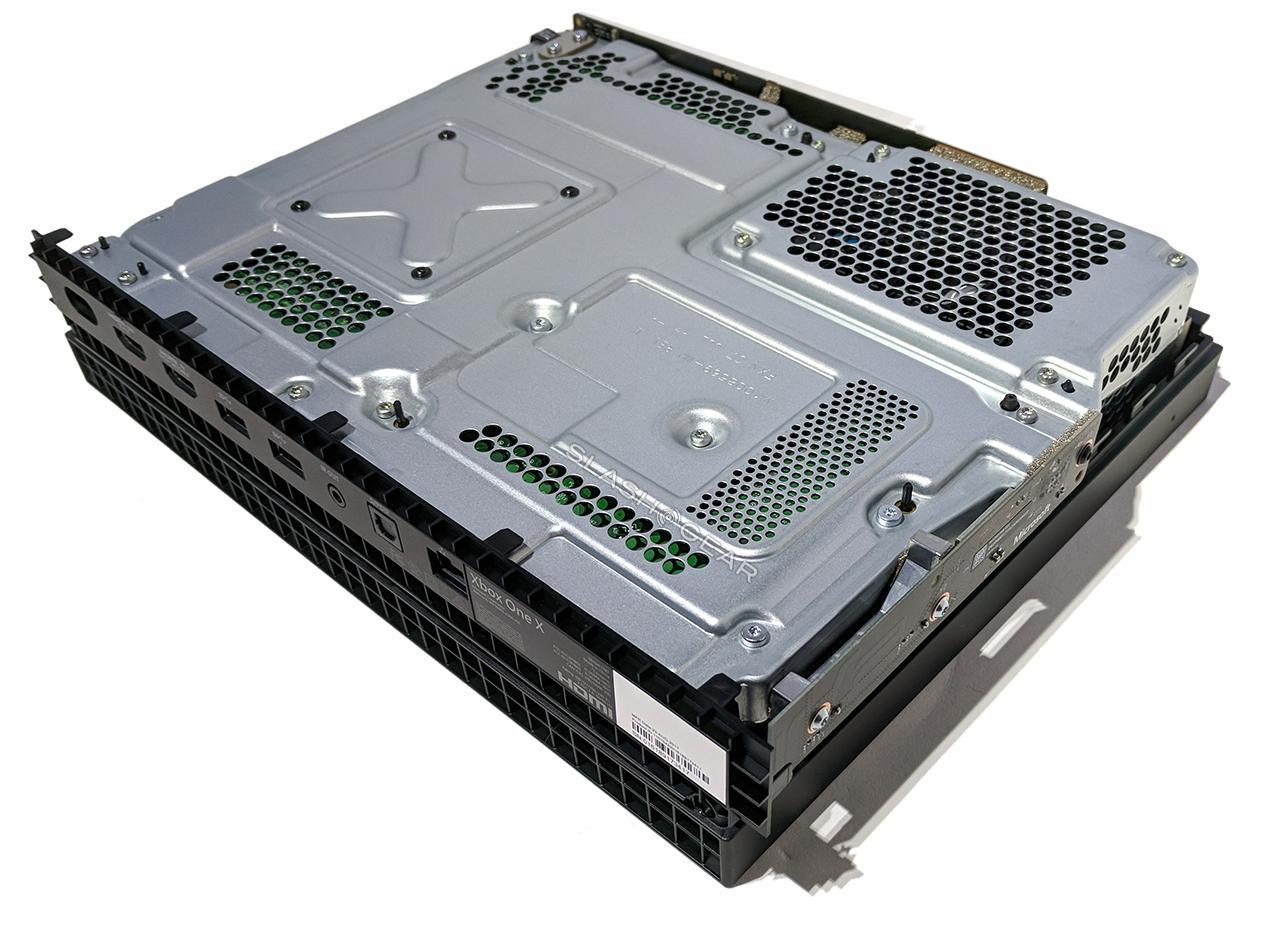
Cages
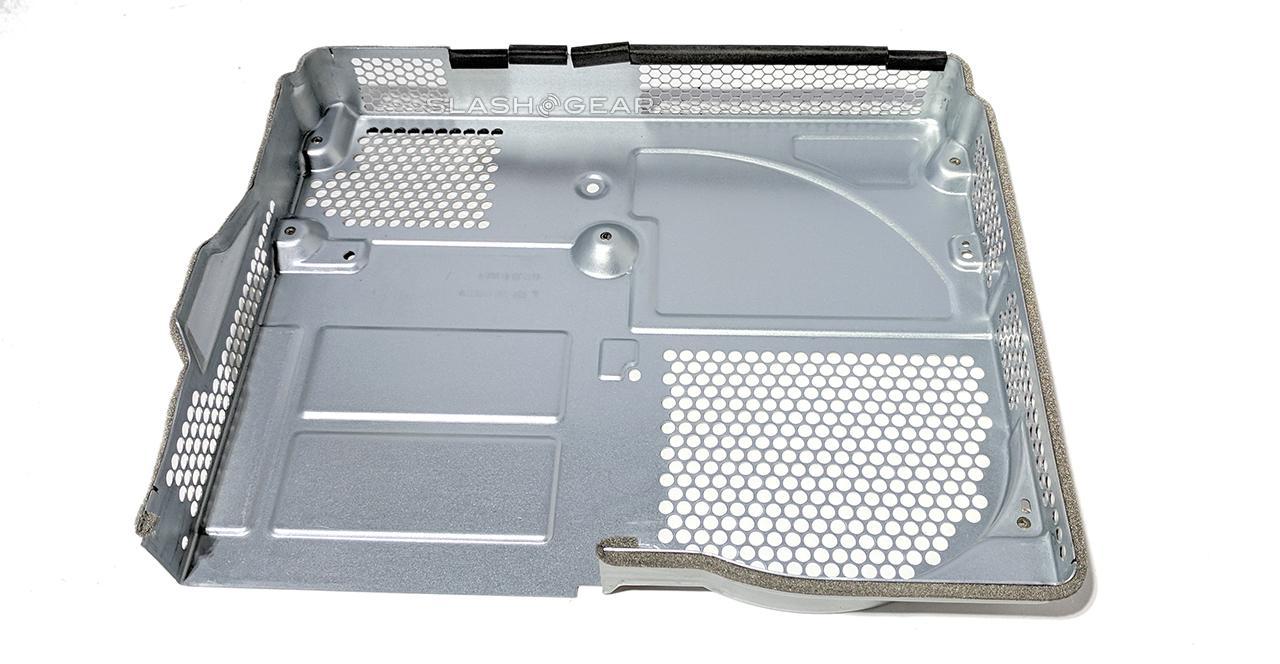
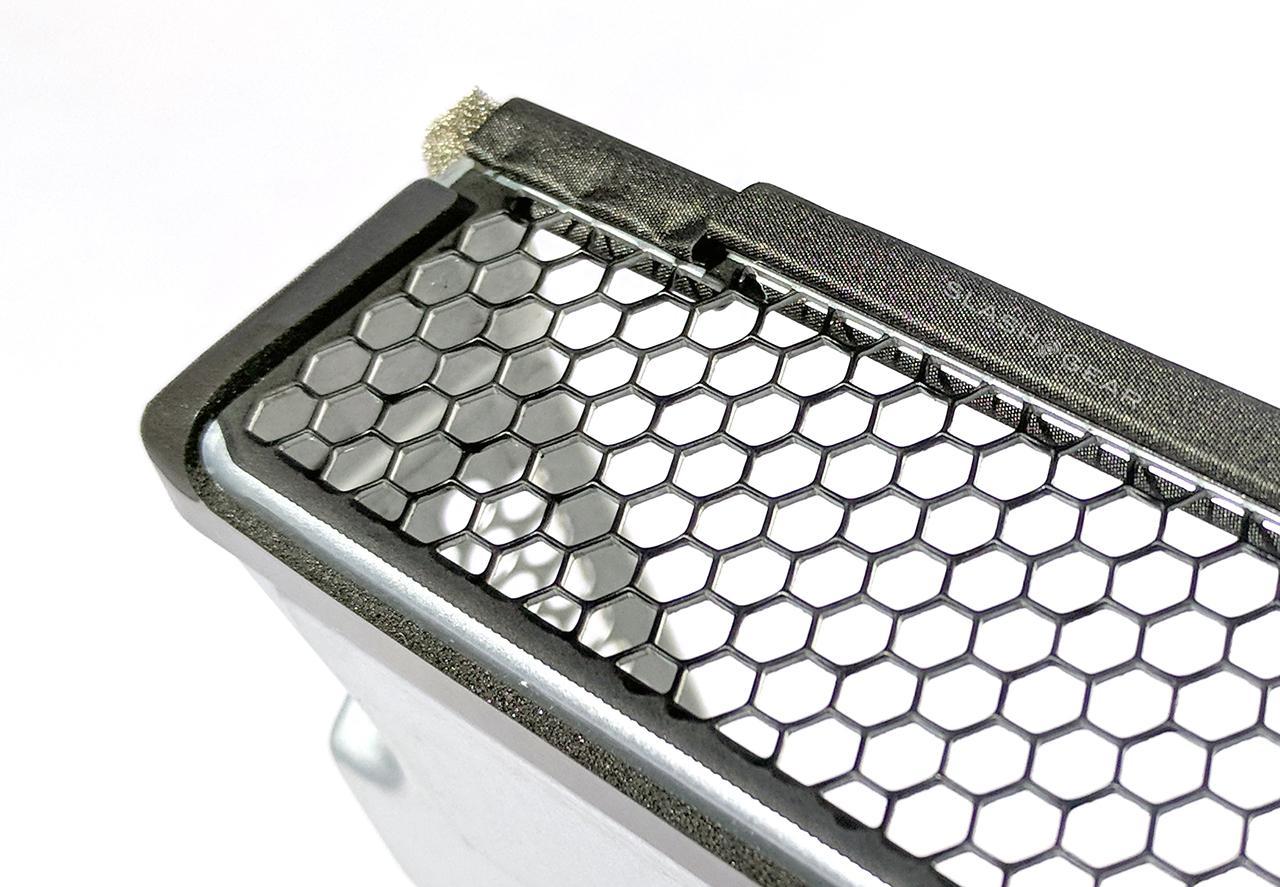
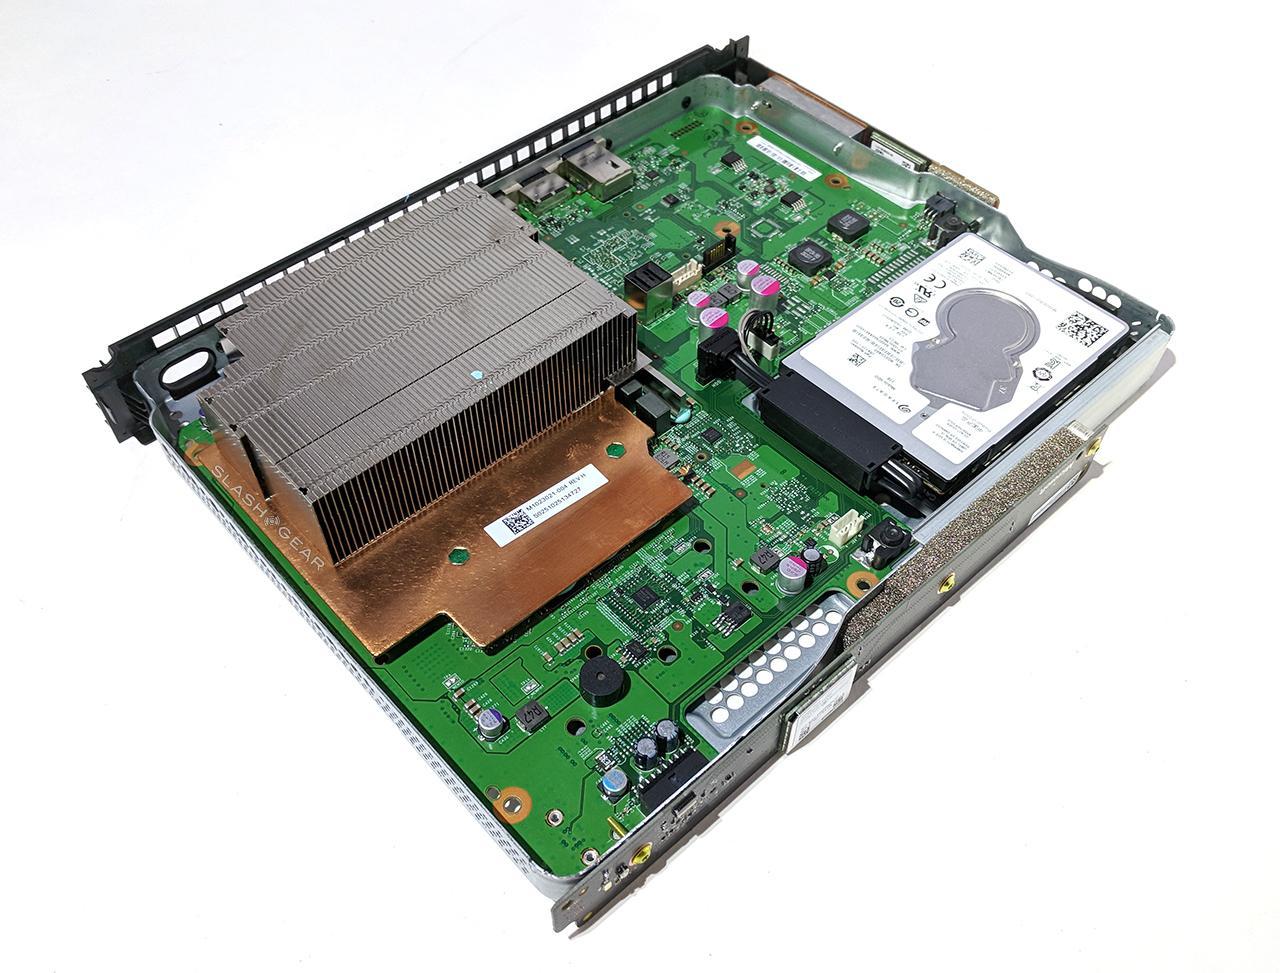
Once the external couple of casing parts are removed, a pair of metal cages contain the internal parts. The cage half that's made to be removed first is quite obviously custom-fitted to this unique set of parts, and has in it an array of honeycomb-shaped grills. The fine mesh work here is, sadly, nearly entirely hidden by the casing around it when the outer casing is attached – but we can appreciate the fine engineering here and now.
Power Supply, Fan, Airflow
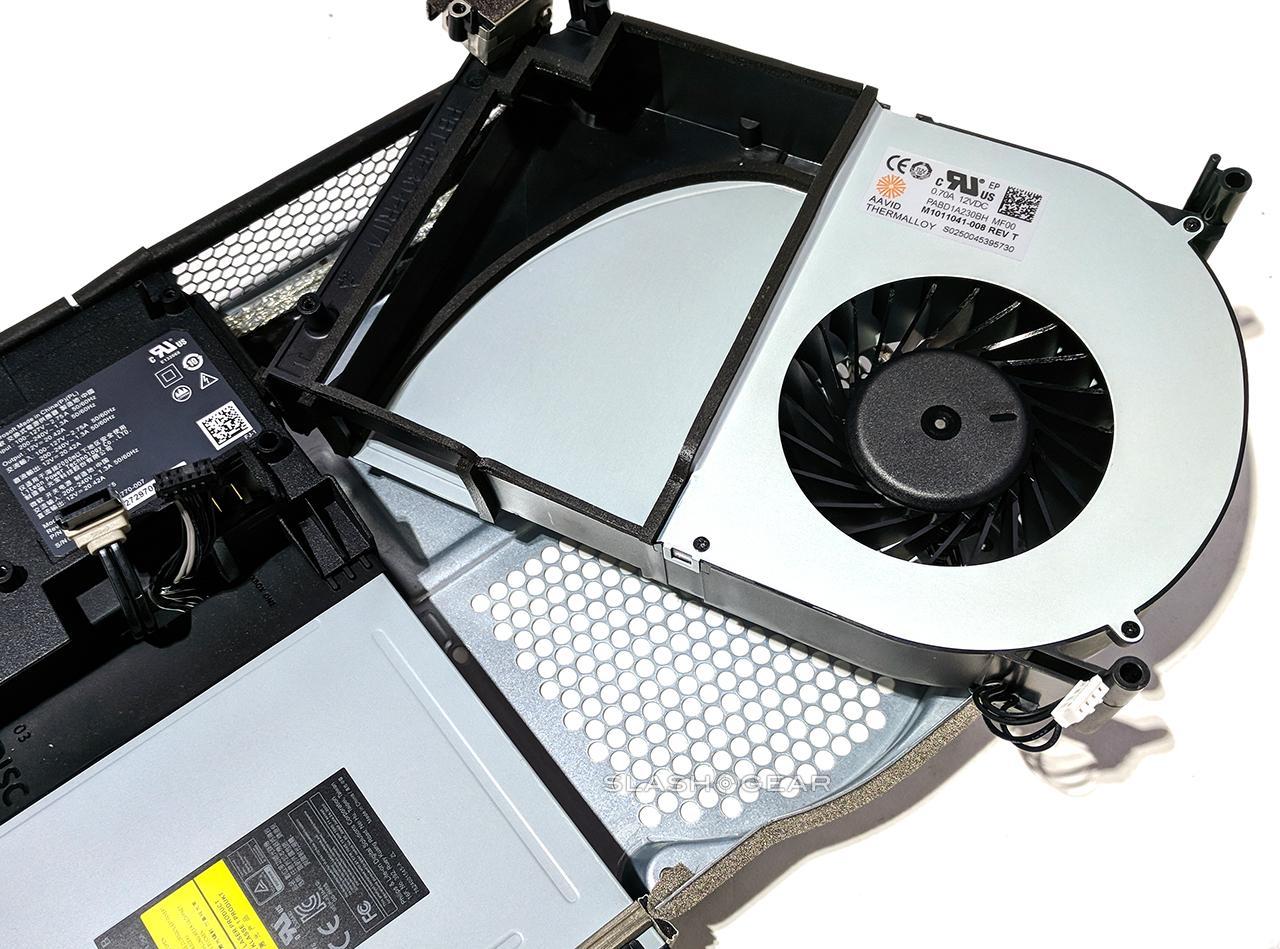
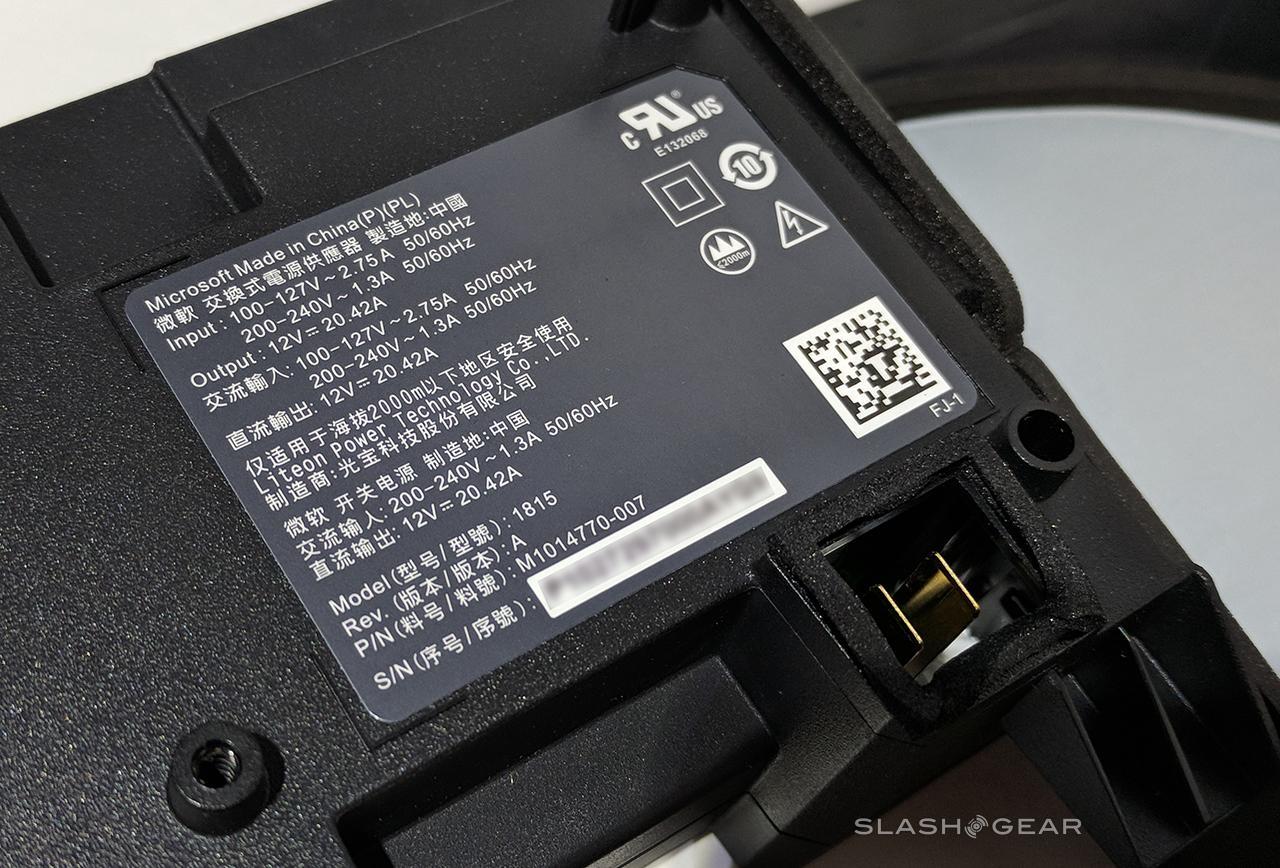
This machine has an internal power supply, meaning you're not using the same HUNK power cord provided with the original Xbox One X. This power supply is 240w strong and takes up a little less than 1/4 of the inside of the case. This power supply connects with the fan through a system of plastic which also runs over the heatsink mentioned below – much air, so cool, such flow.

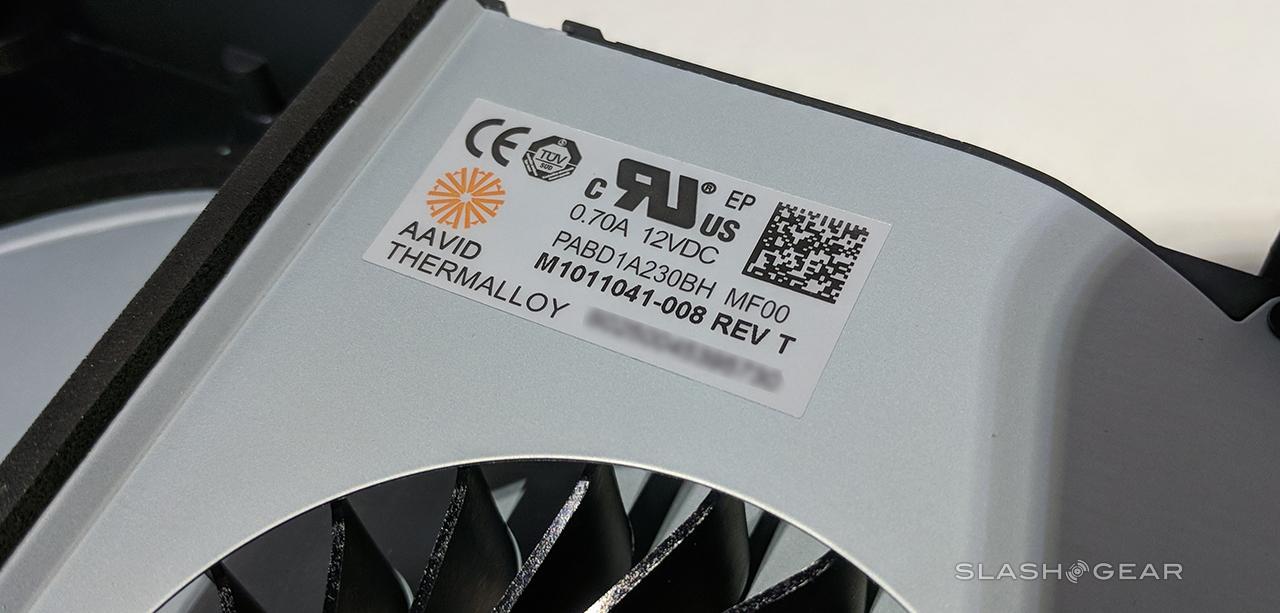
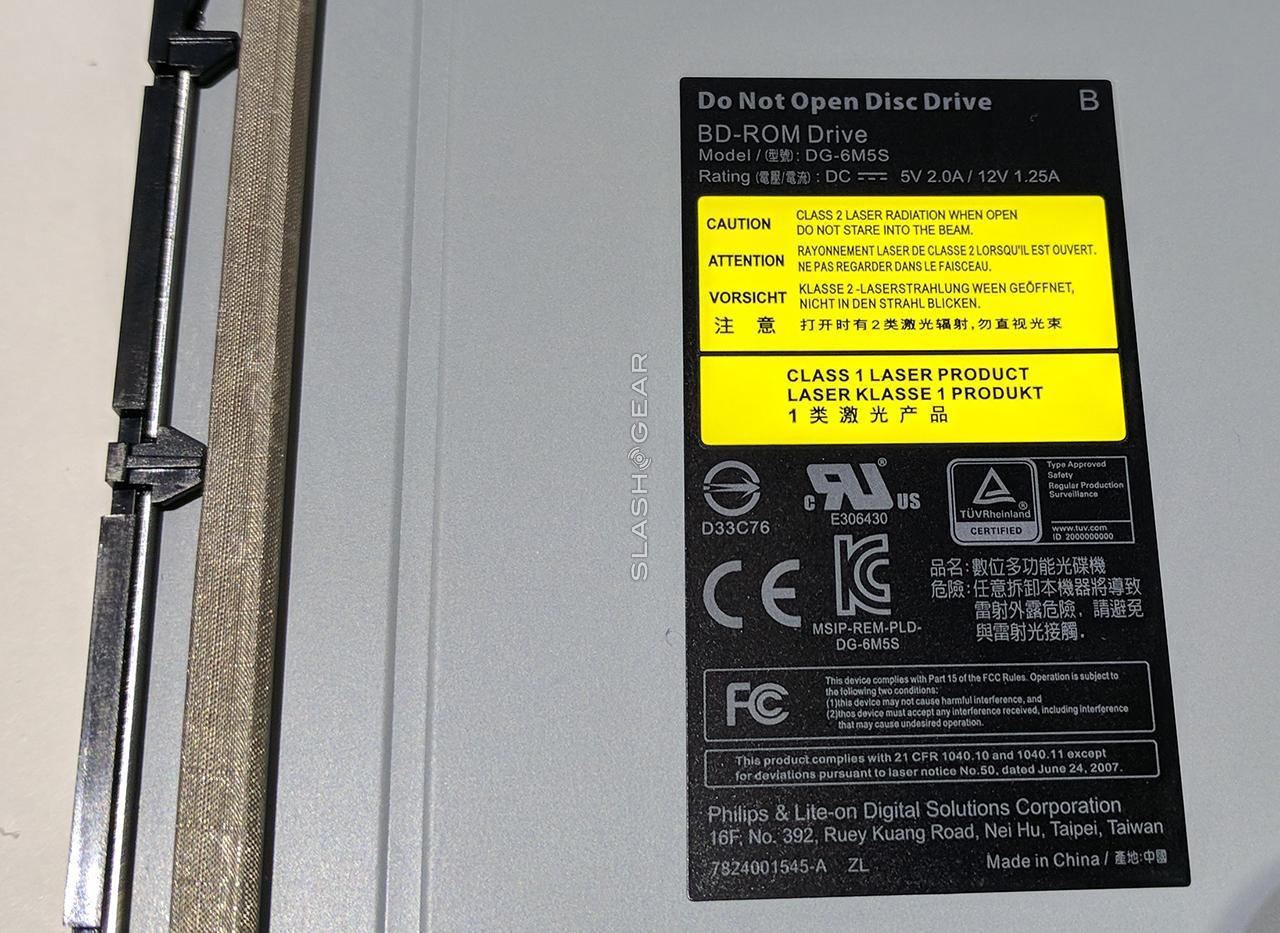
A 120mm fan takes up a large portion of the inside of the case of the Xbox One X. This amalgamation of plastic and metal covers part of the heatsink (which, again, we'll talk about below). Another 1/4th of the internal space here is taken up by the Blu-ray disk drive – super simple, held in place by more T9 screws.
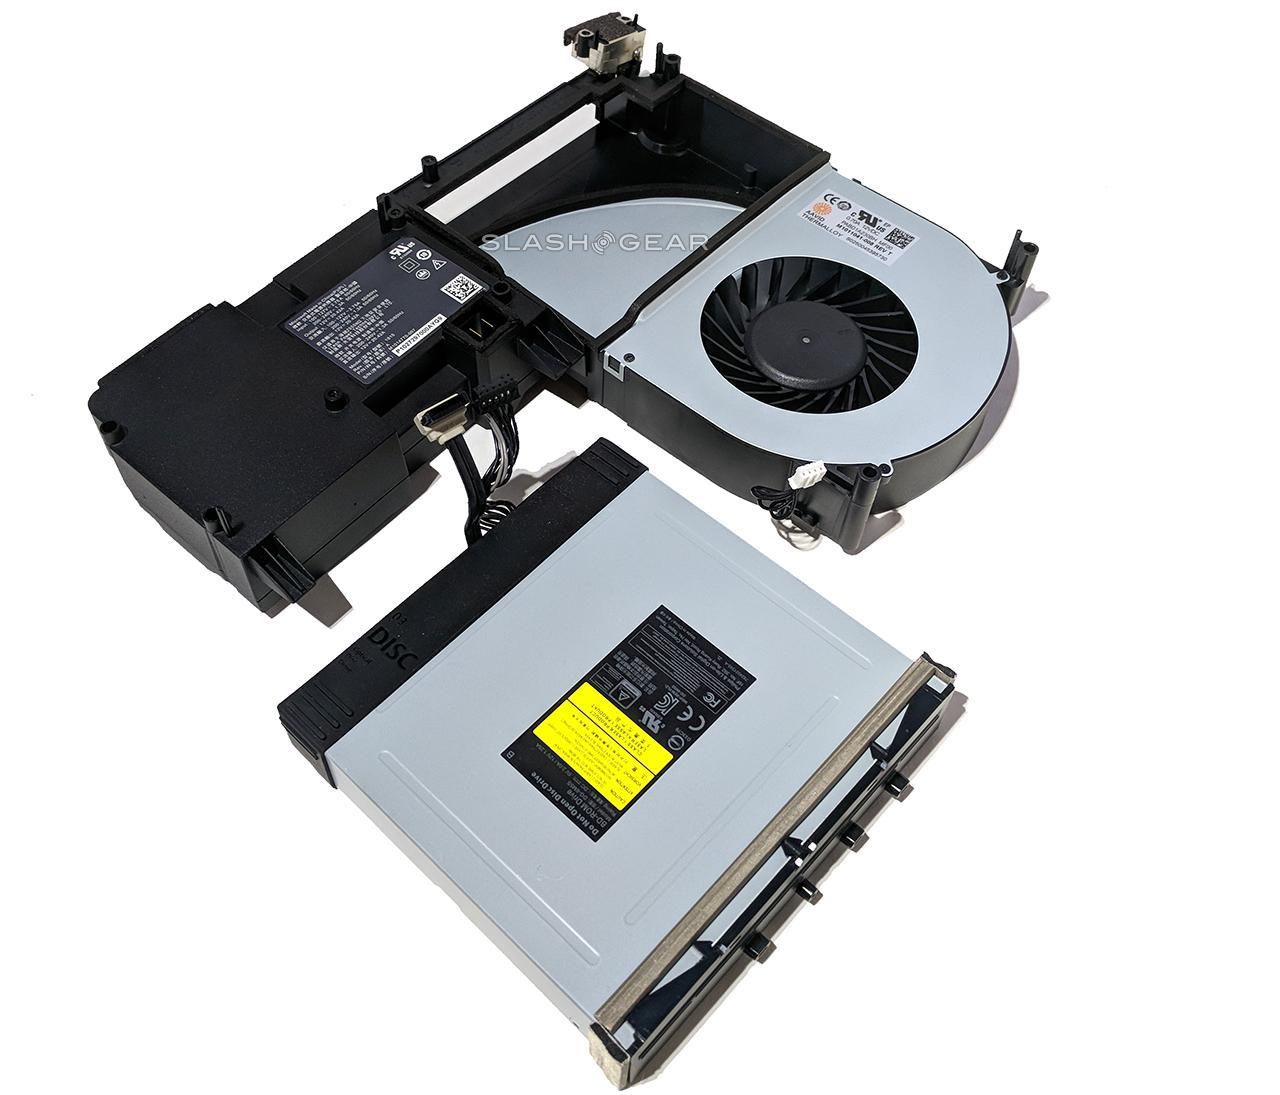


OF NOTE: You'll need to be extra careful in removing these parts, as their exact arrangement is vital to the cooling in the console. Don't go fooling around in the following open area in the power supply, for example:

Like the Xbox One and the Xbox One S, the Xbox One X has a system that detects rising heat within the console. When it detects the heat rising too quick, it shuts down to prevent permanent damage. If the cooling system is taken apart and put together wrong, this detection system will start turning off the Xbox One X after only a few minutes of use.
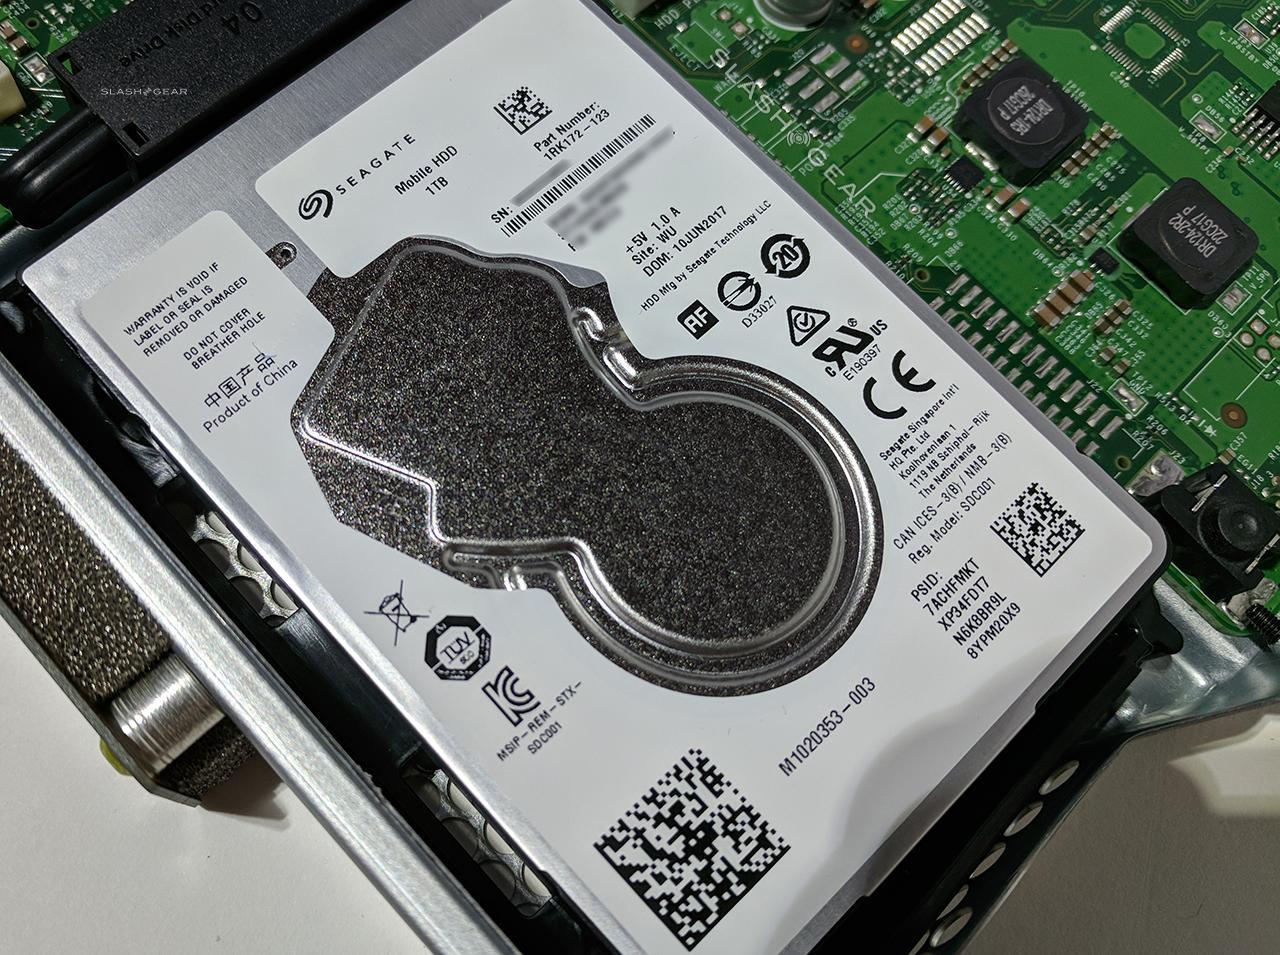
Hard Drive
In the front corner we've got a single Seagate 1TB hard drive. This corner of the Xbox One X contains a suspension system which allows for hard drive vibrations in full operation. The hard drive's tiny wiggling wont affect any other important component as a result.

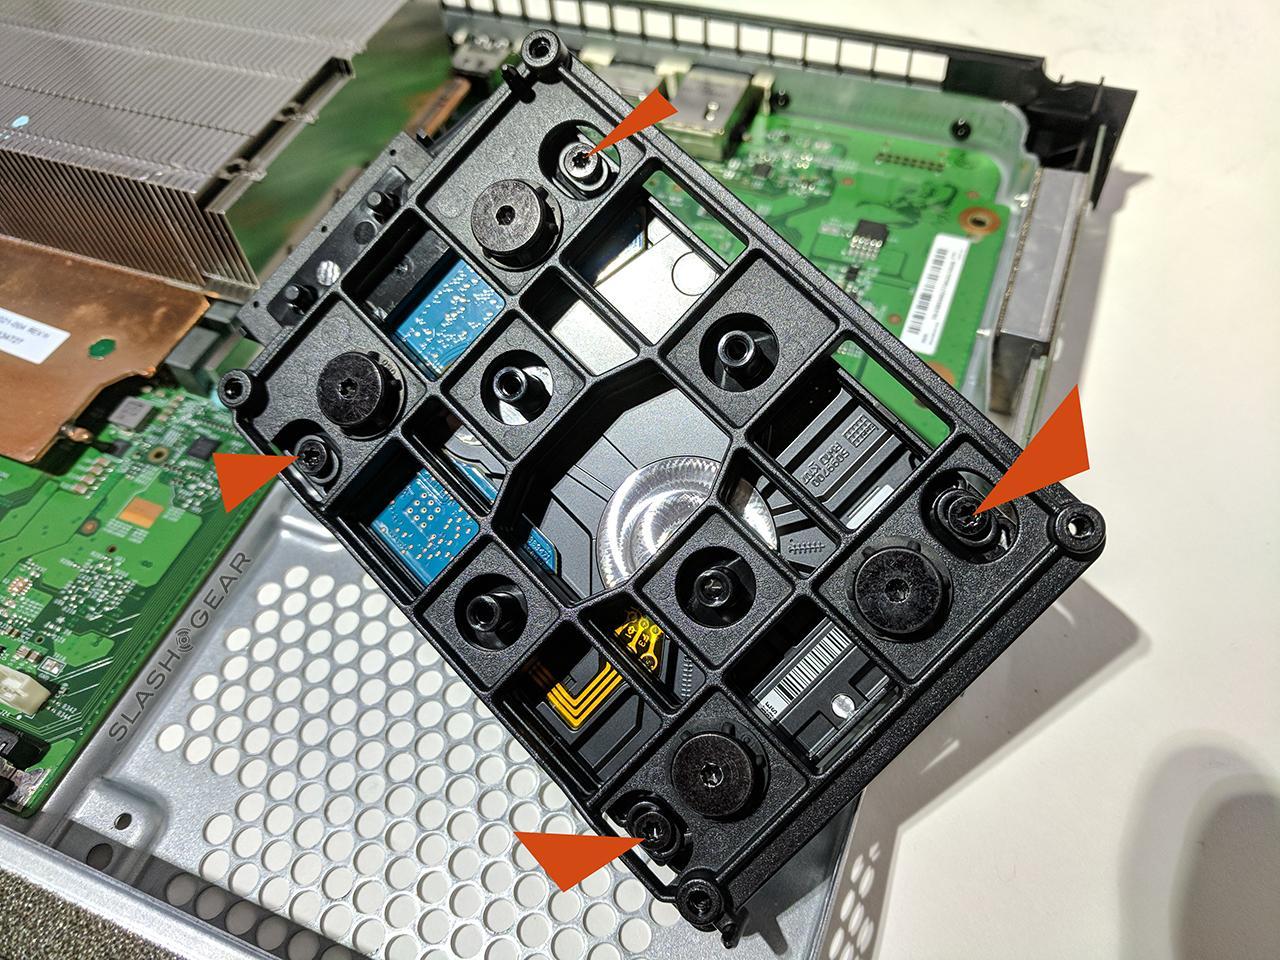
The image above which shows four orange triangles points out the near-hidden screws below the hard drive which must be removed in order to switch to any other unit. As with this entire teardown, we do not recommend you do this until other hard drives can be tested and found to be workable – keep an eye out!
AMD SoC / Vapor Chamber Cooler
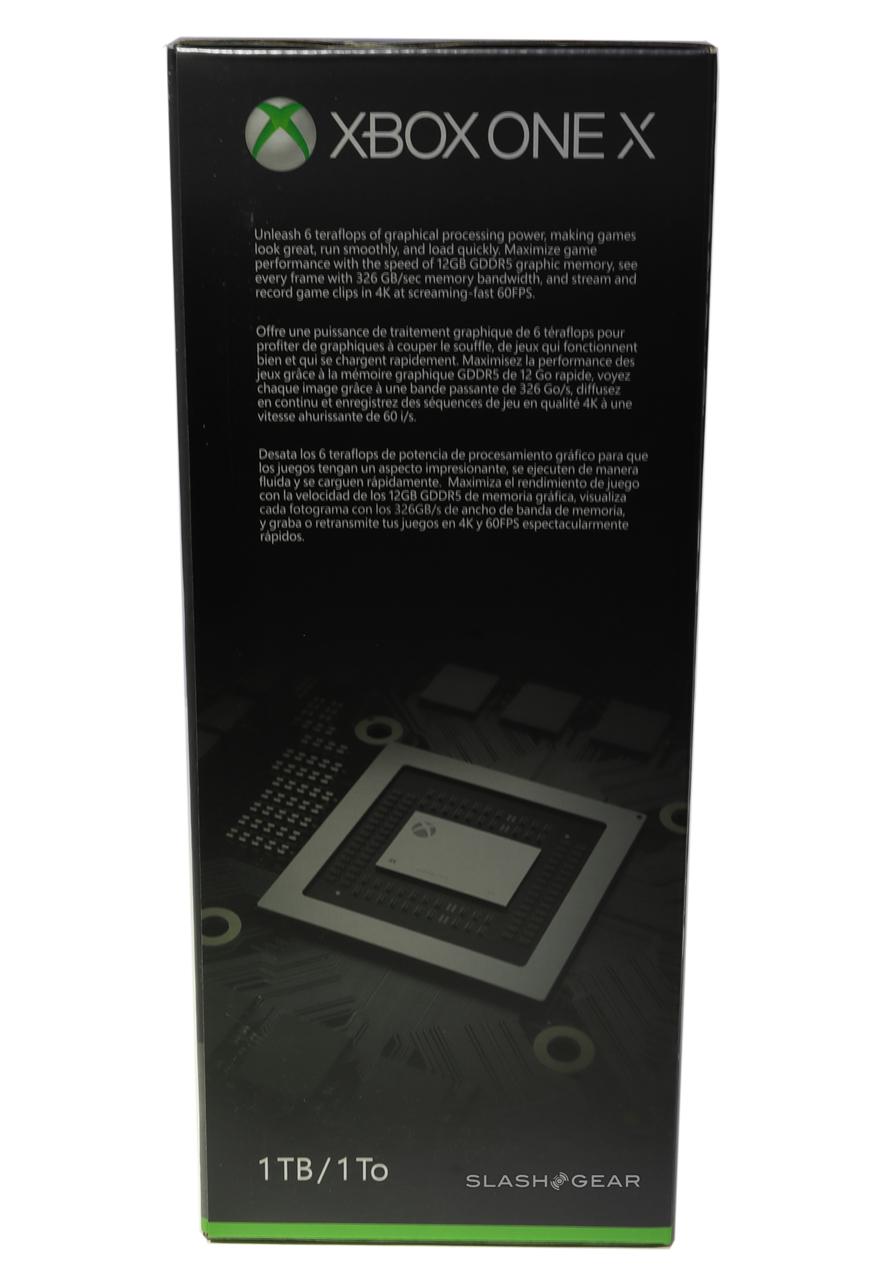
Also inside we've got the Scorpio Engine – the SoC, the brains of the operation, both the CPU and the GPU. Inside this piece of hardware is AMD Polaris processing power and a rather nicely-constructed piece of hardware*. This engine sits at the heart of the machine's circuit board, surrounded by a whole bus-load of GDDR5 memory – all of this is hidden below the cooler.

At this point I'd like to mention how exceedingly neatly organized this system is. Like any good high-end computer, this Xbox One X is decidedly clean and arranged especially nicely inside. Parts are labeled, cords are only as long as they need to be, and there's barely any adhesive used throughout – it's all very slick. Almost as if Microsoft intended for it to be opened up and looked upon in awe.
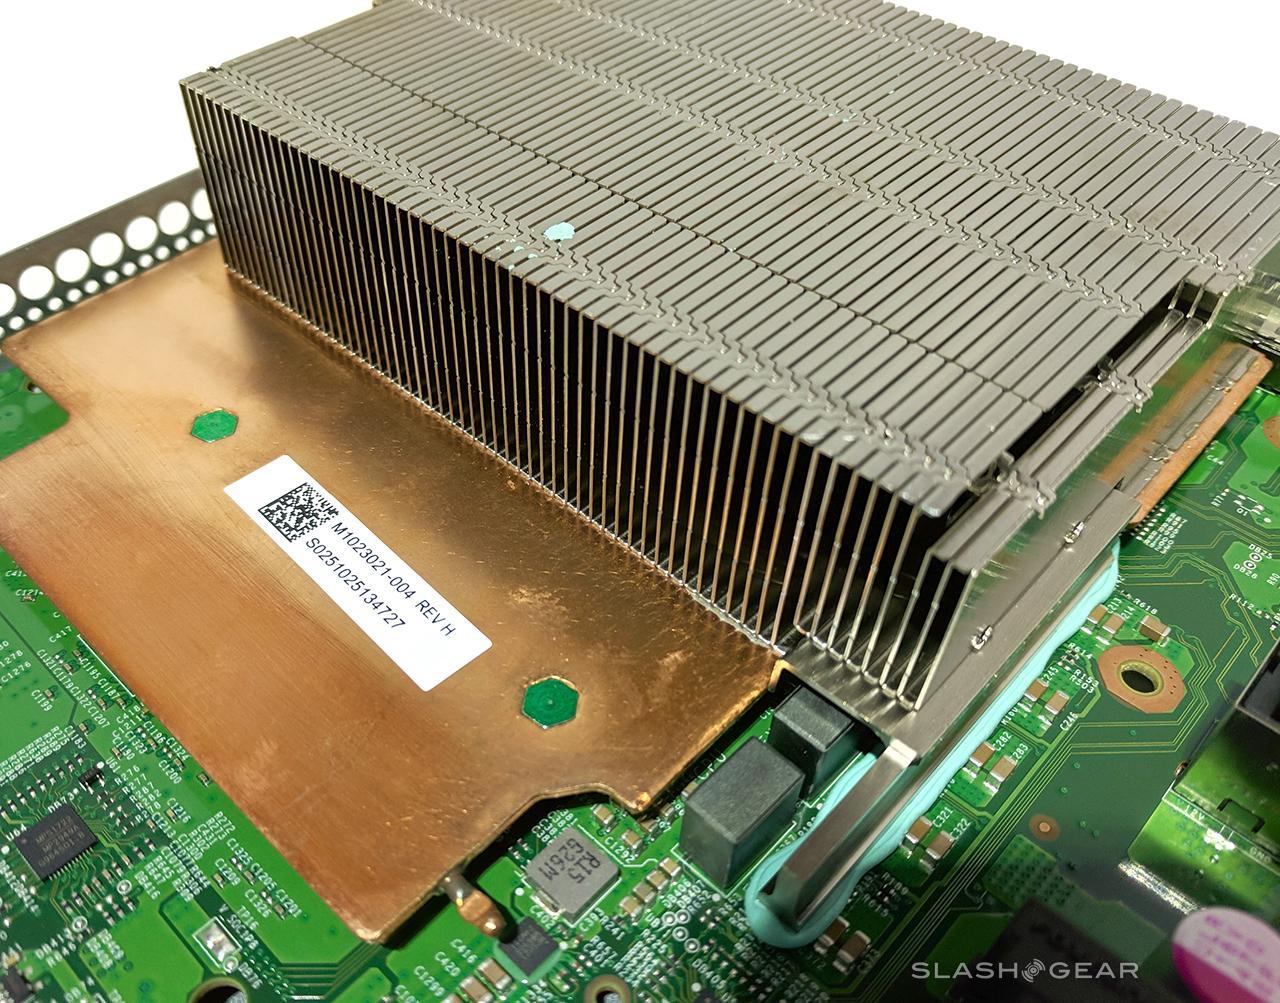
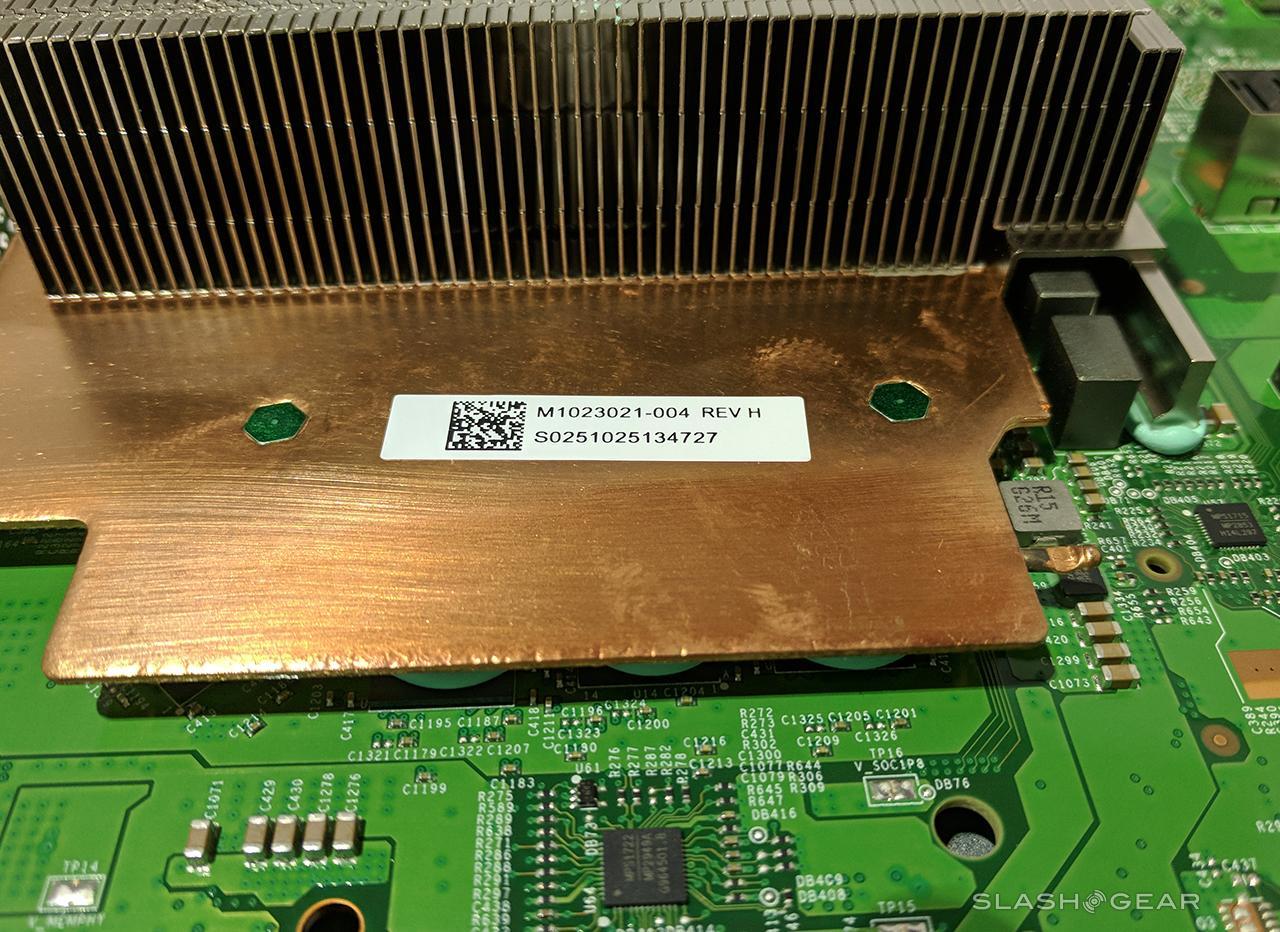
*I should mention that the average user should never need to remove the cooler – the copper hunk you see here. In fact, don't ever remove this piece of hardware, because nothing below it will ever be able to be replaced by you, the end user, anyway. If you have the urge to look at the SoC, stop yourself, it's not worth the risk of wrecking the whole machine. Same goes for the gooey bits down below – just don't do it.

This copper piece is what keeps the Xbox One X's SoC cool – underneath is a set of pipes that make up a vapor chamber cooler. While Microsoft said the words "liquid cooled" in their first presentation of this device, this cooler is not necessarily tech that should be presented as such. Liquid Cooled is a term better reserved for a more massive liquid-based tube system with a pump. Here with this vapor chamber cooler we've got something far closer to a traditional heatsink.
This vapor chamber cooler contains a reservoir full of liquid coolant which, when heated by the SoC, vaporizes and travels up and away from the head source. The liquid condenses in areas that are cooler than the area where they were vaporized, they dissipate their heat, and they return to the coolant reservoir. Heatsink fins at the top of this contraption allow further dissipation of heat, making this system better at sapping away heat than those that came before it.
BONUS!
As you may have seen in the recent past, this Xbox One X has on its main circuit board a super cute illustration of Master Chief riding on a scorpion. It's etched in there really nicely, and most people won't ever get to see it in real life.

Just thinking about that little Master Chief commanding the innards of this Xbox One X from atop his mighty steed warms my heart. There he shall remain forevermore.
Our Full Review
We've got the console – now comes the review. Stick around for our full review of this next-gen monster of a gaming machine as soon as we've collected all the experience we need. And be sure to ask questions if you've got anything you'd like to know – especially if it's something quite unique!