Google Pixel XL Teardown Tells Its Secrets (With HTC)
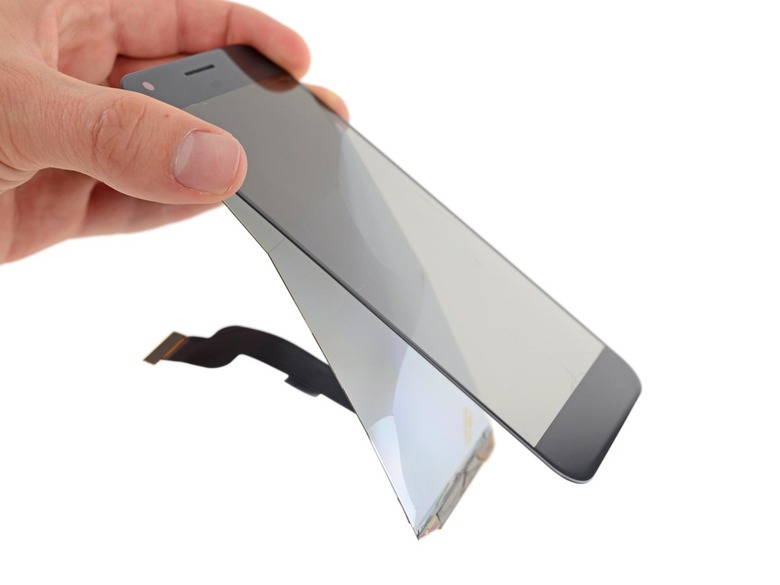
The first step in a Google Pixel XL teardown is the worst as its digitizer glass separates from its OLED too easy. This front panel removal is the only method with which repair happen with this device, and it requires some heat. Once the rim of the front panel is hot, separation requires a bit of a pick and pull – therein lies the danger. When the front panel becomes removed in the incorrect way, it'll separate with the swiftness.
As iFixit shows, their first attempt at disassembly did not turn out well. This means the user will need to be extra outstandingly careful in trying to fix this device or replace any component therein. For now, this method is too dangerous to attempt.

The rest of the teardown seems straightforward by comparison, save the "snug, press-fit notches" that hold the midframe in place. Everything else uses moderate amounts of adhesive or T5 Torx screws. It's a shame the front is so difficult to remove without damage – the rest seems like a dream of ease.

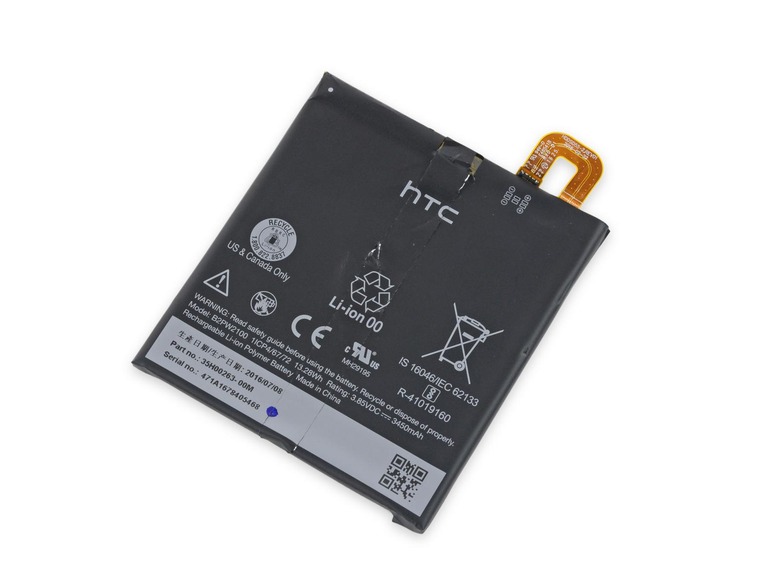
Inside you'll find the one indicator that it wasn't Google who put this device together. HTC's own battery is inside, put there by Google's manufacturer – HTC. SEE THIS: Google Pixel XL Review
They've put this device together using parts from Qualcomm, NXP, Skyworks, and Samsung.
Parts from Qualcomm include a PM8996, WTR3925 LTE RF transceiver, WCD9335 audio codec, and RF360 Dynamic Antenna Matching Tuner (QFE2550). Skyworks provided the quad-band power amp module (SKY77807), and there's an Avago ACPM-7800 power amp in there too. Samsung provides the KLUBG4G1CE 32 GB flash storage (UFS 2.0).
There's a NXP TFA9891 smart audio amplifier inside this device as well as Samsung's K3RG2G20BM-MGCJ 4 GB LPDDR4 mobile DRAM. It's also confirmed that the Qualcomm SMB1350 Quick Charge 3.0 IC is present inside.
