Galaxy S7 Settings: Let's Fix This Android Flagship Smartphone
Now that the Galaxy S7 is out in the wild, it's time we had a look at the settings and features you'll want to keep an eye on when you get the device. The Samsung Galaxy S7, first of all, has been released on many different carriers with several different prices. Once you've got this device in-hand, you'll want to head to your Settings right out the gate. Right away.
The next several sections will let you know what you're going to want to do with your Galaxy S7 when you get it out of the box. You can do whatever you please, of course, but the following features are bits we'd recommend you at least be aware of.
As with all of our guides and "Let's Fix" features, any and all hacking, fixing, or otherwise changing of the insides or outsides of your devices is all your responsibility. SlashGear cannot be held accountable for what happens to your device due to our instructions. Play safely now!
Turn off the NDS straightaway
Inside your device's software is a feature called Nearby Device Scanning. This is the sort of feature that can be fun – even entertaining if used right – but isn't at all necessary to the running of your phone.
You don't need to be getting notifications whenever you're near another phone that can connect to yours, do you?

It's not like they're going to be trying to break in to your phone – this isn't about security. It's about connecting willfully. Which you'd do anyway if you were tapping the Bluetooth menu's search button.
It's a bit more complicated than that, but you may as well switch of this potential battery-eater right away anyway.
1. Settings
2. Wireless and networks
3. More
4. Nearby device scanning (turn if off)
Wi-Fi Sharing Enabled (or Disabled, if you please)
The Samsung Galaxy S7 makes full use of its top-notch set of hardware, leveraging its internet bits to not only bring you data quicker than before – but share that data as well. Previous editions of Galaxy smartphones were able to share mobile data, certainly, but this version allows you to share Wi-fi, too.

What in the world? You might be saying that to yourself, too. Lucky you, we've got all the questions you have answered in one easy spot.
1. Settings
2. Mobile Hotspot and Tethering
3. More
4. Wi-fi sharing
NOTE: The Verizon version of the Galaxy S7 does not have this feature enabled. Not yet, anyway.
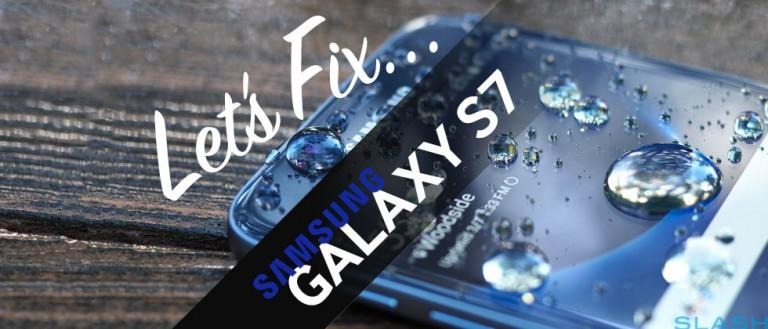
Beware the moisture lock
As we found out earlier this month, the Galaxy S7 isn't about to let its resistance to water bring any harm to you or yours. As such, you will not be able to plug the Galaxy S7 in to a power outlet underwater. Or if you do, it won't be the phone that's having any part in electrocuting you.

The Galaxy S7 has a moisture block in its charging area. As such, if you've gotten the device wet at any point and any sort of moisture remains in your micro-USB slot, you will not be able to charge. You'll get a warning instead. Dry it off first!
Turn your display off in the dark
There's a setting in your device which keeps your display turned off when the device's light sensors cannot sense any light. That wouldn't be as big of a deal if you didn't have an "Always on display" setting – or a physical home button which can turn your display on real, real easily.

As such, Samsung actually turns this less-than-fabulous situation into a positive feature by keeping your display turned off in the deep dark. The only negative thing about this feature is that, in the rare case that you're ever trapped in a closet with no light, your phone might not be able to rescue you.
1. Settings
2. Display and Wallpaper
3. Keep screen turned off
Try this: enable "Keep screen turned off" and hold your thumb over the two black circles on the front of your device, just to the left of the speaker above the Samsung logo. Now try pressing your Home or Power button – the display turns on for just a moment, then hushes back to black real quick-like. Neato.
Make use of your microSD card
You've got a microSD card slot now, use it! Buy a microSD card – 64GB Samsung-branded microSD cards can be had for as little as $20 USD right now, and you don't even really need to buy a Samsung-branded card. Storage is extremely cheap.

Once you've got your microSD card installed, you'll want to switch your Camera's storage to said microSD card. To do this, you'll have to start by heading in to your Samsung Camera app – that's odd, since every other similar setting we've spoken about starts in your main Settings app. From there it's easy.
1. Open Samsung's standard Camera app.
2. Tap the gear (Settings)
3. Below "Save as RAW file" you'll find "Storage Location."
Storage Location is a setting which will only appear if you have more than one storage location available. It will not appear until you literally have your microSD card in the slot at the head of the phone. You can even enable adoptable storage – sort of – if you really need to.
Have a peek at our timeline below for additional fixes and updates and in-depth journeys through the innards of your favorite devices.