How To Set Up Apple Pay Across Your Devices

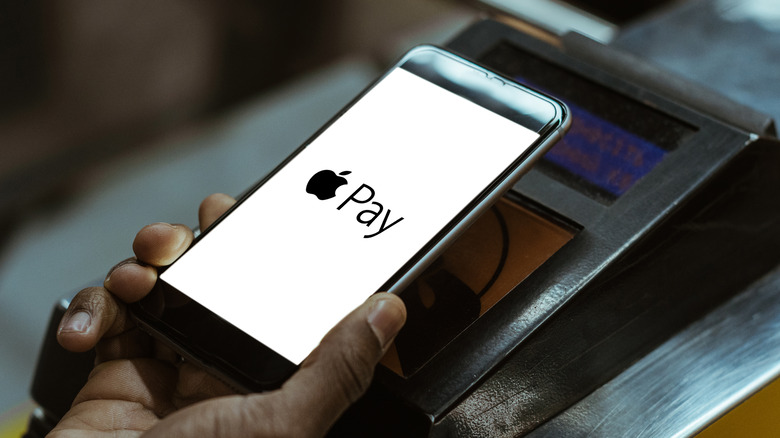
Setting up Apple Pay can be very daunting, especially if it's your first time using iOS devices. However, the process becomes easy if you know exactly what to do and in what order. But before you start, here is a quick introduction to Apple's payments portal and how it works. Essentially, Apple Pay is the company's free-to-use digital payments service built into devices like its iPhone, iPad, Apple Watch, and Mac. To use the service, you have to store a digital version of your credit card and/or debit card in the Apple Wallet app, which is secure. The Cupertino-based tech giant mentions that it tokenizes the card details, hence all of the transactions are completely safe.
Once you've set up Apple Pay on a device, you can use it to pay for online shopping, in-app purchases, offline transactions at the grocery store or the gas station, and for other things where the platform is supported. Additionally, you can send and receive money via the Apple Messages app if you have Apple Pay in place. Moreover, the service is a one-stop solution for all Apple users who prefer making digital or contactless transactions, not to mention that it eliminates the need to download third-party wallets. With that in mind, here's how to set up your Apple Wallet and use Apple Pay.
Which devices are compatible with Apple Pay
First, let's discuss the compatible iPhone models that support Apple Pay. On the official website, Apple mentions that all the iPhone models with Touch ID (except the iPhone 5s) and Face ID support the digital payments service. Both Touch ID and Face ID are Apple's biometric systems that ensure no other person can unlock your iPhone.
Touch ID, the fingerprint scanner, was introduced in 2013 with the iPhone 5s. Since the iPhone 5s is not compatible with Apple Pay due to lack of NFC, all the models launched afterward — from the iPhone 6 in 2014 to the iPhone 8 in 2017 — support Apple Pay. Similarly, compatible iPhones with Face ID include all the models launched from iPhone X in 2017 all the way to iPhone 13 launched in 2022.
When it comes to iPads, all of the models that have Touch ID or Face ID — including the regular iPad, iPad Mini, iPad Air, and iPad Pro variants — are compatible with Apple Pay. The same goes for Mac, as all MacBook models with Touch ID and Mac computers paired with the Magic Keyboard that has a Touch ID can send and receive money via Apple Pay. Last but not least, all of the models of the Apple Watch, including the Watch 1 launched in 2015 to the Watch 7 launched in 2021, can make digital transactions.
Add a card to Apple Wallet on your iPhone
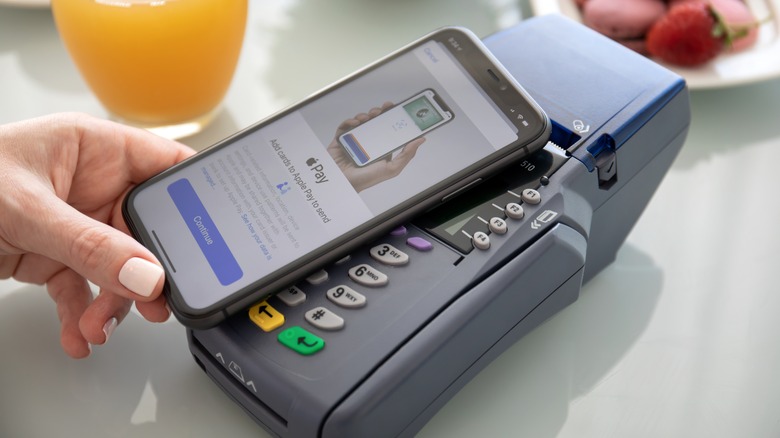
Now that you know about the devices that support Apple Pay, let's learn more about how to set up the service. It is important to mention that you should set up Apple Pay in a particular order on your devices, starting with the iPhone. You'll need a supported credit or debit card and an Apple ID signed in to iCloud (via Apple). Once you've arranged both things, you need to add your card to the Apple Wallet app on your iPhone. Depending upon whether you've used Apple Pay before, you'll be adding a new card or a previously used card.
Here are the steps for adding a card to Apple Wallet on your iPhone:
- Locate and open the Apple Wallet app on your iPhone.
- Tap on the + sign to add a card.
- Select your card type (credit or debit) under Available Cards.
- Tap on Continue.
- Follow the on-screen instructions that ask you to upload a picture of your credit or debit or manually enter the details.
- Get the information verified with your card issuer or bank and provide any additional information if requested.
- Tap Agree on the Terms and Conditions prompt.
- Decide whether you want the added card to be your default payment method.
- As the last step, you can add the card to a paired Apple Watch (optional).
Once the card is added, you'll see an image of the card in the Apple Wallet app. You can add additional cards to the wallet whenever you'd like, but they must come from an issuer that supports Apple's digital payment platform.
Add a card to Apple Wallet on the Apple Watch and Mac
Once you add a card to the Wallet app on your iPhone, you can use Apple Pay. However, it is advisable to set up the service on all your Apple devices simultaneously. Now, there are two ways to add a card to an Apple Watch — the first involves adding the card directly through the Apple Watch, and the second involves adding a card with the Apple Watch app on your iPhone, which is easier. However, before adding your card, ensure you have enabled a passcode for your Apple Watch. Additionally, you'll also have to add the same card to the Apple Wallet app on your iPhone and Mac.
Add your card via the Apple Watch app on your iPhone by following these steps:
- Open the Apple Watch app on the paired iPhone.
- Tap on My Watch and select Wallet & Apple Pay.
- Tap on Add Card.
- Select your card type from credit/debit and tap on Continue.
- The rest of the card verification steps are the same as those mentioned above.
Here is how you can add a card for Apple Pay on Mac and iPad:
- Open the Wallet settings.
- Mac: Located within System Preferences as Wallet & Apple Pay.
- iPad: Located with Settings as Wallet & Apple Pay.
- Tap on Add Card.
- Select from the card type you wish to add and tap on Continue.
- Enter details related to the card and verify them with the bank.
The process is largely the same regardless of which Apple device you're using — the biggest requirement is simply having a supported device and a bank from an issuer that supports Apple's digital payment platform.
How to use Apple Pay
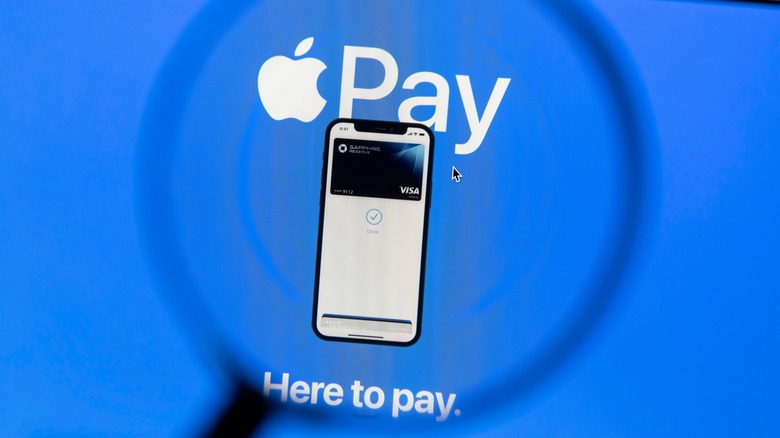
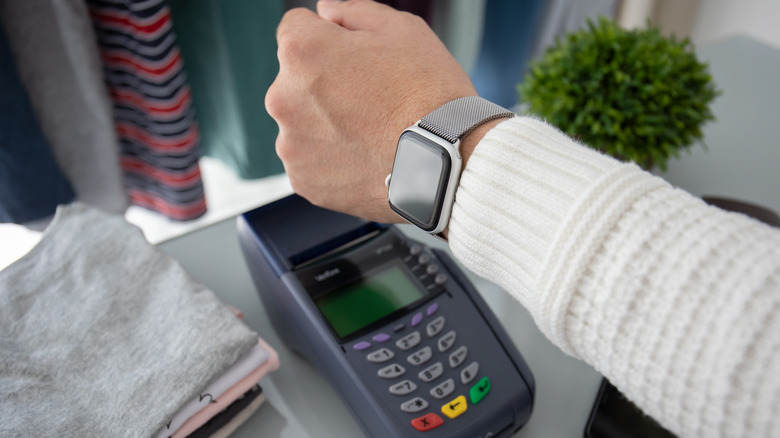
Now that you've set up Apple Pay on all of your devices, you're ready to use the service for the first time. On your iPhone, double-tap the side button (models with Face ID) or Home button (models with Touch ID) to open Apple Pay. Then, hold the upper half of your iPhone close to a contactless reader to pay using the default card. Once the transaction is successful, the word Done and a checkmark will appear on the screen. If you want to use a different card, tap on the default card to see the list of available options. Similarly, double-tap the side button to access the default card and hold the display closer to the payment machine if you wish to make a payment using your Apple Watch.
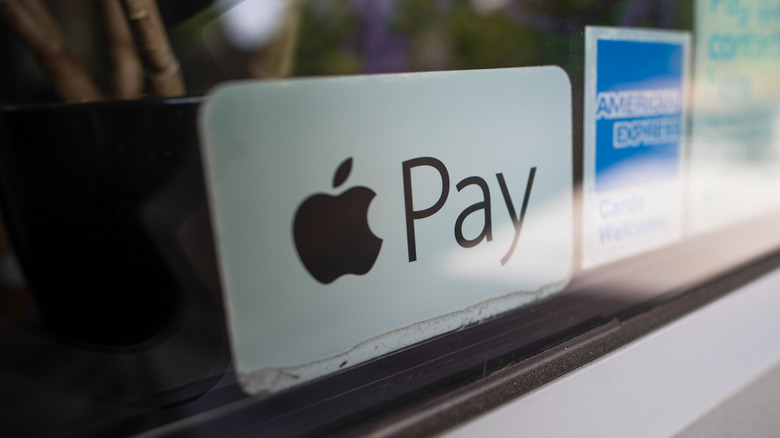
To make online payments or in-app purchases, you must choose Apple Pay as your payment method or tap on the Apple Pay button available while buying something. Now, to confirm the payment, you can use either of your Apple devices, including iPhone, iPad, Apple Watch, or Mac. The confirmation method depends upon the exact model you're using — for example, on an iPhone with Face ID, you should double-tap the side button and use Face ID to authorize the transaction. As mentioned by Apple, you can pay using Apple Pay in shops, gas stations, for taxis, or any other place where you see the Apple Pay symbol.
Some things to take care of while using Apple Pay
After setting up the service on all of your Apple devices, you can use it wherever it is supported. However, it would help if you kept a few things in mind before sending out digital payments. First, if you add multiple cards to the Apple Wallet app, you must select the default card for all transactions. After that, as you make any payments through your iPhone or Apple Watch, they will be carried out via this card. However, even after setting up the Wallet app, you won't be able to send and receive money via Apple Messages. For that, you have to enable the Apple Cash card.
As mentioned earlier, Apple Pay works on devices that have Face ID or Touch ID, as these mechanisms provide two-factor authentication for transactions. This is why you must set up a passcode on your Apple Watch. Additionally, you should ensure that all of your devices are signed in to the same Apple ID and iCloud account. Last but not least, Apple mentions on its official support page that Apple Pay is not available for users younger than 13 years old.