

What Are The Best Tools You Can Use To Sharpen Hedge Trimmer Blades?
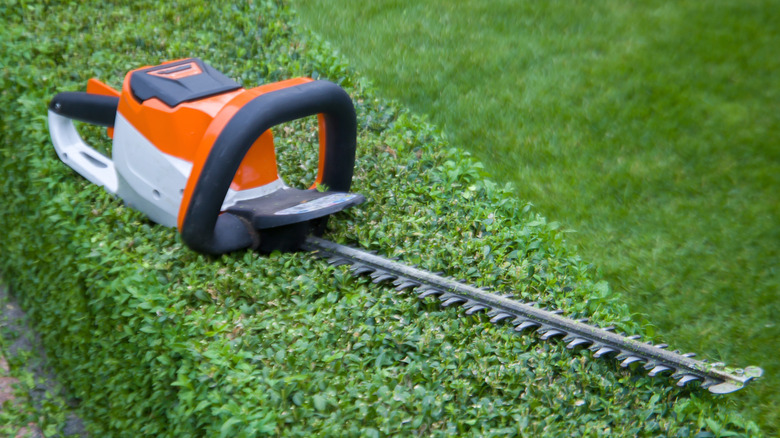
There are several solid hedge trimmer models worth buying these days, but they all have the same issue: the blades won't last forever. That said, you don't necessarily have to replace them when the time comes. You can also sharpen hedge trimmer blades, provided you're comfortable doing so, and several tools can help you get them back in good shape.
That said, you can't sharpen dull hedge trimmer blades forever. If your hedge trimmer's blades are severely worn, bent, or chipped, replace them. However, if they look good but aren't performing as they should, with branches regularly getting stuck in the trimmer or having frayed edges when cut — or, of course, if they look visibly dull — then it's time to sharpen them. Of course, if you're not comfortable sharpening blades yourself, there's no shame in buying a new blade.
If your blade can take it, and you're confident in your abilities, then sharpening is a great way to extend your hedge trimmer blade's useful life. Here are some of the best tools that can help you with this task.
Hand file
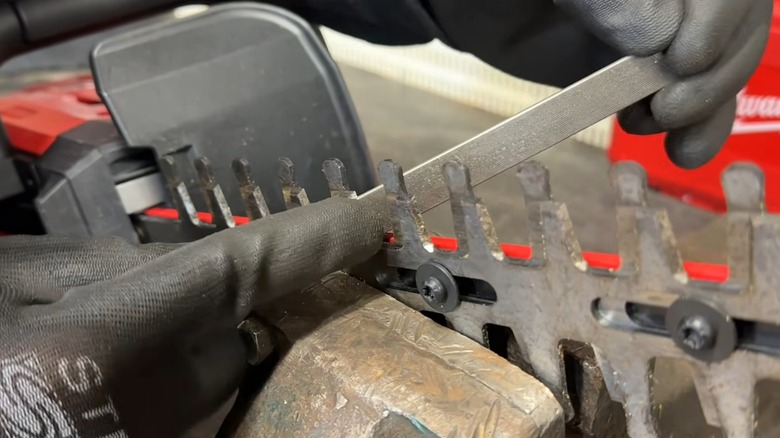
You don't need power tools to sharpen your hedge trimmer's blade; it's entirely possible to take the manual route, too. The most straightforward way is to use a hand file. Even though you're not using a power tool, you'll still want to hold your hedge trimmer in place with something like a vise and wear ample hand and eye protection. After all, you're still dealing with sharp metal and metal shavings, so it's better to be safe than sorry while sharpening.
With your safety gear on and the hedge trimmer secured, you can begin sharpening. Take the file and run it along the cutting edge of each blade, following the original angle, until the edge is as clean and sharp as you can make it. Advance the blade and continue this process until one side is complete. At this point, flip the hedge trimmer so you're facing the opposite set of blades, then repeat the process until all the other blades are sharp.
Take your time and don't rush. Make sure you sharpen at the right angle — if you're unsure, some tools will have this info in the manual — and with enough force to repair the lost cutting edge. This may be a slow method, but sometimes slow and steady wins the race.
Rotary tool
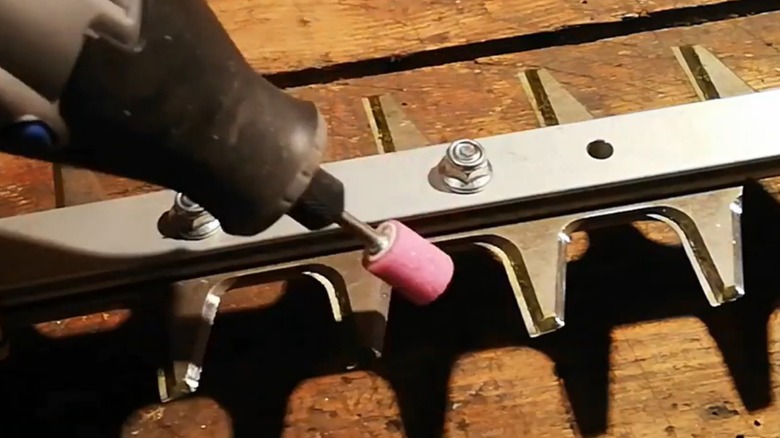
A hand file will get the job done, but not very quickly. Power tools can save time and sharpen your blades more quickly, with one relatively accessible — and not-too-unwieldy — option being the rotary tool.
The same principles apply whether you're using a file or a rotary tool: secure the hedge trimmer, sharpen each blade edge carefully and at the correct angle, and sharpen both blades. The learning curve here is understanding which bits to use and what kind of power your rotary tool needs to get the job done. You'll also want a suitable rotary tool, of course, ideally one that operates between 15,000 and 35,000 rpm, but the story doesn't end there.
Their wide range of accessories means that rotary tools can help you get a lot of tasks done, but there are specific criteria to meet if you're looking to sharpen hedge trimmer blades. The bit needs to be durable enough to grind down the metal blade. Typically, you'll want bits made of aluminum oxide grinding stone, as the material is durable and designed for working with metal. It's also worth getting a conical bit, as it makes it easier to maintain the right angle to the cutting edge.
Angle grinder
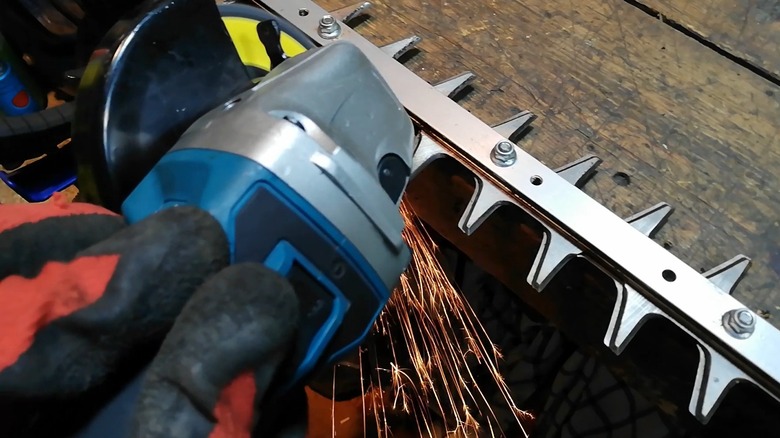
Angle grinders are some of the most nerve-wracking tools to use, but those with steady hands can indeed use them to sharpen your hedge trimmer's blades. These tools' sanding discs are exceptionally effective at sharpening dulled metal blades. The procedure is similar to using a rotary tool: make sure your hedge trimmer is secure, then sharpen each blade edge in turn at the proper angle. And, just like using a rotary tool, the attachment you use will determine how effectively the tool will sharpen your trimmer's blades.
When selecting a grinding disc, you'll want to assess the condition of your blade edges. This will determine which grit you need to get the job done. If your blade is still somewhat sharp and just needs maintenance, go for a higher grit like 120 or 80. These have smaller, less abrasive particles, so they're excellent for lightly refining a lost edge.
Conversely, if you have very dull, worn-down blades, a 60-grit disc might be just the trick. These have larger abrasive particles that will remove more material and sharpen a very worn edge in reasonably short order. No matter what grit you use, be mindful of the edge of your sanding disc. Some are flat while others are beveled, so double-check to ensure you're using it at the right angle.
Don't forget the whetstone
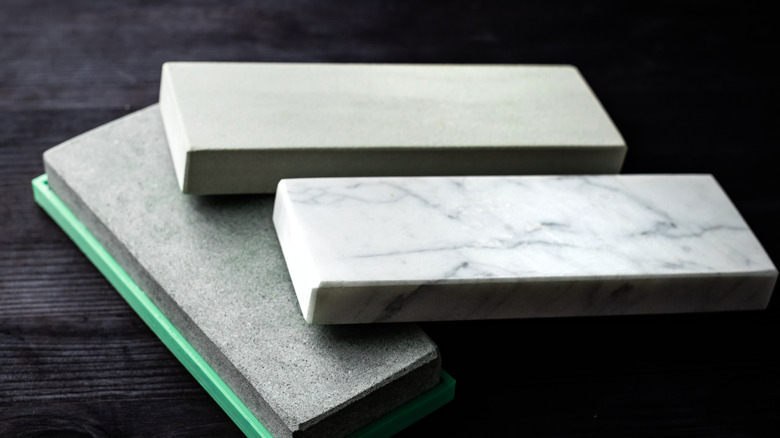
Whether you sharpen by hand or use a power tool, you'll also want a whetstone in your kit. This block of abrasive material helps refine sharpened metal edges and will play a key role in keeping your now-resharpened blade in good shape. A pass through using the whetstone ensures clean, evenly sharpened edges and removes any leftover material from the sharpening process.
One common problem when you grind and sharpen metal edges is burring, leftover raised metal that's easy to overlook. These burrs can reduce the effectiveness of your hedge trimmer's blades, which is where a pass with a whetstone helps. Taking the time to go through your blade again, deburring as you go, ensures the edges are in good shape before you put your hedge trimmer back to work. All you do is swipe the underside of the blade in the same direction as the blade edge, smoothing it until the burrs are gone. If you need more reason to buy one, note that whetstones are useful for more than just hedge trimmer blades; you can use them to sharpen lawn mower blades, too.