

How To Remove Scratches From Your Stainless Steel Appliances
We may receive a commission on purchases made from links.
Stainless steel is notoriously tough and durable, which is why so many of the most reliable home appliance brands build their machines out of it. However, well it may be incredibly sturdy, it's not invulnerable, and can still get scratched up with regular use. Scratches can deepen and become more unsightly over time, as well, especially if gunk builds up and discolors them.
It's important to note that stainless steel is not a monolith (and as the Cybertruck recently proved, it's not entirely rustproof); different kinds call for different cleaning methods. Various finishes can affect not only how likely the metal is to show scratches, but also what cleaning products are appropriate. This advice is specifically for conventional brushed stainless steel, the kind that shows visible horizontal or vertical grain lines. You always want to clean and buff in the same direction as those lines.
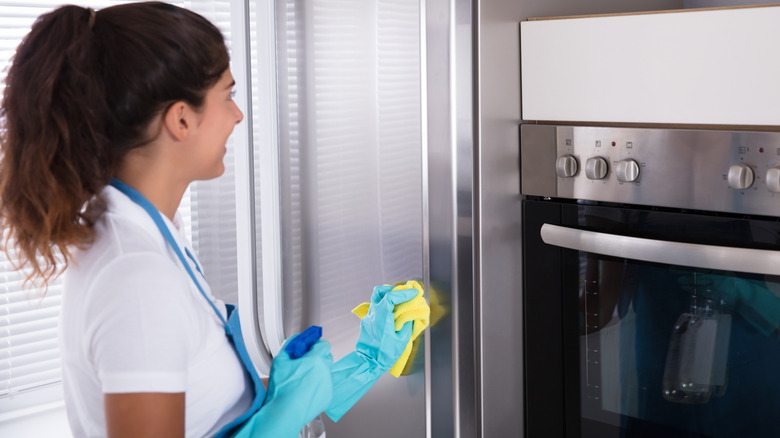
Start with a microfiber cloth with warm water or gentle dish soap, and remove any surface grime. Dry, then apply a layer of a cleaner or polish specifically designed for stainless steel to your cloth, like Bar Keeper's Friend Soft Cleanser (you can also mix some baking soda and water, or use a non-gel, whitening toothpaste). Scrub in the direction of the grain to remove the contrast of finer scratches and create a more even sheen. Avoid using anything abrasive during the process, as stuff like steel wool or bleach, even oven cleaner or rough paper towels, can do more harm than good and deepen existing scratches or create new ones.
Work with the grain
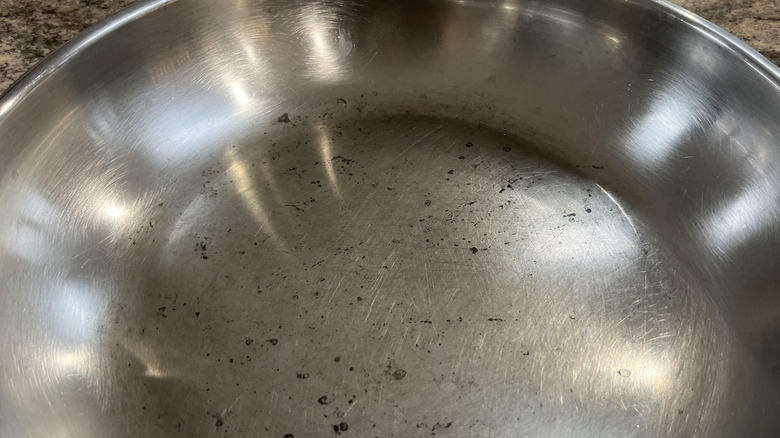
Stainless steel is fantastic (scientists have even created a version with antibacterial properties), but deeper scratches can be a pain to remove. For truly stubborn scratches, try a custom scratch removal kit, like this option from Amazon. Note that it's only for non-coated surfaces, and includes a patch to test to make absolutely sure your surface fits the bill. Follow the instructions carefully, taping off the area, applying the paste, and cleaning well every eight to ten strokes with one of the included pads (there are several for different scratch depths).
Start with the lower abrasion pads meant for shallower scratches and work your way up only if necessary. The rule of thumb is that the less, more gentle buffing possible, the better. The idea is to blend a scratch gradually into the surrounding metal, not sand down a whole section. Thoroughly inspect the steel as you work and take your time; you can't un-sand a fridge, after all.
A deep gouge, or anything that will catch a fingernail, is probably beyond the purview of even a custom kit, and will likely need professional attention; check for servicers authorized by the manufacturer or refinishing specialists. To avoid damage in the future, only use soft cloths when cleaning the steel, and never drag magnets, metal tools, or cookware across the surface.