

Road Trip Checklist: How To Clean Your Car Well Before A Big Adventure

School is back in session, but that won't stop many people from taking some road trips before winter weather hits. But as you're getting your car ready for the next big trip, you may want to think about cleaning it first. That may sound like a small step, but you can actually spend more time than you might think, depending on how thorough you are with the work.
Starting your trip with a clean car can make it easier to deal with whatever mess you pick up along the way. You also might encounter some dirt roads, which can only add to the problem. All of this means that washing your car after the fact can take more time than you might actually have to spend.
Having a clean interior is equally important, because you never know what could happen. This is especially true if you have a carload of family along for the trip. Passengers may add to the dirt that's already on the floor mats and the stains that might be present on the seats. But there's more to cleaning the interior, and when it comes to staying on top of it all, it's always a good idea to have a checklist. This can help ensure that you get every inch of the outside and inside that needs cleaning before you hit the road.
Wash the exterior
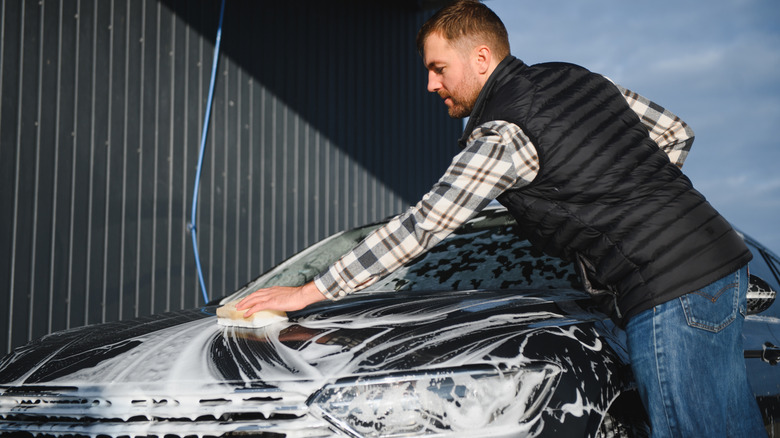
Let the car cool down before you begin; otherwise, you can leave spots or deposits behind. Start by rinsing the entire car with water to remove loose dirt and debris that could scratch the paint. Use a dedicated car-wash soap instead of household cleaning products, along with a sponge or wash mitt. Start at the top of the car and work your way around the vehicle, one section at a time. Be sure to rinse your wash mitt frequently and keep going until you've got the body clean.
Next, pay attention to the wheel wells and the lower edge of the body. Tar and grease can build up in these areas, while sand, brake dust, and other debris can become a problem as well. Use a soft, nonabrasive cloth for stubborn grime and grab a separate sponge for the wheels and tires. If you use a dedicated wheel cleaner, make sure it's compatible with your wheels' finish. Once you're done, rinse those areas and the entire vehicle thoroughly. Air-drying can leave spots behind, so dry the car with a soft chamois or towel.
You could use an automatic car wash instead, but beware that some use brushes that can contribute to swirl marks or other paint damage. That's why doing it yourself by hand may be the better option. Once you finish with the exterior, open the doors and clean the door jambs, which can collect plenty of dirt and grime as well.
Clean the interior
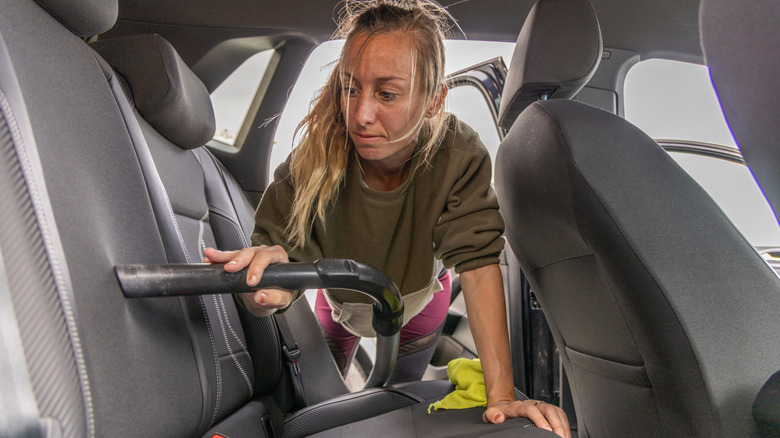
After the exterior and the door jambs are cleaned, it's time to move into the cabin. Start by removing the floor mats and cleaning them along with the carpet. Use a small amount of carpet cleaner for stains and work on the areas with a damp microfiber cloth. But don't saturate the carpet, as too much moisture can lead to mold and musty smells inside the car. Vacuum underneath the seats and use an upholstery brush for pet hair, crumbs, and dirt.
For leather or vinyl seats, vacuum the crevices before wiping them down with a soft, damp cloth and saddle soap. The dashboard and other trim pieces also need cleaning, especially around the small gaps where dust can build up. Use microfiber cloths and an automotive interior cleaner for those surfaces, along with a soft brush for the tight spots. Avoid glossy products on the dashboard, as they could create a glare on the windshield.
Use an ammonia-free automotive glass cleaner for the windshield and the door glass, drying the surfaces with a microfiber cloth. However, it's not a good idea to use that same cleaner on the infotainment screen, as you could damage the screen's coating. Instead, carefully wipe the display with a clean, dry microfiber cloth. You could even use an eyeglass cleaning cloth, as it is well suited to cleaning the infotainment screen.
Add those finishing touches
Cleaning your car before a road trip may not be the same as showroom detailing, but that doesn't mean you can't add some finishing touches. For example, you can give the interior some extra protection by using a product like Armor All on some of the areas you've just cleaned. Designed for surfaces like the dashboard and vinyl seats, it can help prevent cracking and fading while adding a layer of UV protection. Use it with a clean cloth, and once you're done, wipe away any excess.
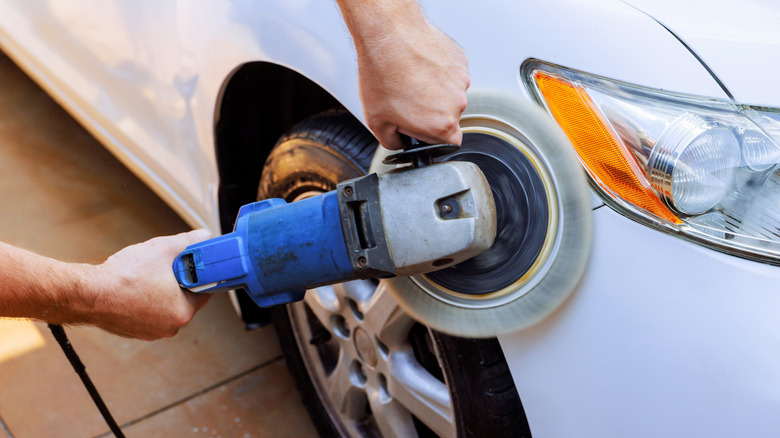
You can also apply a coat of wax to the exterior to help protect your car's paint. Wax can help keep the finish safe from things like bird droppings, tree sap, and road salt, which can all negatively impact the paint over time. Before you start, make sure the surface of the vehicle is cool and it's out of direct sunlight. Then spread the wax over small areas at a time and let it dry before buffing it off with a fresh microfiber towel.
If you want to go the extra mile, you can also check the headlights. A cloudy or yellowed lens can reduce the amount of light reaching the road. While you can try to scrub them down, a restoration kit may be the best option. It can remove the damaged outer layer and replace it with a protective coating. This is a relatively simple DIY job that can be done at home before you head out.