

Don't Throw Out Your Old Mac Mini – It Has A Simple, Functional Use
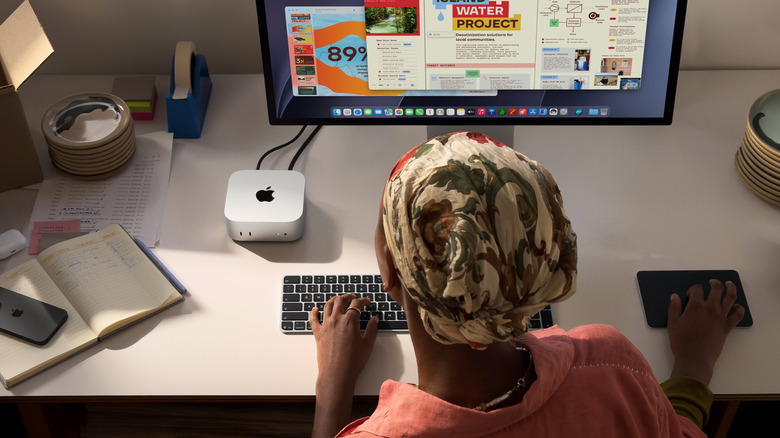
Like any tech device, Mac minis will eventually run their functional course and need to be replaced. If you're shopping for a new computer, you should know that your old Mac mini can still be useful, as it can be transitioned into functioning as a dedicated server or NAS (network attached storage). That server can then be accessed through either another Mac or Windows computer to store, process, and "serve" data from one device to the other.
Despite Apple's penchant for delivering game-changing products, it hasn't always been able to pry some tech-y consumers away from the competition. The Mac mini was introduced, in part, to bridge the gap. It provides the brand's signature processing power in a separate, Apple TV-sized computer that can connect with almost any monitor, keyboard, and mouse of a user's choosing. At a cost of $899, it's a budget-friendly and highly-portable option for users who want Apple power without going all in on the brand's devices. Here's how to turn your old Mac mini into a server.
Setting up your Mac mini as a server
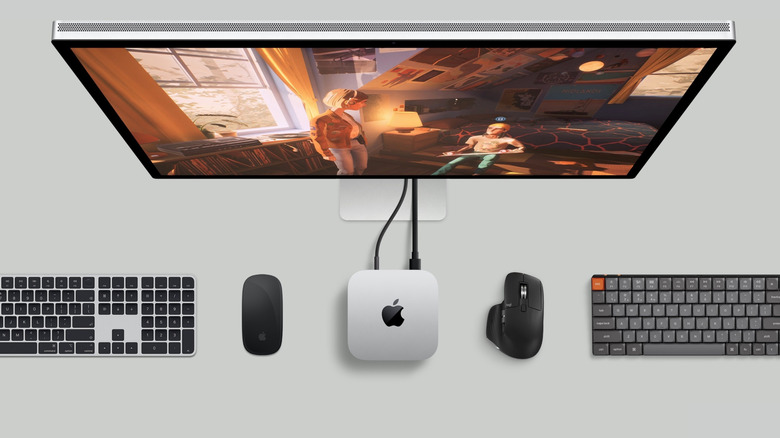
Having a separate server on hand could be ideal for gamers and developers who prioritize speed, performance, and configurational freedom. But before you can convert your old Mac mini, you'll need to ensure it's connected to a monitor, keyboard, and mouse or trackpad, that your other computer is connected to the same network, and that you can find the IP address of your old Mac mini. From there follow these steps to turn your old mini into a server:
- Select the server software you want to use with your Mac mini and install it by following its setup procedures. Ensure it's configured to accept connections from other devices on your network.
- In your Mac mini's Settings, turn off its auto sleep function, turn on its firewall, and configure it to restart automatically after a power outage.
- Set up your Mac mini for remote access, utilizing either a remote login function or a screen share setting. To use screen sharing with Windows devices, you'll need to engage a third-party VCN client.
- In the General section of your Mac mini's System Settings, enable file sharing. Some server software options may also provide a way to enable file sharing for the mini during setup.
- Connect your Mac mini with another Mac by opening Finder, selecting Go, then Connect to Server. From there, enter your mini's IP address. For connecting to a Windows computer, start by selecting Connect to Server in the Go window on your Mac. In the popup window, enter "SMB://", followed by the IP address of the Windows device, then click Connect and follow the prompts.
Your Mac mini should now be operating as a dedicated server or NAS. If you prefer to use the mini without a display, screen sharing should allow you to remotely manage your Mac mini from another Mac on the same network.