

This Is The Drill Bit You'll Want To Use For Drilling Pilot Holes
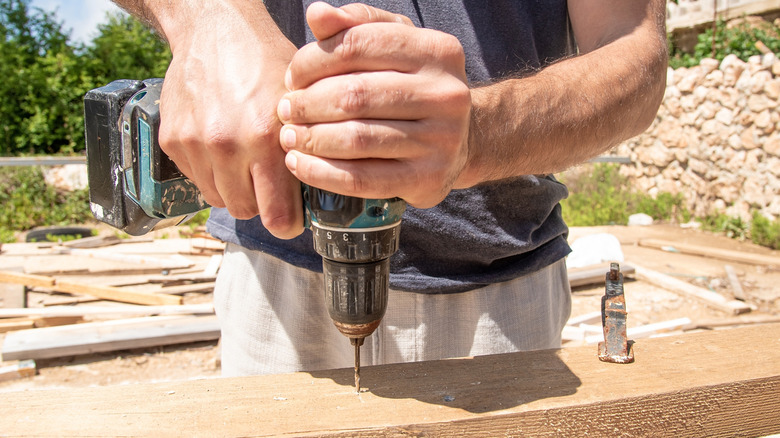
Pilot holes are an unfortunate but necessary evil in carpentry. Skipping this step is one of many common mistakes that people make when using a power drill. Sometimes you can get away with skipping it if you get lucky, but it can easily cause wood to crack and bulge, especially if the fasteners are placed near the grain-edge of a board. This happens because the wood that the screw is displacing has nowhere to go. It gets shoved aside and pushed against the surrounding grain, causing the fibers to split apart as they're forced to make room for the intruding metal. Drilling a pilot hole removes a portion of this material so that the shank can slide into place, leaving only the threads to bite into the surrounding wood.
Another benefit of pre-drilling is that it helps the screw to go in straight. Wood isn't a uniform-density substance, and a knot or hard spot in the board can cause a screw to go off its intended trajectory as it seeks the path of least resistance, sometimes even driving at an angle that pushes it right out of the board face. A drill bit isn't so easily thrown off course, and once a pilot hole is drilled, that hole becomes the new path of least resistance for the screw.
All that said, some of you may not know how to choose the right kind of drill bit for your fasteners. I've been building furniture and other fine woodworking crafts for the better part of a decade now, and I can tell you that you need to consider three things when selecting a bit for drilling pilot holes: bit type, wood type, and bit size.
Bit and wood type
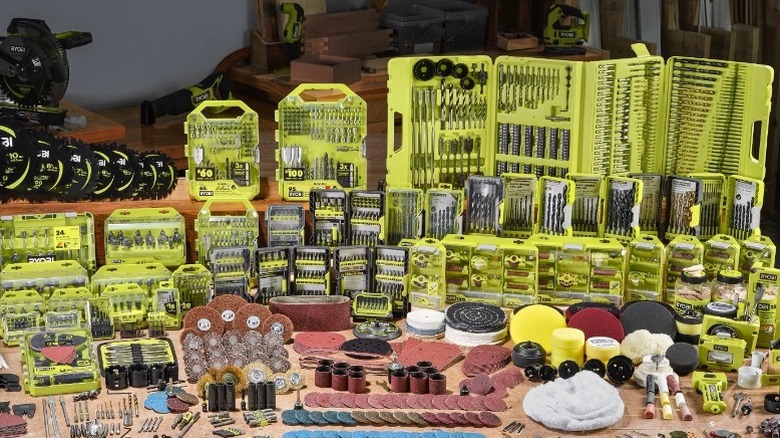
There are three main kinds of drill bits you need to concern yourself with when drilling pilot holes: twist bits, brad-point bits, and countersink bits. The twist bit is the most commonly used kind of drill bit, with spiral flutes ending in a point. These come in just about every kit, and they're likely to be the ones you end up using in most of your projects. The brad-point bit is more of a specialty item that has a needle-like tip flanked by winged blades.
These are primarily made for woodworking and are a great choice if you have them available. They're very good at ensuring the bit doesn't jump when you start to drill, and they help you get clean edges around the entry and exit points. Countersink bits are a lesser-known type of drill bit that serve a much more unique purpose. There are a few kinds, but the main ones used for pilot holes have a twist bit with a cone-shaped router-like bit higher up, creating a pilot hole that goes through the joinery and a space for the screw's head to "sink" below the surface of the board at the top.
The next thing to consider is the type of wood that you're using. Hardwoods such as oak, maple, and walnut are generally denser and don't allow for a lot of expansion between their grains before splitting. Softwoods like pine and fir are a bit more forgiving. In practice, this means that you should use a bit that is the exact size of your screw's shank for hardwoods, but you can get a slightly more snug hold in softwood by sizing down 1/64-inch.
Choosing the right size
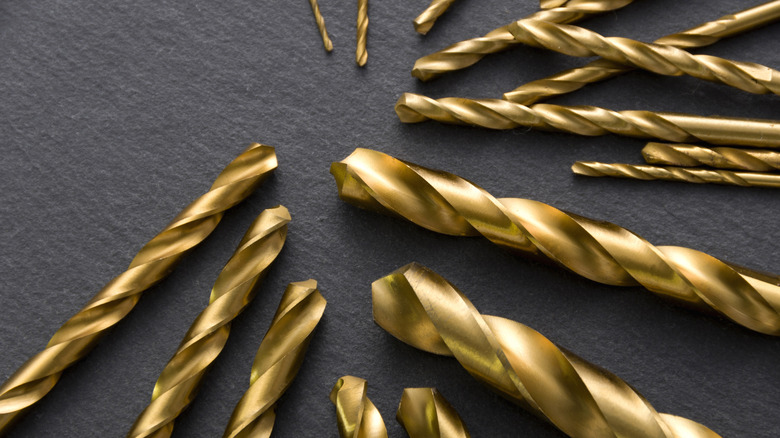
So the next question is: How do you know the size of the shank on a screw? Unfortunately, a lot of screw manufacturers don't put recommended pilot hole sizes on the box (even though that would be really helpful!) But don't worry, you don't need to break out the calipers and try to measure between the threads. There are plenty of size charts online, such as this one from Bolt Depot, this one from McFeely's, and this one from UF-Tools. These charts are pretty reliable, so it's worthwhile to print one of them out and tack it to the wall in your shop as a quick and easy reference point.
Of course, using officially recommended sizes is the safest way to go, and it's easily the best option for fine woodworking projects when you're working with immaculately cut pieces of expensive hardwood that you really don't want to ruin. That said, if you're throwing something together out of cheap pine or plywood and you just want a quick and easy way to eyeball it, there are other options. You can simply take one of the screws and hold it up to the light, then line the bits in your kit up behind the shank one at a time until you find the biggest one that is closest in width to the shank, but that you can't see poking out on either side. This helps keep the bit the same size or ever-so-slightly smaller than the shank, which should ensure the threads can get a good bite while the shank doesn't displace too much wood. Between you and me, I've been doing this for years, and I've never had a board split.