5 3D Printing Mistakes Every Beginner Will Want To Avoid
An FDM 3D printer is no joke. It's a robot that flings around a print head, melting plastic at 400 degrees Celsius (over 750 degrees Fahrenheit), using motors powerful enough to rapidly dismantle itself and anything else in its path. Beginner mistakes in 3D printing can therefore range anywhere from wasted filament to raging house fires. Fortunately, modern 3D printers have you covered for the latter category by making the process genuinely beginner friendly. This hobby is nevertheless rife with a number of gotchas that can leave a novice seething in frustration.
There are a dozen different ways to ruin a print, ranging from failing to perform cold pulls between filament changes, to something as insignificant as letting the filament retract into the spool for even a split second. As someone new to the hobby, you might be tempted to get started with generic filament profiles, but long-term success only comes with learning how to run calibration prints to figure out the optimal nozzle/bed temperature, or dialing in the nozzle offset for proper bed adhesion. Worse yet, failing to sufficiently dry materials such as PETG, TPU, or PA will ruin prints. And that's even if you get everything else right.
While you will learn best practices like these over the course of your 3D printing journey, here are some beginner mistakes that aren't commonly discussed in the FDM printing discourse. However, knowing them beforehand will give you that much needed push to thrive in this challenging hobby.
Using PLA for the wrong applications
PLA is widely considered the training wheels of 3D printing. It's simple enough to help beginners learn 3D printing concepts while retaining most of their hair. PLA can be printed a good 50 to 80 degrees Celsius (122 to 176 degrees Fahrenheit) lower than engineering filaments such as ABS and PA (nylon), which also makes it resistant to warping. While engineering materials struggle with complex 3D model geometries that require extensive bridging and supports, PLA does that with ease while also sporting higher tensile strength, so why do serious engineering applications rarely use the seemingly wonderous filament?
That's because the material tends to creep under pressure. In layman's terms, PLA spontaneously deforms at room temperature when subjected to any degree of load. Print a VESA monitor mount using PLA and you'll eventually wake up to a loud crash and a materials science lesson worth several hundred dollars. The unfortunate tendency of the polymer to deform under pressure also renders it unsuitable for any application that requires fasteners. That practically includes all serious engineering endeavors.
PLA is also useless for outdoor usage, thanks to its low glass transition temperature of 50 degrees Celsius and poor UV resistance. The former is the temperature at which the material begins to soften, whereas the latter causes it to disintegrate when exposed to sunlight. No PLA parts allowed on the patio, or inside your car. Learn more about the material in our comprehensive guide.
Meanwhile, engineering materials such as ABS, ASA, Nylon, and polycarbonate don't exhibit these shortcomings. But these materials aren't beginner friendly because they require expensive 3D printers equipped with enclosed and heated print chambers.
Choosing the wrong printer for your needs
If you plan on printing exclusively with PLA, you don't need a fancy CoreXY printer with an enclosed build chamber like the Prusa Core One+ or Bambu Lab X1C. In fact, filaments like PETG are perfect for light engineering use cases where PLA would otherwise fail. The material doesn't creep like PLA, has good strength and toughness, and it can also sustain a sufficient degree of heat exposure for indoor use. And it can also be printed effortlessly on a cheap bed-slinger without the need for an enclosure.
TPU, which is one of the toughest, most indestructible materials in consumer 3D printing, is another filament that plays well with bed-slingers equipped with a direct drive extruder, like the Prusa MK4S or the Bambu Labs A1 Mini. Investing in an expensive CoreXY printer with heated chamber is an exercise in futility for an FPV drone hobbyist who prints nothing but TPU.
On the flip side, none of the aforementioned bed-slingers are truly capable of printing engineering filaments like ABS, ASA, PC, and PA. These filaments need an enclosed chamber and high temperature nozzles at the bare minimum, whereas larger PC and PA parts absolutely require actively heated print chambers to avoid serious warping and cracking issues.
Want to 3D print a lightweight RC model aircraft? You're going to need a printer like the Bambu Lab P1S to handle the foaming LW-ASA filament ideal for that purpose. Print the same airframe in PLA or PETG, and it won't last the drive to your flying club on a hot summer afternoon. The same goes for any 3D printed component that will have to withstand impact, pressure, fasteners, UV exposure, or a significant amount of ambient heat common with automotive and robotics projects. If you are in the market for a new 3D printer, it pays to familiarize yourself with these tips.
Not spending enough time and effort on first layer adhesion
Beginners who start off printing PLA on cheap bed slingers like the Ender series of printers from Creality, often learn an expensive lesson in compatibility between the filament and build plate material. PLA prints effortlessly on any build plate, including cheap printers with glass beds, but things go horribly wrong when you naturally progress to printing PETG on the same build plate. Turns out, PETG parts adhere so well to glass that they end up ripping chunks right off the build plate.
This can be remedied by using a painter's tape, or PVA glue stick as a release agent. Or, better yet, by swapping the glass build plate out for the more appropriate textured PEI variety. In fact, engineering materials like ABS, ASA, and PC print well on smooth PEI build plates. Other filaments like PA call for special materials like G10 (also known as FR4 or Garolite) to achieve optimal print adhesion. Graduating from PLA to any serious 3D printing filament should be preceded by replacing incompatible stock build plates with an appropriate material.
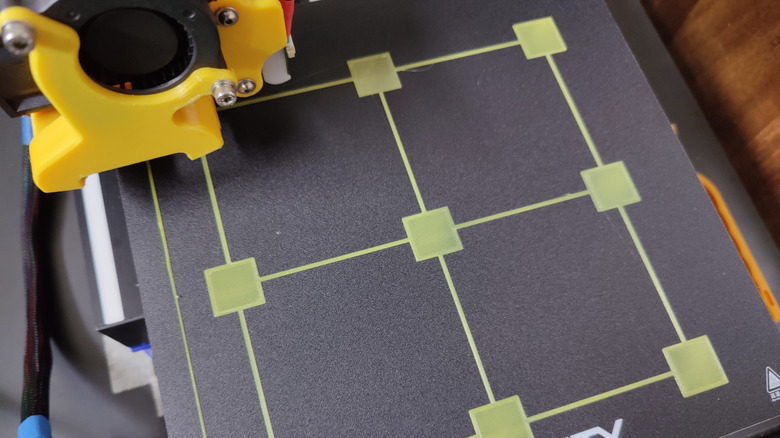
Remember, how glue stick has been described as a release agent, and not an aid for bed adhesion? Using PVA glue as a band-aid for existing issues with bed levelling and nozzle offsets is another rookie mistake. There's no need to rely on glue if you calibrate your first layer adhesion, dial in the correct nozzle offset, and use sensor aided bed mesh algorithms to compensate for printer beds with warping and/or any other geometrical imperfections.
Jumping on the printer upgrade bandwagon
At first, 3D printer upgrades sound fantastic. Why spend $1,100 on a Prusa MK4S, when you can purchase a Creality Ender-3 for well under $200 and throw in a few hundred dollars on top to match the former's feature set? To answer the rhetorical question, that's because improving existing 3D printer designs is far too complicated to DIY at home.
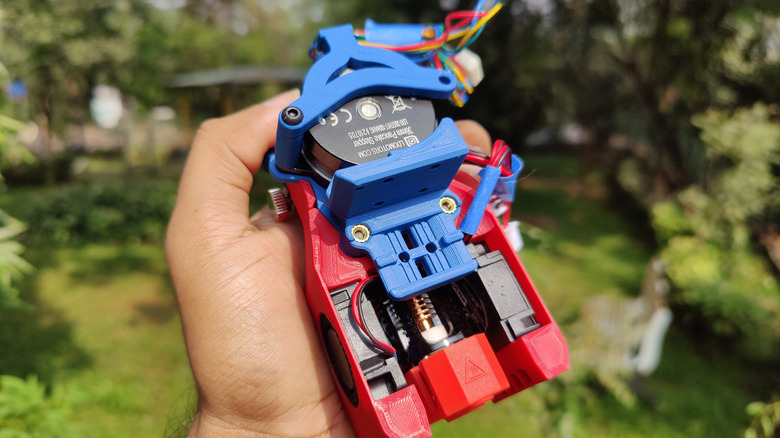
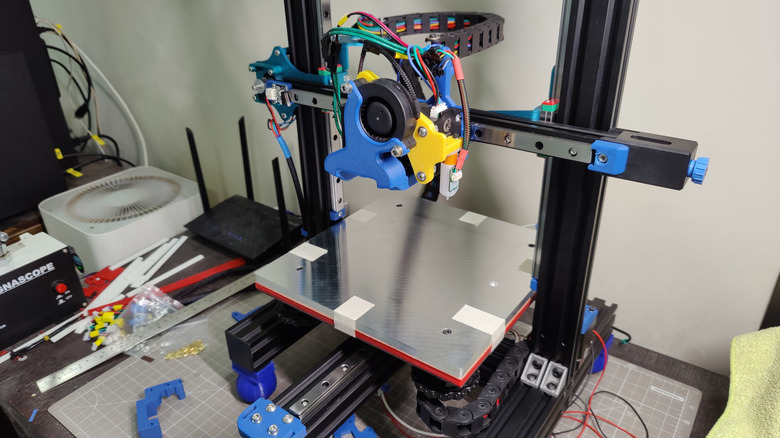
Most beginners discover this the hard way when they upgrade the stock Bowden hotend with a fancy direct drive upgrade. Print quality ironically suffers because the dual drive gear design causes inconsistent extrusion, which ruins surface quality. On the other hand, the single drive gear configuration of the stock Ender-3 hotend works with the forgiving nature of the Bowden tube to deliver cleaner prints. Worse yet, the added weight of the stepper motor on direct drive extruders also causes conspicuous ringing artefacts on prints.
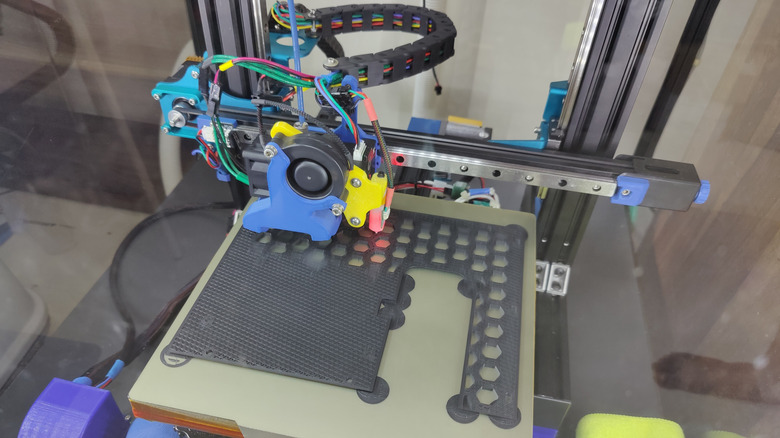
Upgrading the stock V-slot roller-based motion system with fancy linear rails is another popular 3D printer upgrade that negatively affects print quality. The stock rollers are fashioned out of relatively soft polymers, which absorb vibrations and tiny geometric imperfections to deliver clean 3D prints. Linear rails are too precise, which ironically serves to exaggerate these issues plaguing budget 3D printers like the Ender-3.
The key takeaway here is that 3D printers are engineered to work optimally as a sum of their parts. While such upgrades improve reliability, longevity, and time between service intervals, they also upset the tenuous balance governing print quality.
Overlooking the dangers of 3D printing
How dangerous is 3D printing? Well, we know that 3D printers emit copious amounts of microplastics and volatile organic compounds, or VOCs. We also know that both of these pollutants are known to cause cancer. But, as anyone who has encountered California's Proposition 65 warnings knows, practically everything can be carcinogenic to some degree. Even your kitchen countertop.
That still doesn't change the fact that everything from talcum powder and Teflon to asbestos and tobacco were once considered safe, and for several decades at that! Consumer 3D printers, on the other hand, have only been accessible to the masses for little more than a decade. While the EPA continues to study microplastics and VOCs emitted by 3D printers, don't be surprised if the status quo changes for the worse in the future. However, there is one way to quantify the risk of 3D printing emissions: The distinct new car smell, which is an insidious byproduct of VOCs off-gassed by the dashboard plastics.
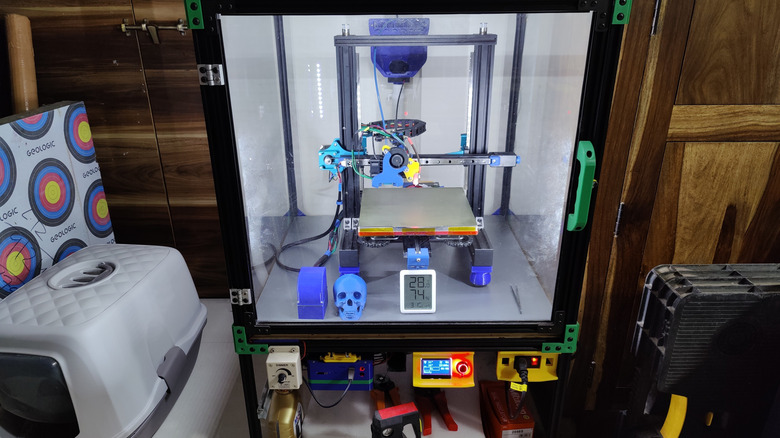
Scientists are concerned about exposure to VOCs off-gassed from vehicle trim on a warm sunny day during an average commute. 3D printers, however, melt plastics at around 260 degrees Celsius (500 Fahrenheit) for the entire duration of a print. Worse yet, 3D printing with materials such as ABS and ASA is known to release copious amounts of VOCs. This includes styrene, which is a suspected carcinogen affecting the central nervous system. Believe it or not, that's nothing compared to resin printing, which is significantly more toxic. That's why we recommend keeping your 3D printer out of the bedroom and living spaces. Ensure sufficient ventilation and wear correct PPE (respirators and gloves) while handling toxic materials like 3D printing resins.