Changing These 5 Settings Will Instantly Make Your Monitor Look Better
The primary way we experience computers is with their displays. You might spend thousands of dollars on a top-tier laptop or PC for work or gaming, but a subpar image can make the experience feel cheap. By that same token, a good monitor can make a middle-of-the-road computer feel much more premium. But what many monitor owners don't know is that, out of the box, a display is often not performing at its best.
Whether you're a gaming enthusiast or just want your Netflix shows to look as premium as possible, you can get a lot more graphical fidelity out of your monitor than you might think by changing a few simple settings. To be clear, different use cases may require different settings, so this is not a one-size-fits-all guide. Rather, it reflects the settings that will be best for the majority of people the majority of the time. We've rounded up five settings that you can change to instantly improve the look and feel of your monitor, from the most budget-friendly panels to ultra-premium OLED gaming displays. If you're ready to get the picture, let's dive in.
Use your monitor's native resolution for the clearest image
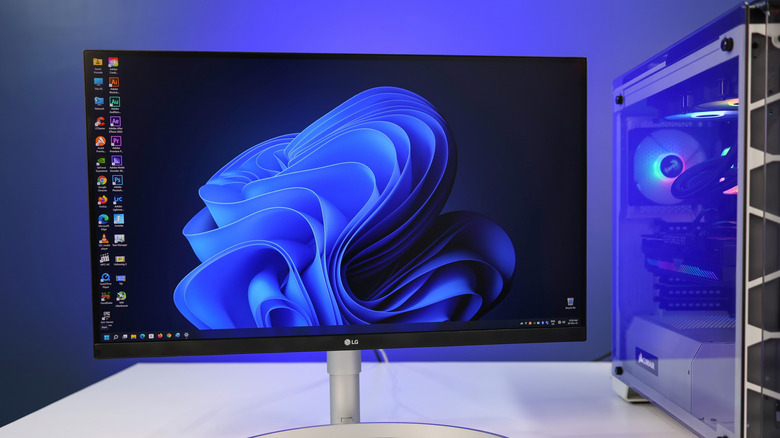
If you spent your hard-earned cash on a brand-new, high-resolution monitor, don't forget to make sure it's actually putting all its pixels to work. Just because a monitor is capable of 1440p or 4K resolutions doesn't necessarily mean it's actually displaying content at that resolution. If your computer is set to a lower resolution than your monitor's native one, it can cause blurriness and even scaling issues that make UI elements look comically large.
Thankfully, both Windows and macOS default to a monitor's native resolution in most cases, so the odds you'll actually need to change this setting are low. However, it's worth double-checking just in case, especially if anything looks blurry or incorrectly sized on your monitor. On Windows 11, you can adjust the display resolution by opening the Settings app, choosing System from the lefthand menu, and then choosing Display. Pick your native resolution from the dropdown menu next to Display Resolution if it is not already selected. While you're there, you can check the Scale setting directly above. In most cases, it should be set to 100%, but if elements onscreen feel too large or small, you can try adjusting it.
On macOS 26, click the Apple logo in the top left corner of the desktop and choose System Settings from the dropdown. The Settings app will open. Click Displays in the lefthand sidebar, then select your monitor's native resolution. macOS defaults to showing a preview of the resolution rather than showing you the actual resolution numbers, but hovering over the previews will surface their true resolution sizes.
Set your monitor to its highest refresh rate for smooth graphics
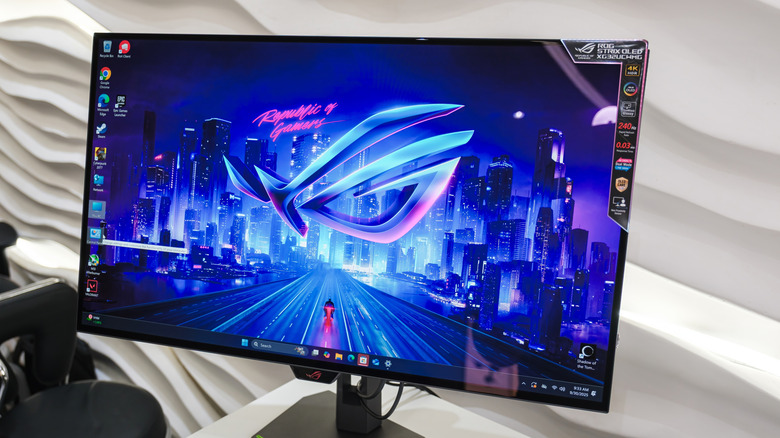
Many modern monitors can achieve high refresh rates of 60 Hz (also referred to as frames per second or FPS) or higher. At the top end of the market, premium gaming monitors in 2026 can shoot north of 500 Hz. However, operating systems such as Windows 11 often do not automatically match graphics settings to high refresh rate monitors past 60 Hz. The first thing you should do after connecting a display with a refresh rate higher than 60 Hz is to open your computer's graphics settings and set them to the monitor's native refresh rate. Consult the manufacturer's support documents if you're unsure what the native refresh rate is. You can find Windows 11's refresh rate settings by opening the Settings app, then navigating to Display, and then Advanced Display. The native refresh rate should be the highest available from the dropdown menu.
On macOS 26, click the Apple logo in the top left corner of the desktop, then choose System Settings. Select the Displays tab, then select your refresh rate from the dropdown menu next to Refresh Rate.
Be sure to check the specifications on your computer's video out ports, as one may be better suited to high refresh rates. And don't forget that one or more of your computer's USB-C ports may also have a video out function thanks to DisplayPort alt-mode, which in some cases may be superior to the video output from its HDMI port. Everything along the chain from your system to the monitor needs to be free of refresh rate bottlenecks for the best results.
Enable VRR settings to get smooth frame rates
If your monitor and computer both support a variable refresh rate (VRR) technology such as Nvidia G-Sync or AMD FreeSync, you should make sure those are enabled on your computer as well. This will allow the computer and display to negotiate frame rates, allowing your monitor to adjust to the refresh rate of the content or game being displayed. On Windows 11, you can enable G-Sync in the System section of the Nvidia App if you have a GeForce GPU or FreeSync from the AMD Adrenalin software if you have a Radeon GPU. For more detailed instructions, see our guide to optimizing your monitor for the best frame rates.
VRR is most useful for avoiding the screen tear effect while gaming, which occurs when your GPU renders frames faster than your monitor can display them. Unlike a movie, which plays at the exact same frame rate for its entire runtime, a video game is constantly outputting different frame rates. A monitor locked to a fixed refresh rate may begin to show part of a frame before it has fully refreshed and the previous frame has left the screen, resulting in a visual glitch that looks like the image is being torn in two directions. VRR solves this by putting your monitor in a rhythm of sorts with the GPU, allowing it to adjust its refresh rate to keep pace. In the case of G-Sync, there's a physical chip inside your monitor negotiating the synchronization. However, if you are not a gamer, you may find it less useful.
Turn HDR on and off as needed
If you've spent any time looking at display and picture technology, you've probably seen the term HDR thrown around. It stands for "high dynamic range," and is used to improve dynamic range — the difference between the brightest and darkest part of an image — in various content. Most newer movies, TV shows, and games can be displayed in HDR, and many newer monitors and TVs also support it. If your monitor supports HDR, you should absolutely be using it, but only when watching or playing HDR content. Standard dynamic range (SDR) content such as a webpage can look downright awful when HDR is turned on.
To use HDR, first make sure you're using display cables that support it, specifically HDMI 2.0 or higher or DisplayPort 1.4 or higher. Then, check your monitor's built-in settings panel (the one you use the onboard hardware buttons to navigate) to see if you need to turn HDR on. If possible, set it to Auto HDR mode, which should toggle the mode on and off depending on whether you're viewing HDR content. Lastly, open your computer's display settings as described in the previous section and toggle on HDR when you want to use it. When launching compatible games, HDR may turn on automatically, in which case you can skip this step. To quickly toggle HDR on and off on Windows 11, you can use the keyboard shortcut Windows + Alt + B, but macOS has no similar shortcut.
Turn off blue light filters if screens don't disrupt your sleep
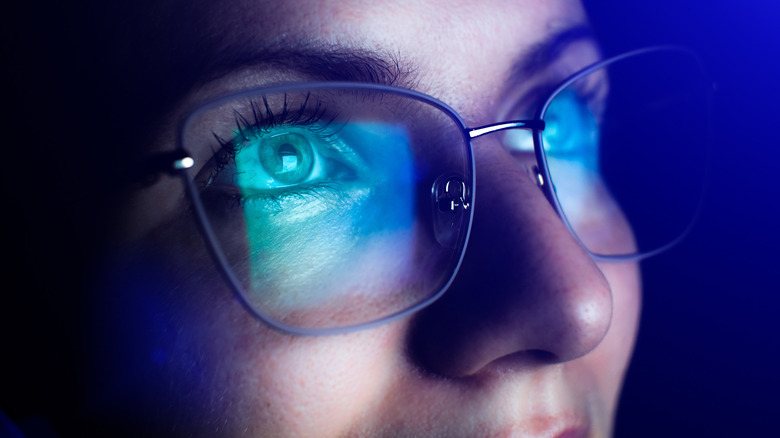
You're probably familiar with the conventional wisdom that using your phone or computer before bed is bad for you. We're told that our brain treats light in the blue spectrum as a sign that it's still daytime and that it can disrupt our circadian rhythm and throw off our sleep schedule. This makes intuitive sense, but recent research has thrown our societal hatred of blue screen light into question.
Among other recent research, a 2023 study from the University of Basel and the Technical University of Munich published in Nature found "no conclusive evidence" that blue light had much effect on "the human circadian clock or sleep." Some experts now believe the type of activity you use your screen for after dark matters more than the light itself. For instance, social media may stress you out before bed, making it much harder to fall asleep. To be clear, the jury is still out on the relationships between both blue light and screens on our sleep, and research is evolving on the topic.
It's no secret that the blue light filters now built into every major operating system and many monitors make the image look worse, casting a sickening yellow pallor over the entire display as the lack of blue warps colors. Given the disintegration of scientific consensus regarding blue light, it might be totally fine to turn that Night Light or Night Shift setting off and enjoy your monitor in all its glory, including at night. However, some people are more sensitive than others. If you find blue light to be a particularly disruptive factor for your sleep, it's probably a good idea to keep the blue light filter on in the hours before your bedtime.