Yes, Milwaukee Sells Replacement Packout Wheels - Here's Where To Buy Them
We may receive a commission on purchases made from links.
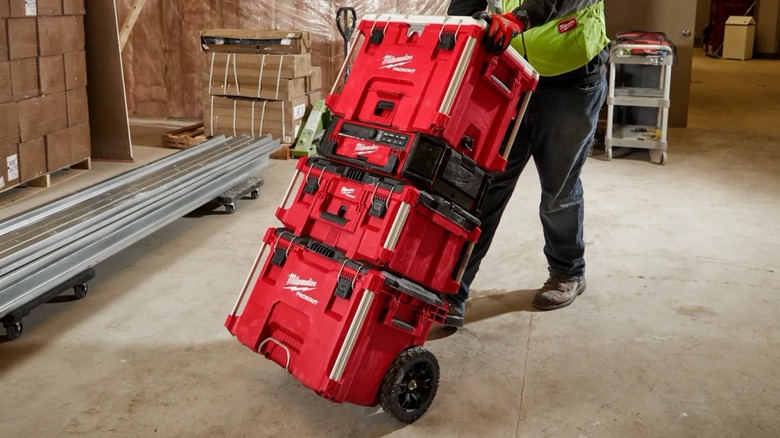
As any tenured Milwaukee customer could tell you, there's far more to the brand than just power tools. There are cool Milwaukee gadgets you've likely never heard of, Milwaukee-branded workwear, and, most notably, the Milwaukee Packout line. This modular storage system is comprised of tool boxes of varying sizes that connect to each other for easy transportation between jobsites. They're touted as a means of organization, transportation, and protection, though even their durability has its limits.
For instance, the wheels on Packout boxes can end up damaged, defeating the purpose of having them in the first place. Thankfully, repairs are possible. Online retailers like Red Tool Store and Amazon sell an official Milwaukee Packout wheel kit with two new wheels to get a rolling Packout container back in usable shape. With that said, this kit is a bit pricey at over $40, but that's still less than going out of your way to buy a whole new box. The rolling Packout toolbox these replacement wheels are intended for typically goes for well over $150, so the math is pretty clear. Once you have your replacement wheels, the next step is to remove the old ones and attach the replacements. This isn't too involved a process, so you shouldn't be without your Packout container for long.
How to replace Milwaukee Packout wheels
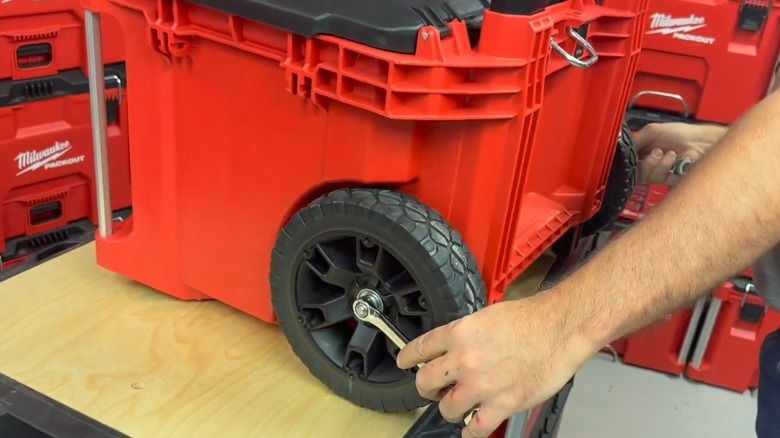
Once your replacement Milwaukee Packout tool box wheels arrive, swapping the old wheels for new ones won't take much effort. All you need are two wrenches that fit the nuts on each wheel, and potentially WD-40 or penetrating oil to loosen these stuck parts if they're stuck. Once you have those, you'll be ready to get this process underway.
- Empty your Packout toolbox and secure the lid. Place it on a flat, even surface.
- Take each wrench and attach one to each wheel.
- Use one wrench for leverage to crank the other and remove the nut. Apply lubrication if the nut proves stubborn.
- With one nut removed, slide the wheel axle out of the box. Remove the other wheel using a wrench or impact driver if needed.
- Attach one of the new wheels to the axle, slide it through the box, and attach the other new wheel on the other side.
Now that the new wheels are attached, move the Packout box around a bit to make sure the new wheels roll freely. If you notice any wobbling, the nuts holding them in place may need to be tightened. Should there prove to be no issues here, feel free to put your tools back in and test it again, as the wheels may behave differently with added weight. Ideally, this won't be a problem, and you'll be able to put your new Packout wheels to use.