How To Properly Use DeWalt's Laser Level Tool
We may receive a commission on purchases made from links.
Few things are as universally frustrating for homeowners as objects being unaligned. Whether a decorative feature such as a picture frame or shelf or a more advanced installation-related aspect such as a wall tile or window sill, it's shocking just how much the energy of a living space can be thrown off by something that's ... well, off. Of the many allies that help maintain levelness, from the trusty tape measure and its hidden functions, to the more specialized chalk line, laser levels are among the most accurate you'll find.
There's no shortage of laser levels to choose from, ranging from the versatile Ryobi AirGrip to Milwaukee's super-powered M12 Green 360° 3-Plane Laser. Among the most varied and beloved options out there are the laser levels from DeWalt. There's a diverse array to choose from that are designed for different tasks and expertise levels, ranging from straightforward line lasers ideal for various jobs to the more advanced rotary lasers commonly used for professional work. Whichever one you employ, you'll quickly learn how adept these devices are at getting accurate measurements thanks to their ability to position their lasers in various axises and alert you when it isn't straight.
Don't be intimidated by their high-tech look, however, as DeWalt laser levels are straightforward and easy to use. So long as you follow the proper steps and exercise regular maintenance, you'll be able to make the most out of yours and look like a pro while doing it.
The best way to use the DeWalt Laser Level tool

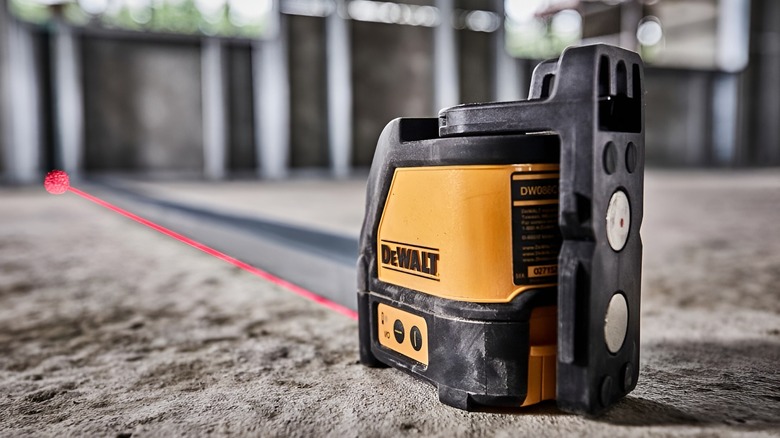
For the purposes of this article, we'll be referring to instructions from the official DeWalt manual for its line lasers, such as the DW088K, given their versatility for novices and professionals alike. These are among the DeWalt line lasers that, rather than running on their 12V or 20V battery systems, require three standard AA batteries to get them going.
Follow these steps once you're ready to go:
- Ensure the laser is off before starting.
- Place the tool on a sturdy flat surface. Those needing some height can use the included magnetic mounting plate that can either be screwed into the wall or clipped onto a suspended ceiling. You can also opt for a tripod mount to screw in and secure the laser level.
- On the side you'll find two On and Off buttons. One of these corresponds with the vertical light while the other is for the horizontal light. You can choose to either turn these on one at a time or simultaneously.
- From there, you can pivot and position the laser to line up where you need it to align it. The laser is made to self level and will let you know if it is not aligned by blinking rapidly. If this occurs, position the tool as straight as possible until the light stops blinking.
To ensure the tool is kept in working order, be sure to keep it appropriately calibrated. Your respective laser's manual will tell you the specifics of how to perform this, which varies depending on whether you're calibrating the vertical or horizontal lights.