How To Grease Your Trailer Wheel Bearings The Correct Way
Greasing wheel bearings can get very messy very quickly, in a very kindergarten kind of way. The trick is to embrace the ooze, because greasing is the fun and easy part. The hard bit comes when removing and replacing the hub assembly — but even this is a relatively simple task you can complete at home with basic handyman tools.
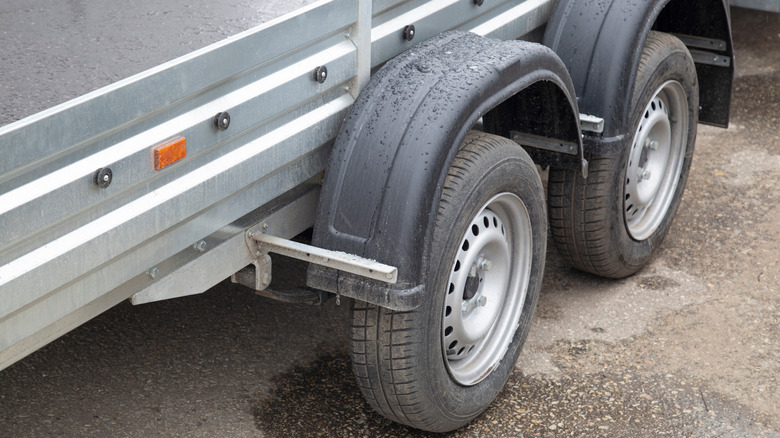
Whether you have a flatbed trailer, a boat trailer, a travel trailer, or a plain old box trailer used to cart stuff about, anything you tow behind your vehicle will have an axle (sometimes two), wheel hubs, and wheel bearings. On non-drive wheels, these bearings sit between the axle spindle and the hub, with the wheels bolted to the hub, and it's the job of the bearings to ensure those wheels rotates smoothly.
Bearings also bear load — the clue is in the name — and are therefore prone to wear or failure: Many trailer manufacturers recommending they be inspected and greased, at most, every 20,000 miles. Some manufacturers even recommend earlier intervals at every 10,000-12,000 miles, or once a year.
First, let's get our bearings
This article covers free-rolling trailers without brakes, as brake removal is best left to professionals. You'll need wheel blocks, an axle stand, a bottle jack or similar of the correct rating, wheel brace, pliers, hammer, flathead screwdriver, socket wrench (usually 13/16" or 1"), nitrile gloves, safety glasses, and sturdy footwear.
Trailer bearings are packed with grease, with a rear seal and front hub cap to prevent it from running amuck. Red, tacky grease is what we are after, but any hardware or auto parts store will recommend a proper lubricant. You will likely need to replace the rear seal, so track this part down beforehand. Park your trailer on flat ground using this simple trick to reverse it in the direction you want it to go.
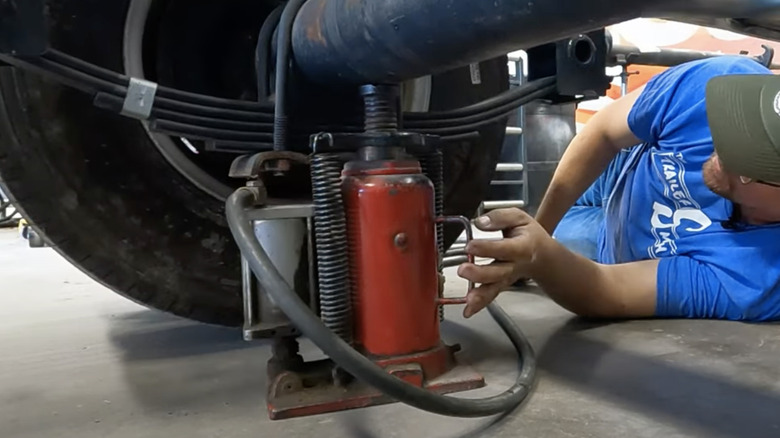
Loosen the wheel nuts, chock the opposite wheel, and jack up your first wheel for inspection. After lowering the trailer onto the axle stand, place your hands on either side of the wheel and try to shake it back and forth. There should be no rocking movement, and the wheel should spin freely. If your trailer wheel squeaks, rumbles, wobbles, or binds, we need to remove the tapered roller bearings, pack them with grease, and reinstall.
Get packed, we're ready to roll
Now, let's remove the wheel: Use a hammer, screwdriver, or wooden drift to remove the dust cap. Underneath is the nut (castellated, like battlements on a medieval castle), the cotter pin, and spindle washer that hold the outer bearing in place. Remove the pin with pliers, undo the nut, and pull the hub to loosen the parts. Pull them off, and you'll find the inner bearing sitting either inside the hub or on the axle spindle. The rear grease seal may require coaxing off the back of the spindle with a hammer and some choice words, but it should be replaced in any case.
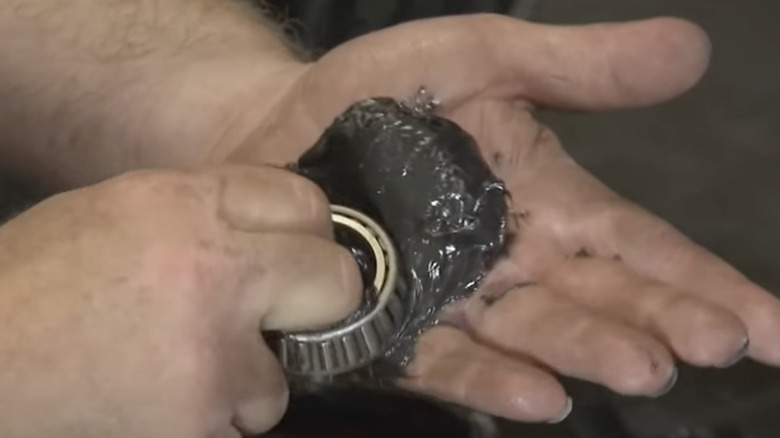
Preferably wearing gloves, take each bearing and its hardened outer case or race apart, cleaning them in a solvent such as alcohol, kerosene, citrus cleaner, or bearing cleaner. Grab a handful of grease in the palm of your hand, forcing each section of the bearing into it, pressing the grease deep into its interior, moving around from roller to roller until it's jam-packed. Smear the inside of each race with grease, and lob a healthy gob inside the hub, too.
Reassembly is in reverse. Tension the castellated nut until the wheel stops spinning, then back it off enough so the cotter pin goes through the nut and the wheel rolls without binding or play. You now know how to grease your trailer bearings. Why not take the next step towards becoming a qualified wrench-head with a car wheel bearing replacement?