How To Perform DIY Windshield Crack/Chip Repair On Your Vehicle

We may receive a commission on purchases made from links.
Few things can sour a morning commute or a well-earned road trip faster than a cracked or chipped windshield. This can, of course, become a danger to a driver, but if the damage is not covered by their auto insurance plan, car owners could also be staring down a pricey repair.
As for the danger, if left untreated even a small crack or chip could result in the collapse of the entire windshield, potentially scattering shards of glass on the vehicle's passengers and other cars on the road. Thankfully, such dangers are easy enough to avoid for the do-it-yourself set even if your insurance won't cover the repair bill. Likewise, any DIY car repair enthusiast will be happy to know they can fix a cracked or chipped windshield without the help of a professional, and they can most likely do it in about an hour if they're so inclined. Here's how to repair a cracked or chipped windshield without the help of an automotive pro.
Consult a professional if the cracked window is beyond your repair
Before you get started on repairing a cracked or chipped windshield yourself, inspect the area closely, as significant damage may require windshield replacement, which will thus require the aid of a professional mechanic. If you're having trouble gauging the damage, many DIY repair kits claim their products are best utilized on chips one inch in diameter or smaller and cracks no longer than 12 inches.
There are likely numerous options available if the crack or chip in your windshield is beyond the DIY repair arena, with most local mechanics capable of handling such a repair. These days, there may also be reputable companies in your area that will come to your home or place of business to fix your windshield via a mobile repair unit. If you do need a mechanic or windshield repair professional, you should be able to find one by consulting a phonebook or conducting a brief internet search.
FYI — windshield repairs should be made as soon after the damage occurs as possible to prevent further damage. But you can follow these simple rules for cracked windshields to help limit the damage until you get it repaired.
How to fix your chipped windshield with a DIY repair kit
A windshield repair kit can be purchased through most automotive supply stores and online retailers like Amazon. For this article, we're using Rain-X's well-reviewed 60001 repair kit. With the kit in hand, you may also need a straight-edged scraper blade, a thumb tack, and a mild cleaning agent. Follow these steps to repair your windshield:
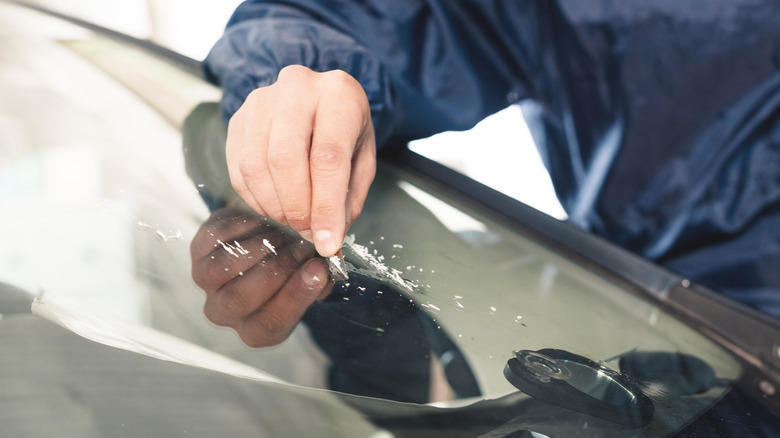
- Use the corner of the scraper blade or the thumb tack to gently dig loose glass from the chip, then clean the damaged surface.
- Affix the kit's application base to the exterior of your windshield, centering the damaged area with the base's eye.
- Insert the resin chamber into the application base, screwing it down to the damaged area.
- Open the repair resin container and pour the liquid into the resin chamber.
- Insert the tip of the pressure driver into the chamber, and screw down tightly to press in the resin, allowing it several minutes to set.
- Inspect the site to ensure no bubbles are present, then unscrew and remove the pressure driver.
- Place the curing strip over the resined surface, firmly pressing out any bubbles.
- Remove the strip after the recommended time by lifting the corner with the scraper blade, then scrape the excess resin off the windshield, wiping it with a dry cloth.
These steps may differ depending on the chosen repair kit, so consult the instruction manual before beginning. For best results, repair in full sunlight.
How to repair a windshield crack with a DIY kit

Windshield chips can be problematic enough for car owners, but even small chips can lead to spider-web-like cracks developing throughout the surface. Luckily, most DIY repair kits can patch them up as well. As with a windshield chip, resin kits may not be ideal for patching large areas of damage, meaning you'll need to consult a windshield professional to handle cracks more than 12 inches in length. While patching up a crack with Rain-x's windshield repair kit seems relatively easy, you should consult your kit's instructions before beginning, then follow these steps.
- Use the scraper to remove any excess glass in the crack, then clean the area.
- Open the resin container and slowly squeeze the compound into the crack, working from top to bottom or vice versa, depending on the damaged area.
- Place the curing strip over the freshly resined surface, pressing firmly to remove air bubbles.
- Allow the strip to sit for the recommended time, then gently pry it away from the glass using the scraper.
- Use the scraper to scrape off the dried excess resin, then wipe clean with a dry towel.
It's recommended that this work be conducted in full sunlight to expedite drying. The instructions will vary depending on the repair kit you choose. So will the results, as every windshield crack and chip is different.