What You'll Need To Get Started On Your Own Raspberry Pi Digital Photo Frame
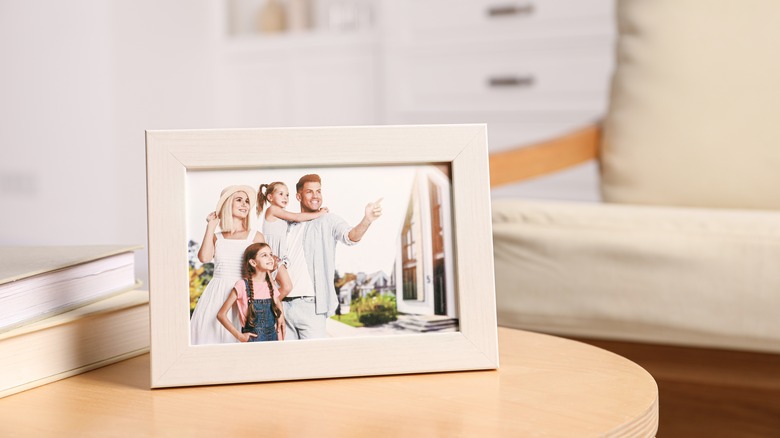
Gone are the days when snapping a picture meant going straight to the photo-printing shop to develop your film and get your hands on the hard copies of your memories. Back then, it wasn't unusual to see walls filled with framed pictures, chronicling everything from mundane moments to milestone celebrations. Fast forward to the digital age, when your cherished snapshots have migrated to the cloud or are neatly filed away on smartphones, SD cards, and hard drives, rarely getting converted into their physical forms. This significant shift means those precious memories aren't as readily visible for you to enjoy on a daily basis.
If you want to start displaying your cherished photos again but aren't too keen on having them all printed, a digital picture frame might be just what you need. Don't want to spend too much on a piece of decor? Going the DIY path is always an option. Building your own digital frame with a Raspberry Pi can be cost-effective, especially if you already have the core materials on hand. In this guide, we'll break down everything you need to create on this inexpensive Raspberry Pi project, categorizing the essentials into three main areas: electronic and hardware components (the physical parts you'll incorporate into your frame), software (the programs that will bring your frame to life), and tools (the items you'll need for assembly but won't be part of the final setup).
Electronic and hardware components
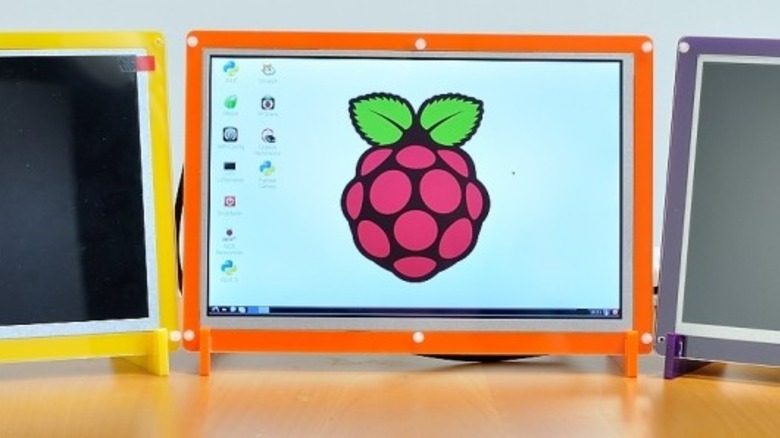
The electronic and hardware components you'll need for your Raspberry Pi digital photo frame depend on how simple or complex you'd like the project to be. At the bare minimum, you'll need the Raspberry Pi itself, a display that could be anything from your old HDMI computer monitor to the Pi's official 7-inch LCD, a reliable power supply, a microSD card for the OS, and a Wi-Fi dongle or LAN cable (for Pi models missing built-in Wi-Fi support and need to be connected to the web or your home network).
If you find this too basic and looking for a bit more pizzazz, you can dial it up a notch with a few tweaks here and there using sensors. One developer integrated an ambient light sensor to their Pi-based picture frame. This adjusts the display's brightness depending on the light intensity in the room. They also made use of capacitive touch sensors for effortless navigation through the photo collection and for shutting down the Pi safely when needed. Another developer added a PIR motion sensor to their frame to keep it asleep and only wake the display up when someone approaches.
As for the accessories, consider getting a case for your Pi. If, however, you're working with the official 7-inch LCD, there are cases designed specifically for it, complete with a cozy spot for the board. For other small displays without readily available cases, you might want to frame it up with something like wood, sturdy cardboard, or even a 3D-printed enclosure. Other Pi accessories worth throwing into the mix is a heatsink for the Pi to keep the board cool while it's running 24/7 and wall brackets or picture hanging kits if you plan on mounting the frame on your wall.
Software
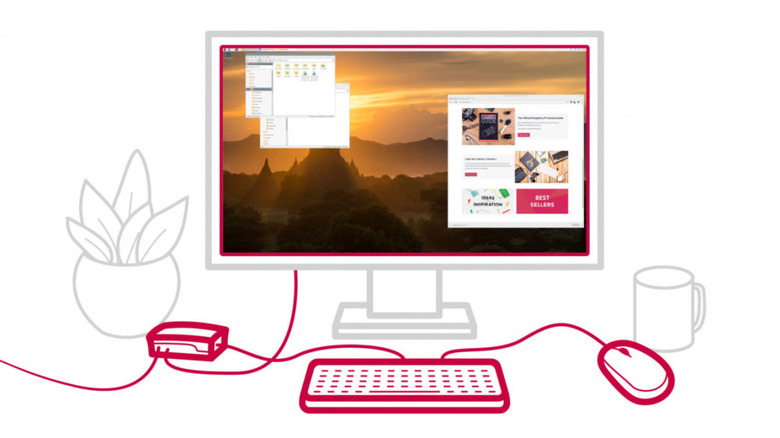
Similar to the electronic and hardware components, the software required to run the project differs depending on the project's complexity. However, the foundation of your project will almost always be the Raspberry Pi OS. If you want to keep it light and are comfortable using just the command line, the Lite version without the graphical user interface should be enough.
Of course, you'll also need the photos themselves. There are two ways to go about sourcing your photos. For an offline setup, you'll have to manually transfer them to the Pi. This can mean using the scp command in the terminal, plugging in a USB drive, or pulling them directly from the web using your browser or the wget command. File transfer programs like File Zilla or file-sharing services like Samba can also come in handy. Then, you'll need an image viewer to display your local photos. Options include command-line viewers like fbi, feh, fim, and PictureFrame and GUI image viewers like GLSlideshow.
If, however, you're leaning towards an online photo frame, there are projects using the smart mirror platform called MagicMirror, installed with the Google Photos module to display the photos from your Google Photos account. You can also use the command-line tool Rclone to access photos from your Google Drive as suggested in this project.
For the more advanced setup with all the bells and whistles, you can code your own image viewer instead. This allows you to add customizations like video support, remote control and uploads, transitions, and even collages. Python is a popular choice (just take a look at this project), but other languages like C# (as demonstrated in this project) are also doable. To make your code work, you'd need the packages for the sensors and functionalities you'll add.
Tools
To build the basic digital picture frame, you generally won't have to rummage much through your toolbox. What you'd only need are a separate computer and SD card reader for installing the OS to your micro SD card and a keyboard and mouse for setting up the Pi if you're not using a touchscreen display. For the more advanced version of the frame, get a soldering iron ready as some components could require a bit of soldering if they arrive without the connectors soldered on.
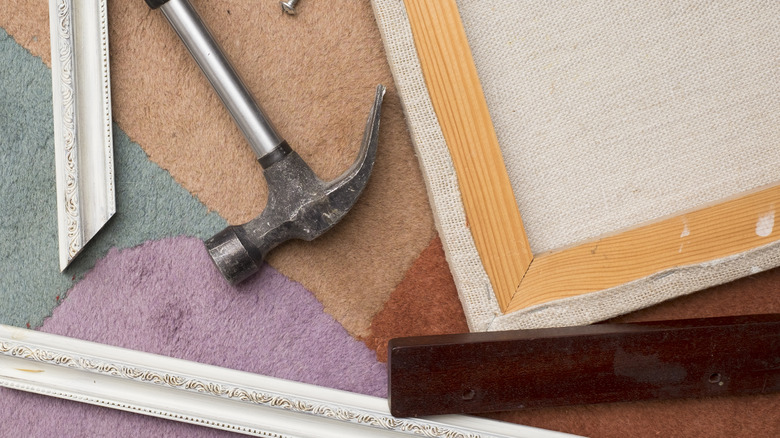
If you're creating your own frame instead of buying one, you'll need different tools depending on what frame you prefer. Wooden frames naturally require woodworking tools like a saw for cutting to size, a ruler for precise measurements, a chisel for the details, a hammer for assembly, and some sandpaper to smooth out the rough edges. Cardboard frames, on the other hand, would only need art supplies like scissors for cutting and glue for bonding.