How To Use Google's Ai-Powered Best Take Feature On Your Pixel 8
With the Pixel 8 and Pixel 8 Pro launch this year, Google doubled down on AI enhancements to your photos. No longer content with just erasing background objects with Magic Eraser or even moving things around with Magic Editor, Google is tackling the bane of every parent's existence — getting all your kids to smile simultaneously. This is not an easy task, and those of you who have spent hours learning Photoshop just so you could finally end up with that perfect holiday card might feel a little jealous of this new feature.
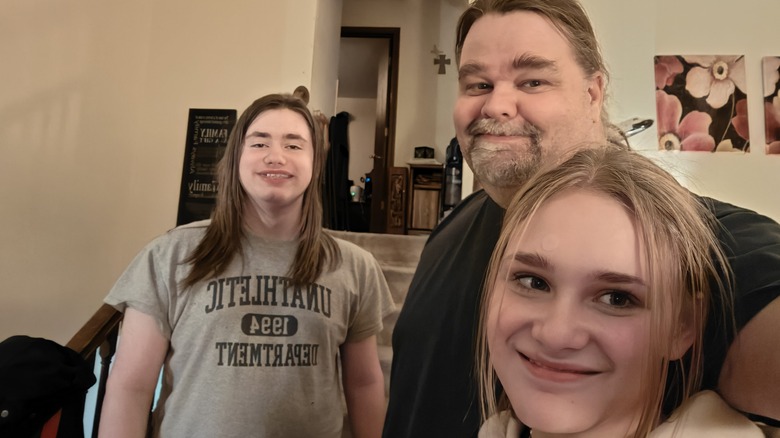
Put simply, if you take a series of photographs, the Pixel 8 can use AI to pick up each person's smile in each frame and allow you to swap in the best smile for each person into the same photo. This works on any sequence of photos, regardless of which phone took them, as long as they've been uploaded to Google Photos and downloaded to your Pixel 8 device. Google hasn't published an upper limit on the number of people you can adjust, but we tested with as many as 10 people with no problem. The only other limitation is that it doesn't work on animals, which are the only thing harder to get a good shot of than kids.
So, here's how to use Best Take on your Pixel 8.
Editing your takes
The easiest way to edit your photos is in the Google Photos app. Locate the sequence of photos you want to edit and open one of them. If you're trying to take a photo with an animal, open the photo with the best take of the animal and work on the people next.
- Open the photo you want to edit in the Google Photos app on your Pixel 8.
- Tap the Edit button.
- Select Tools.
- Tap Best Take.
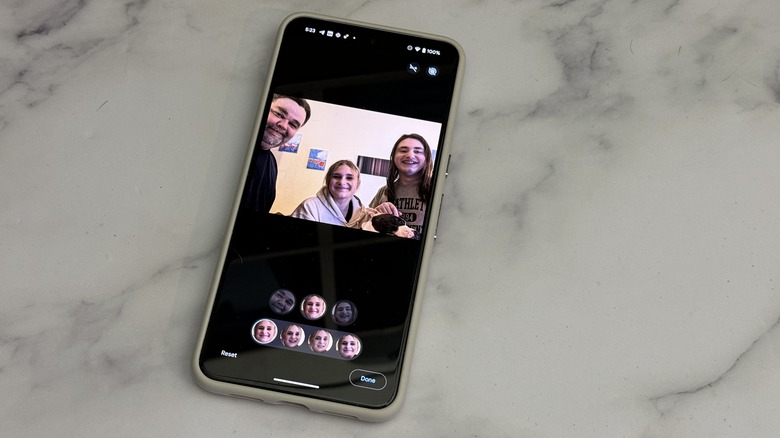
- Google will scan that photo and the others in the sequence to determine who is in the initial photo and then locate other smiles in the sequence. Once it has done that (a few seconds), it will display the faces it found below the photo.
- Tap on each photo to see the different takes Google found. Tap the one you want in the photo, and the person's face will change when you do.
- Once you've adjusted the faces accordingly, tap Done.
- If you want to edit the photo further, you can; otherwise, tap Save copy.
Once you've done that, your new photo will be saved alongside the others in the sequence.

