5 Essential Apple Watch Tips You Need To Know Before Your Next Flight

The Apple Watch is a fairly versatile little wrist-mounted device that can keep track of your vitals, monitor sleep, check in on your fitness goals, and even manage your calls and messages if you want it to. But how well does it travel?
Whether you're new to the Apple Watch entirely or want to know what to look out for when you bring one on an airplane, there are definitely a handful of important things to consider. How do you want to handle boarding? Are you ready for airport security? How do you plan to get around when you arrive? Where are you staying? You may need to do a little bit of prep beforehand, or you might need to keep in mind that certain points of your journey will require a few adjustments. Not to mention, international travel comes with even more considerations.
Regardless of where you're headed or how long you'll be in the air, here are five things for you to plan for when taking your Apple Watch above 30,000 feet.
Set up and use boarding passes
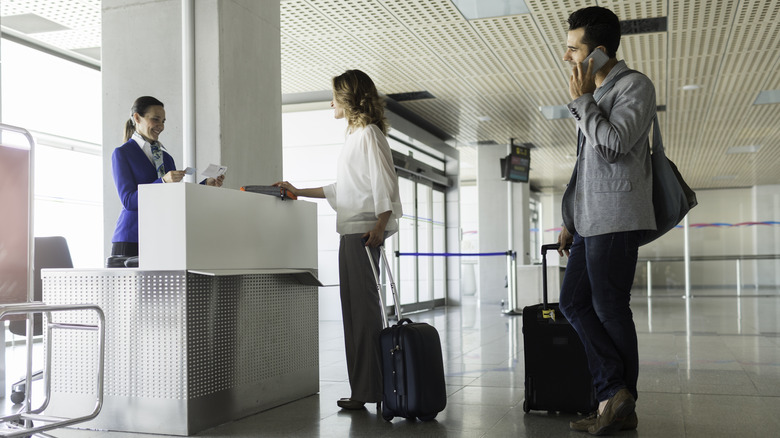
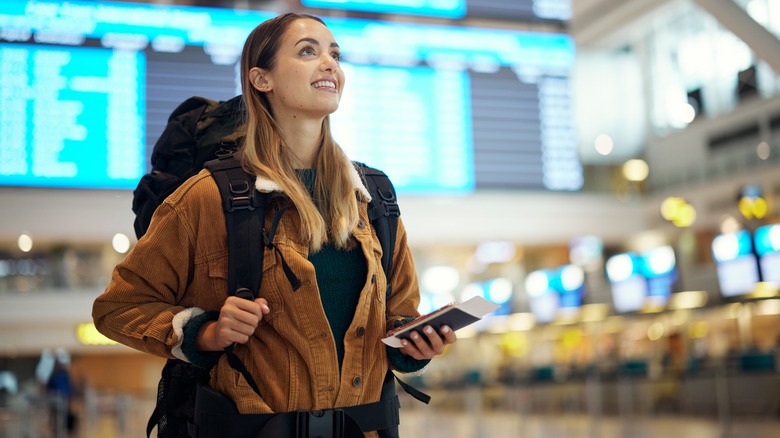
Being able to use the Apple Wallet app on an Apple Watch to hold digital boarding passes isn't a brand new feature, but it's a very useful one if you're going to be flying. To get everything ready:
- Access the boarding pass (via email, web page, or however it's been sent to you) with your iPhone, then tap the Add to Apple Wallet option.
- Follow the on-screen instructions to finish adding the pass to Apple Wallet. Alternatively, tap the Add button in the top-right corner of the screen.
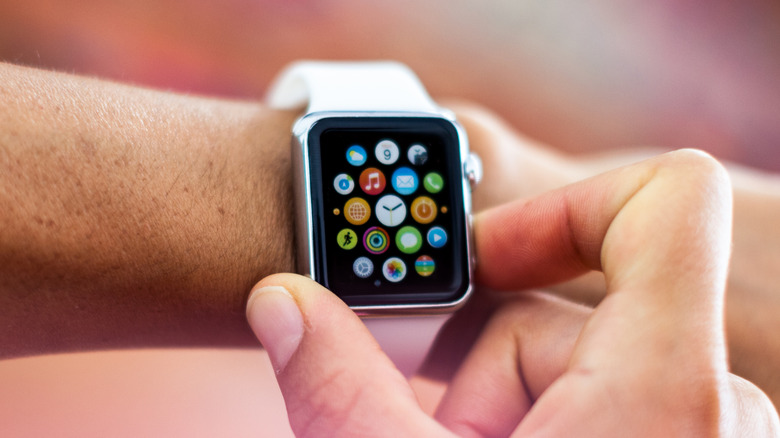
- To use the boarding pass, open the Wallet app on your Apple Watch, tap the pass to open it, and then scan the pass by holding the watch face in front of the airport's scanner.
- Once you're finished with the boarding pass, open the Wallet app on either your Apple Watch or iPhone and select the pass, then tap the three dots icon (...) and select Remove Pass. Removing the pass from one device will carry over to the other.
Be aware that not all passes are compatible with Apple Wallet — and, by extension, your Apple Watch — but many should be. Also, be prepared to either use your iPhone or remove your Apple Watch when scanning your pass, as some scanners are built to scan flat paper passes and won't fit a human wrist.
Download useful apps ahead of time
Take some time before your trip to think about any apps you might want that will help with your travels. If you're unsure of the area you'll be traveling through, there are a number of additional apps you can download for some added peace of mind.
What you may need will depend on where you're going and what you plan to do once you get there, but there are some useful apps that are worth considering if you don't already have them installed. Rideshares like Lyft and Uber can help you get around town once you're out of the air. Booking.com's official app or the Airbnb app helps you to make or keep track of bookings for where you're going to sleep. Most airlines have their own official apps as well, which can help with keeping track of flights, boarding, and so on.
You can, of course, install additional apps once you get to your destination and realize they'll come in handy. However, if you can anticipate your needs in advance, it's a good idea to have everything set up before you leave — because you don't necessarily know how strong or reliable your coverage will be once you're on your way.
Getting through security
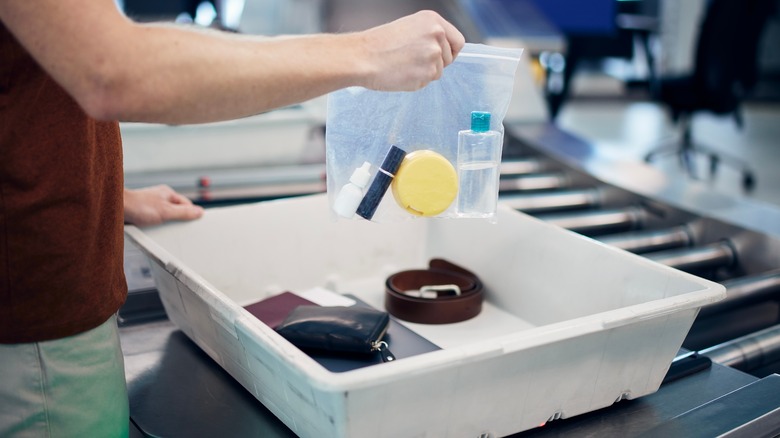
Don't expect to keep your Apple Watch on you at all times when passing through the airport — particularly when going through security. It's a good idea to take it off along with everything else you plan to put in one of those little plastic bins before attempting to step through the metal detector or body scanner, depending on the airport.
If you're worried about someone stealing your watch, don't be — TSA agents are keeping a pretty close eye on the X-ray conveyor belt, so it's unlikely that anyone can walk up and grab it. But you can always place your precious items (Apple Watch, iPhone, wallet, etc.) at the bottom of the bin and then place a jacket, sweatshirt, etc., on top of them to at least make it harder for anyone not to look at the X-ray to see them in there.
Alternatively, you can preemptively remove your Apple Watch and place it inside your carry-on bag before you get to the security checkpoint. That way, it will be tucked inside your closed-off luggage (which will still go through the X-ray machine) without having to go inside one of those open bins at all.
Turn on Airplane Mode
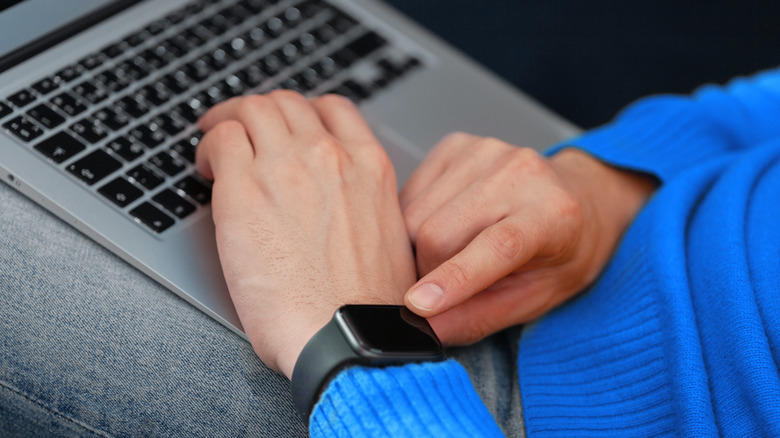
Before takeoff, it's recommended that you turn on Airplane Mode for your Apple Watch to turn off wireless features while still being able to use many of its other functions. This way, you will have plenty of battery life when you arrive at your destination.
- To turn on Airplane Mode, press the Side Button to open Control Center and then tap the Airplane Mode icon (it looks like an airplane).
- If you're using an Apple Watch with watchOS 9 or older, you'll have to swipe up from the bottom of the watch face to open Control Center. From there, you still tap the Airplane Mode icon to turn it on, as before.
- You can set your iPhone and Apple Watch to mirror each other when Airplane Mode is turned on by opening the Apple Watch app on your iPhone.
- Then select General, tap the Airplane Mode option, and toggle on Mirror iPhone.
Even with Airplane Mode turned on, you can still access Wi-Fi and Bluetooth from either your iPhone or Apple Watch. However, if you turn either one off while Airplane Mode is on, turning Airplane Mode on again in the future will automatically turn off those connection settings as well (unless and until you manually turn them back on again).
You can set up international roaming
Cellular models of the Apple Watch Series 5 and newer, Apple Watch SE, and Apple Watch Ultra also support international roaming in watchOS 9.1 and later. Setting up a cellular connection will allow your Apple Watch to connect to a local LTE network (or UMTS if your carrier supports it) for calls, messages, music, notifications, walkie-talkie, and other such functions without the need for a Wi-Fi connection — or even without having your iPhone present. International roaming isn't something you need to worry about if you're not traveling out of the country, but if you are, the option is there (depending on the country).
- To set it up, contact your iPhone's cell carrier and make sure it supports both VoLTE and roaming in the first place. If your carrier does support both VoLTE and roaming, ask to add your Apple Watch to your cellular roaming plan.
- Once the Apple Watch is added to your roaming plan, open the Settings app on the watch.
- Tap the Cellular menu option, then turn on the toggle for Data Roaming.
Whether or not you can make use of international roaming with a cellular-supporting Apple Watch depends on your carrier, your model of Apple Watch, and the country or region you're traveling to. No version of the Apple Watch will support cellular in every area of the world. Also, remember that data roaming can lead to added charges on your cellular bill, depending on your carrier's rules and regulations.