4 Easy Raspberry Pi Projects That Even A Beginner Can Tackle
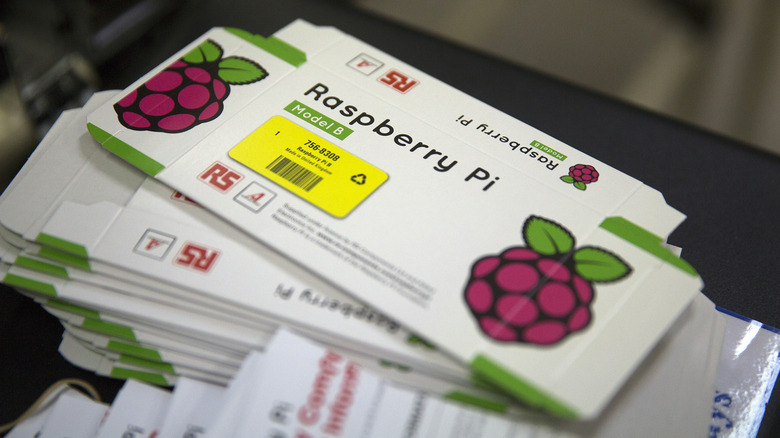
The pocket-sized computer known as Raspberry Pi has been lauded for its versatility in recent years, and its simplistic nature has made seemingly difficult computing tasks easier and more accessible than ever before. For those dipping their toes into the boundless world of DIY electronics, the Raspberry Pi serves as the starting line. From home automation to retro gaming, this tiny computer's possibilities have no end. As daunting as this may seem, Raspberry Pi is incredibly user-friendly. In fact, even the most novice programmers can extract value out of the Pi.
Needless to say, there are a litany of Raspberry Pi projects that promise not only an educational experience, but also loads of fun for the user. No matter your experience level with knowing your way around a motherboard, Raspberry Pi projects can serve as the perfect introduction to the full capabilities of miniature computing.
Here are four easy Raspberry Pi projects that even a beginner can tackle.
Social media bot
Using Raspberry Pi to make bots for social media apps such as X, formerly known as Twitter, and Twitch is an easy project that could provide utility for those who are required to use social media accounts, but lack the time to keep up with them at all hours of the day. With Raspberry Pi, you can create smart, simple bots to handle the grunt work for you. First, you will need to sign up for a developer account on X in order to obtain your API keys, or get the OAuth key if you're creating your bot for an app such as Twitch.
From there, you will need to install Python, an intuitive app used for developing websites, software and task automation, among other things. From there, you will just need to install Tweepy if you're designing your bot for X, then write (base level scripts are available online) and run your bot with the specifications to your liking. Although bots, by nature, are designed to create less work in general, you might still want to monitor your bot in case your script needs any fine-tuning.
Smart TV
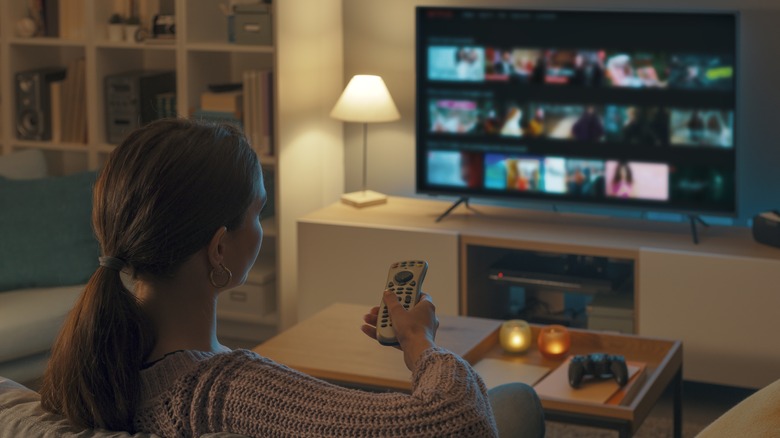
Smart TVs are a necessary component of any home, but can get expensive quickly if you're not sure what to look for. Thanks to Raspberry Pi, you now have the power to easily create your own Smart TV the way you see fit at a much more affordable cost. All you'll need is your Raspberry Pi, a monitor, an HDMI cable to link the two together, and a MicroSD card. You will also likely want to make sure you have Kodi, a free and open-source media player, installed in order to facilitate the project.
Once you have your materials in order, all you'll need to do is install Kodi, or any other media center app of your choice. Once that is done, you will be able to cycle through games, apps, and more on your monitor just as you would be able to do on an actual Smart TV. You can even enhance your experience by installing apps like Kore and Yatse that can turn your smartphone into a defacto remote control.
Retro gaming console
One of the most popular ways to utilize Raspberry Pi is by turning it into a retro gaming console. All you will need to make this happen is the model of Raspberry Pi that will best accommodate the level of performance you're looking for, a MicroSD card, a monitor, HDMI cable, and USB controllers (modern Xbox controllers will work). You will then need to download RetroPie (open-source software for emulating retro games on Raspberry Pi), and install the image onto your MicroSD card using software such as Raspberry Pi Imager. RetroPie can handle most consoles and games up to the Nintendo Wii.
The first time you boot up RetroPie, you will be asked to configure the emulator to your liking. At that point, it is up to you to legally dump the ROMs of the games you're looking to play. As a reminder, do not download or distribute ROMs for games you do not own. Once you have obtained the necessary ROMs, you will be able to enjoy the litany of nostalgic games that are sure to be in your library in a manner that was, at one point, never thought to be possible.
AI assistant
You can also use Raspberry Pi to create an AI Assistant, which is an optimal task for beginners to handle. By leveraging the capabilities of existing platforms and tools, you can have a voice-activated assistant similar to Amazon's Alexa or Google Assistant. Aside from the obvious components, you will also need a microphone and speaker for your assistant to be able to properly receive your tasks and communicate back to you. You will then need to download Picroft, a version of Mycroft (an open-source voice assistant) optimized for Raspberry Pi.
Similar to RetroPie, Picroft will guide you through the setup wizard upon the initial boot. You will also need to register your device on the Mycroft website, but once done, you can begin to give your brand new AI Assistant voice commands, and then customize the application to your preferences. One benefit to using a voice assistant like Mycroft as opposed to Google Assistant or Amazon Alexa is the fact that Mycroft deletes the data you send to it immediately after using it. If nothing else, it's a cheap, innovative way to create a virtual assistant, and you'll also gain the satisfaction of knowing you put it together yourself.


