How To Take A Screenshot On Your Kindle
One of the nice things about the digital age is that it's become a lot easier to keep track of important stuff. For instance, let's say there was a passage in a book that you really enjoy for its poignancy or humor, or maybe you need quick access to an important tidbit in a reference book. Normally, if you wanted to look at that passage again, you'd just have to stick a bookmark in the book and pull it off the shelf again. With the advent of eReaders like the Kindle, though, there's a quicker, more convenient way to save your favorite book bits.
Kindle eReaders possess the ability to take screenshots of whatever you're reading or looking at and save them to the device's internal memory. Afterward, you can retrieve the screenshot and use it in a paper, send it to someone, or do whatever else with it you like. If you need a clean and convenient way to keep track of your favorite literary passages, as well as things like error messages for tech support purposes, this is the best way to do it.
How to take a screenshot
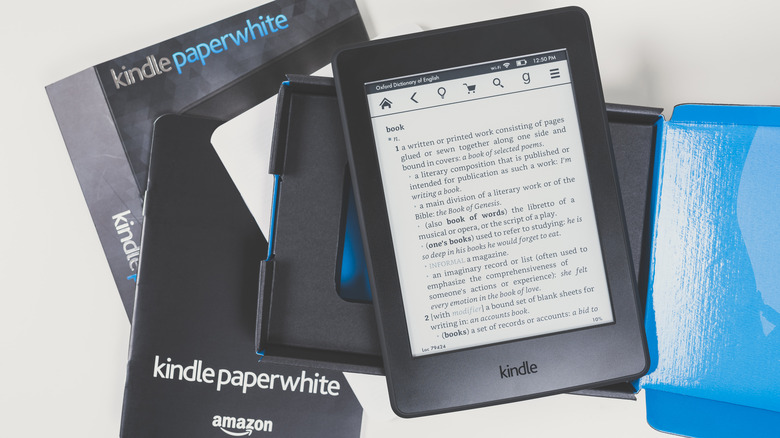
The first step is, of course, taking the actual screenshot. All modern Kindle devices, up to and including the current model of Kindle Paperwhite, possess this functionality. Since current Kindles are touch-based devices rather than button-operated, you need to use a special touch shortcut in order to take a screenshot.
To take a screenshot on your Kindle reader, just tap and hold on two opposing diagonal corners of your device screen. You can tap either the top-left and bottom-right corners, or the top-right and bottom-left corners. Either way, after you hold for a second, the screen will flash white, indicating that a screenshot has been taken.
You can take a screenshot of anything displayed on your Kindle device, whether you're looking at menus, settings, or indeed, books. After you take a screenshot, it will be stored in your Kindle device's internal memory, ready to be retrieved.
How to retrieve a Kindle screenshot
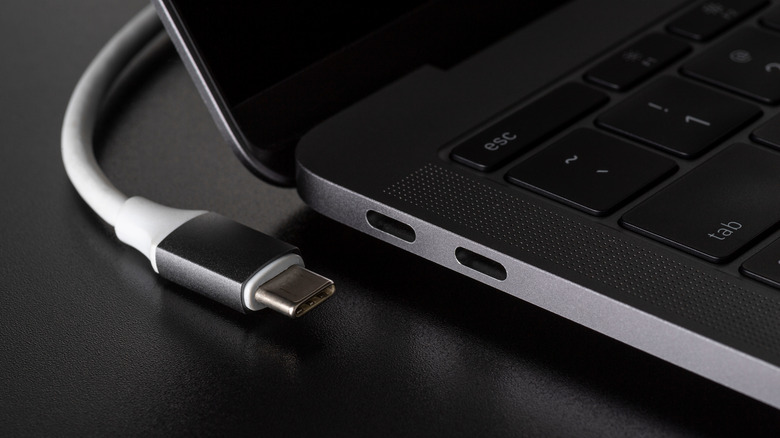
In order to retrieve any screenshots you've taken, you'll need to plug your Kindle into a computer. Luckily, you can plug a Kindle device into either a PC or a Mac computer for this process.
First, here's how to retrieve screenshots on a PC.
-
Connect your Kindle reader to your PC via the Kindle's USB cable.
-
Open your File Explorer.
-
Select the Kindle drive in your File Explorer sidebar.
-
The screenshots you've taken will be in the root Kindle drive, designated with date and time stamps.
-
Click and drag any screenshots you want to save out of the File Explorer and to another window or your PC desktop.
Once your screenshots are saved to your computer, you can view and send them at your leisure.
Next, here's how to retrieve screenshots on a Mac.
-
Connect your Kindle reader to your Mac via the Kindle's USB cable.
-
Open Finder.
-
Select your user location in the left sidebar.
-
Expand the Kindle folder in the main window.
-
The screenshots you've taken will be in the root Kindle drive, designated with date and time stamps.
Advertisement -
Click and drag any screenshots you want to save out of the Finder window and to another window or your desktop.
Whether you're on Mac or PC, after you're done grabbing screenshots, don't forget to eject your Kindle from your computer by right-clicking on it in your File Explorer/Finder sidebar. It's not required, it's just a good practice to keep your files clean.


