How To Connect A GameCube Controller To Your Nintendo Switch
We may receive a commission on purchases made from links.
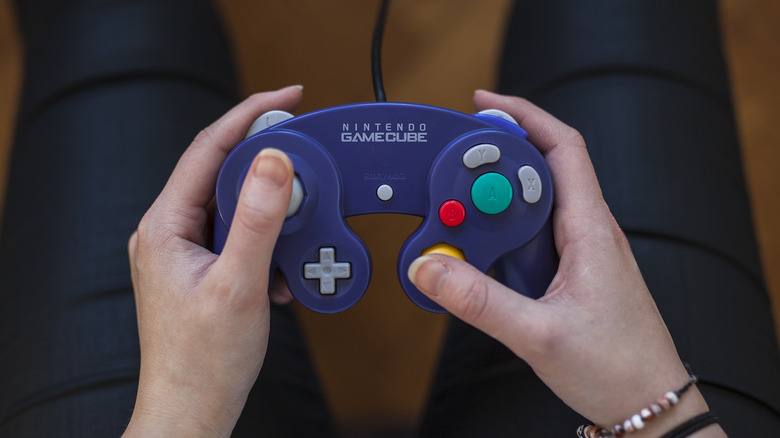
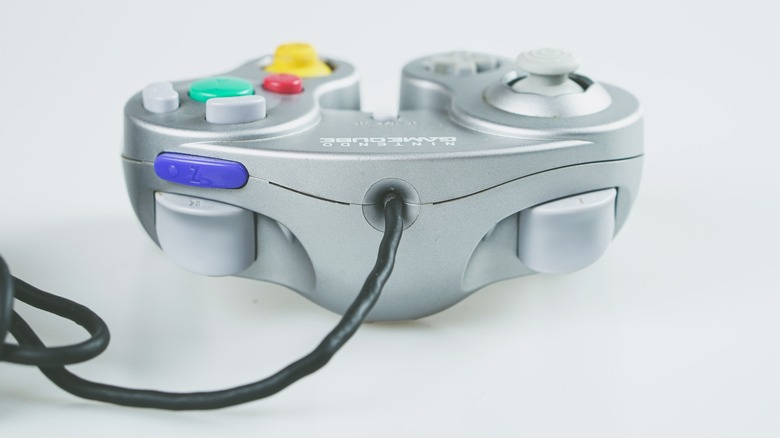
Out of all of Nintendo's controllers, one of the most fondly remembered is the one that came with the Nintendo GameCube. It had a nice, responsive control stick, a sensible face button layout, and, first for the time, pressure-sensitive analog triggers. It wasn't perfect, with its weird C-stick and undersized D-pad being common complaints, but if you wanted to get friends together to play a round of "Super Smash Bros.," it was usually the controller of choice.
While the Nintendo Switch has its more modernized Pro Controller to rely on for intense gaming, you may still prefer the controllers of yesteryear if you've been gaming for a while. The bad news is that you can't just plug one right into a Switch due to the old GameCube controller's proprietary connector. The good news is that thanks to advancements in hardware compatibility, it is still possible to use such a controller, either with a bit of extra hardware or a modern facsimile.
How to use a wired GameCube controller
Do you still have your original GameCube controller from the early 2000s, carefully cared for against the strains of time? Or do you perhaps have a more recently manufactured GameCube controller, such as the controller released at the same time as "Super Smash Bros. Ultimate?" Either way, while the original GameCube's connector isn't natively compatible with the Nintendo Switch, it is possible to circumvent that limitation with the right add-on.
Nintendo sells an official $70 GameCube to USB adapter plug that you can use to plug up to four wired GameCube controllers into a Nintendo Switch. Once plugged in, the GameCube controllers are recognized by the Switch as generic USB controllers, allowing you to customize button layouts freely. You can even use the rumble features, albeit only in supported games like "Super Smash Bros. Ultimate." Once you have an adapter, here's how to use it.
- Turn on your Nintendo Switch in TV mode.
- Connect both of the adapter's USB plugs into the two USB ports on the side of your Switch dock.
- Connect the GameCube controller to one of the open GameCube ports on the adapter.
- Press any button on the GameCube controller to activate it.
Once the controller is on, you can play with it in compatible games. The only rule here is that the adapter needs to be plugged into the Switch dock, which means you can't use GameCube controllers in handheld mode.
How to use a wireless GameCube controller
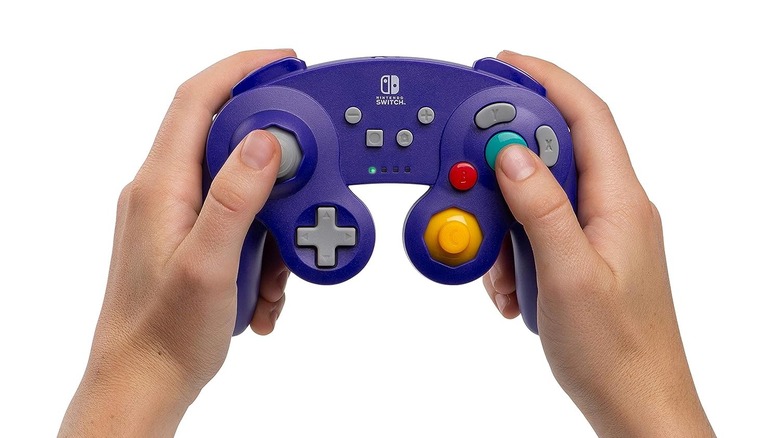
While it's a lot easier these days to get your hands on a wired GameCube controller, thanks to third-party manufacturers, you may prefer to go a little more modern and opt for something wireless. In a similar vein to the wired controllers, third-party companies have made numerous controllers in the GameCube controller's image, but with some additional modern sensibilities. PowerA, for instance, makes its own GameCube controller specifically designed for use with the Switch, adding missing buttons like the Home and Screenshot buttons.
If you want to use this kind of controller, it's a comparatively simpler matter than going wired. The Switch does possess Bluetooth connectivity, so as long as you're using a controller that's licensed by Nintendo, it can connect without any additional hardware. For the sake of example, here's how to connect a PowerA GameCube controller to a Switch.
- Turn on your Nintendo Switch and enter the Home menu.
- Select the Controllers option.
- Select Change Grip and Order.
- On the grip screen, press and hold the Sync button on the controller for one second to put it in pairing mode.
- The Switch will detect the controller and add it to the controller order.
The exact connection process may vary slightly depending on the make and model of your controller, but generally, you shouldn't need any external adapters so long as the controller is designed for use with a Switch.


