The iPhone Feature You'll Want To Set Up In Case Of An Emergency
Whether you've been in an accident or are stranded in a desolate spot with no cell service, your iPhone can still be a lifesaver, provided you know how to use its emergency features. Emergency SOS has been installed on iPhones for years, letting you make a call to emergency services by simultaneously pressing and holding the side and volume up and down button and swiping on the Emergency Call slider.
Apple made further improvements to Emergency SOS with the launch of the iPhone 14 series, when it announced Emergency SOS via Satellite. This feature lets you text emergency services even when you're in an area without cellular or Wi-Fi coverage by connecting to the nearest satellite. You can even share your location with someone in the Find My app with a handy assist from the satellite. Alongside this feature, Apple also announced Crash Detection, which can tell when you've been in a severe crash and quickly notify emergency services.
To make it easier for emergency responders to treat you, the iPhone has a feature called Medical ID that makes your health information accessible on the lock screen. Your Medical ID is automatically shared when you call or text emergency services in the U.S. and Canada, but can also be accessed by first responders if you're critically injured or unresponsive.
Set up your Medical ID on iPhone
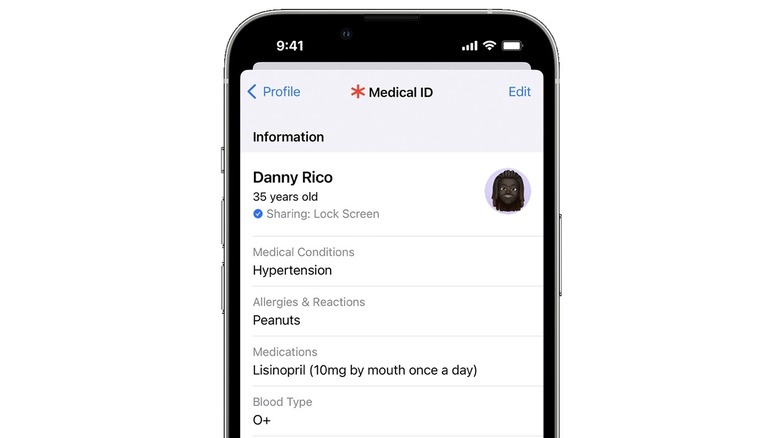
Your Medical ID can be accessed from your iPhone lock screen without it needing to be unlocked. All a person needs to do is swipe up on the lock screen (or press the Home button), tap Emergency, and then tap Medical ID to view the information. Your Medical ID includes crucial personal data like your blood type, preexisting conditions, allergies, and primary language, which can make it easier to start treating you right away.
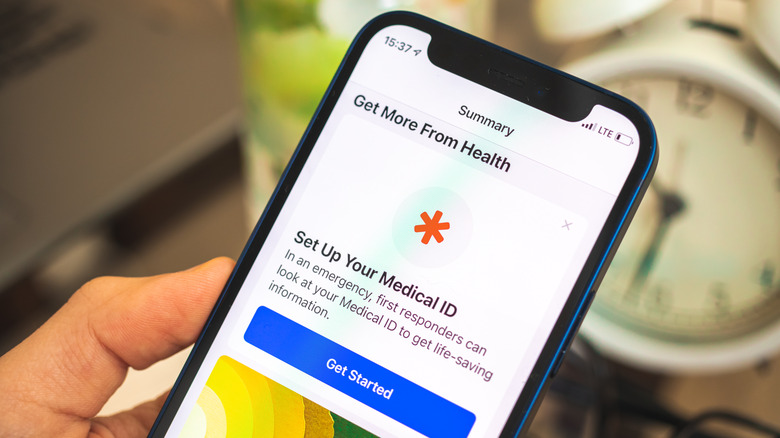
Setting up your Medical ID only takes a few minutes, but could save your life in an emergency. Here's how to get started:
-
Open the Health app on your iPhone.
-
Tap the Summary tab at the bottom.
-
Tap your profile picture in the top right corner.
-
Tap Medical ID.
-
Tap Edit in the top right corner.
-
Enter information like your name, date of birth, medical conditions, and blood type.
-
Add optional emergency contacts. You can also give each contact a label, such as spouse, parent, child, etc.
-
Turn on the toggle next to Show When Locked. This will allow someone to view your Medical ID from the lock screen.
-
Tap Done to save.
Your emergency contacts will receive a message if you contact emergency services using Emergency SOS along with your current location. You can go back and edit your Medical ID at any time, or delete it altogether by tapping Delete Medical ID at the bottom of the edit page.
Set up your Medical ID on Apple Watch
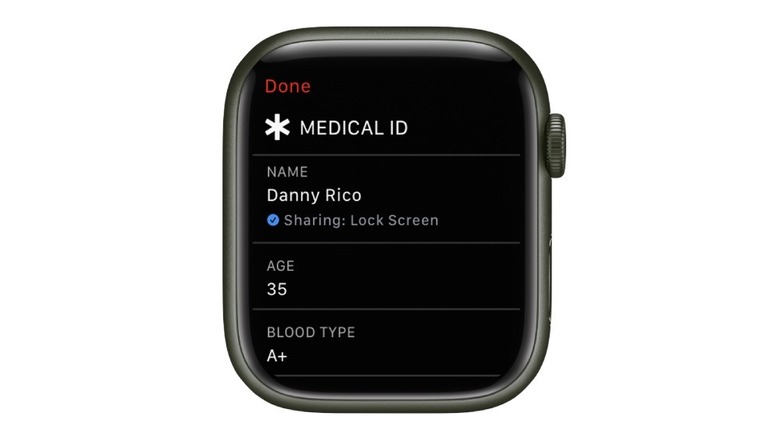
The Apple Watch also features Emergency SOS and Crash Detection, making it a useful safety tool. If you set up your Medical ID on your iPhone, this information is also available on your Apple Watch. Just like the iPhone, your medical information is shared with emergency services and contacts if you use Emergency SOS, or call or text 911 in the U.S. and Canada. First responders can view your Medical ID on Apple Watch by pressing and holding the side button, then dragging the Medical ID slider to the right.
You can also adjust your medical information on Apple Watch after setting it up on iPhone. Here's how to do it:
-
Press the Digital Crown to view your apps.
-
Tap Settings.
-
Tap SOS.
-
Select Medical ID.
-
Scroll down and tap Edit Medical ID.
-
Make the required changes.
-
Tap Show When Locked and turn on the toggle on the next screen.
-
Tap Done to save.
Having your medical information on Apple Watch is potentially even more useful than your iPhone, given that your watch is likely to be on your wrist, and therefore more easily accessible as well as tracking various aspects of your health already.