How To Change Your Apple AirPods Settings
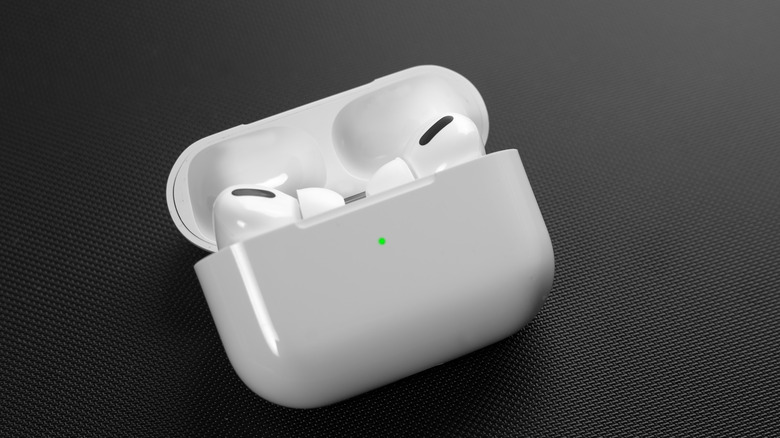
The Apple AirPods are one of the most popular wireless earbuds on the market, and for a good reason. Yes, the Apple branding certainly does a share of the heavy lifting, but they're also very well-made devices, providing quality sound and noise-canceling and simple touch controls, not to mention some handy automated features like ear detection and stereo microphone support. Apple or not, nobody would buy these things if they didn't provide the highest possible quality.
In addition to those positive qualities, Apple AirPods are also surprisingly customizable. There's no such thing as a one-size-fits-all audio profile, after all, which is why the AirPods feature a variety of adjustable settings in order to ensure you get the best listening experience. If you're looking to bring your AirPods more in line with your preferences, all you need is a paired iPhone and a couple of menu taps.
What settings can you adjust on your AirPods?

The Apple AirPods' internal settings are designed to be just customizable enough to give you a little extra flexibility in your listening experience without being so in-depth that you completely lose track. Basically, there's nothing you can alter in your AirPods' settings that would accidentally render them unusable, and in the event you make a change you end up not liking, you can always revert it.
In order to make changes, though, you do need to have an iPhone paired to your AirPods. While AirPods are usable with non-Apple devices, they can't use the full breadth of their features without compatible hardware. Ergo, if you want to make these changes to your AirPods' functions and functionality, only an iPhone will be able to do it, at least without a bunch of external meddling through special apps or hardware customization.
How to change your AirPods' name

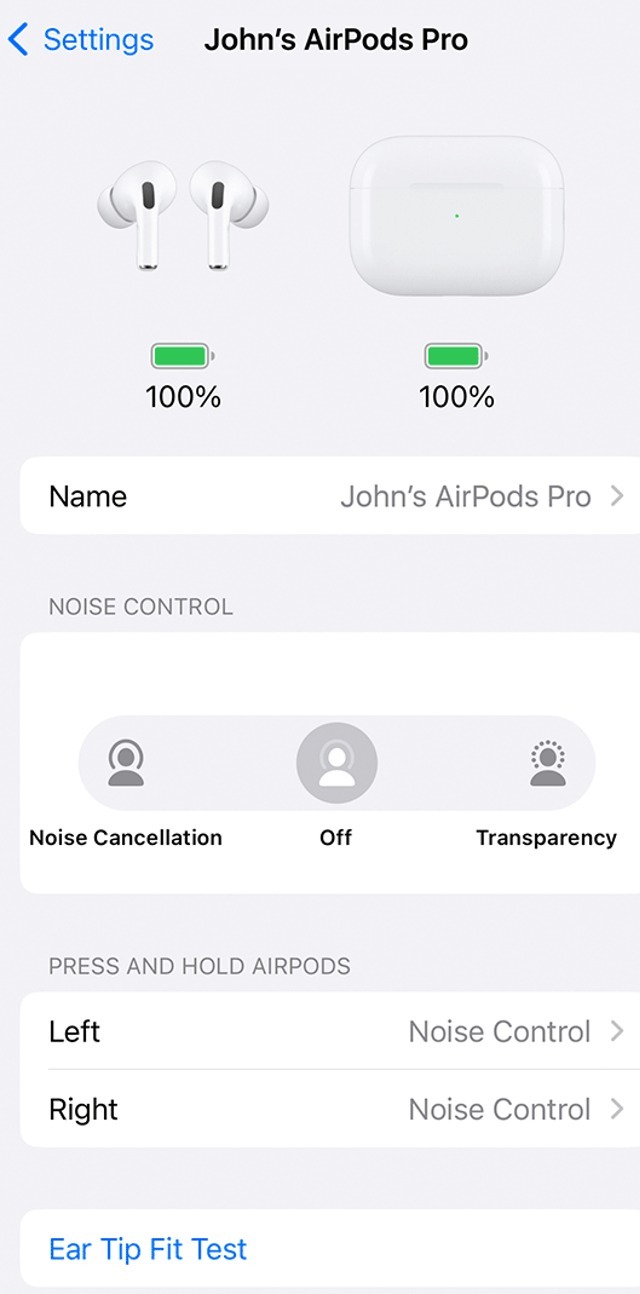
The simplest thing you can alter in your AirPods' settings is the registered device name. Besides giving your AirPods a bit of a personal touch, giving them a unique name can help you to identify them on devices you're trying to connect them with. If you share a home with other AirPods users, it can get annoying trying to pick your pair out of the crowd when connecting.
-
Open your AirPods charging case and place both buds in your ears.
-
While your case and AirPods are connected to your iPhone, open the Settings app.
-
Tap Bluetooth.
-
Tap the info button next to your AirPods' name.
-
Tap their name to bring up a text entry.
-
Enter the new name, then tap Done.
Remember, your AirPods appear in Bluetooth device searches, so try not to give them a name that's rude or inappropriate. Other people will be able to see them if they're checking devices, after all.
How to change touch controls

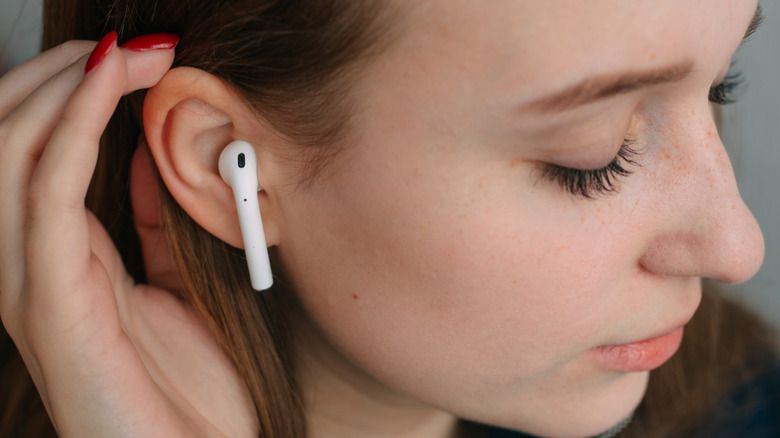
Your AirPods have touch sensors on the stems of the buds. These sensors can detect both quick double-taps and long presses, and perform different functions depending on what you do. By default, a double-tap skips to the next song in a music playlist, while a long press switches between the different noise-canceling settings, but you can customize these functions to a certain extent.
First, here's how to customize taps.
-
Open your AirPods charging case and place both buds in your ears.
-
While your case and AirPods are connected to your iPhone, open the Settings app.
-
Tap Bluetooth.
-
Tap the info button next to your AirPods' name.
-
Under Double-tap AirPod, select the left or right bud.
-
Select the feature you want to assign to a double-tap.
You can set a double-tap to play or pause content, skip tracks, or activate Siri.
Next, here's how to customize press-and-hold.
-
Open your AirPods charging case and place both buds in your ears.
-
While your case and AirPods are connected to your iPhone, open the Settings app.
-
Tap Bluetooth.
-
Tap the info button next to your AirPods' name.
-
Select the left or right bud under Press and Hold AirPods.
-
Select which noise-canceling features you want a press-and-hold to cycle through.
You can also set a press-and-hold to activate Siri, but at least one bud needs to have noise-canceling set up at all times.
How to enable or disable ear detection
AirPods feature automatic ear detection, beginning playback when you stick them in your ears and pausing it when you remove them. It's a helpful feature, but if you don't like your music starting and stopping independently of your direct input, then you can disable the feature at any time.
-
Open your AirPods charging case and place both buds in your ears.
-
While your case and AirPods are connected to your iPhone, open the Settings app.
-
Tap Bluetooth.
-
Tap the info button next to your AirPods' name.
-
Enable or disable the Automatic Ear Detection toggle.
While automatic ear detection is enabled, your AirPods will pause playback if you remove one bud and stop it entirely if you remove both. If automatic ear detection is disabled, your audio will continue to play whether your AirPods are in or out of your ears.
How to change microphone settings

Both of your AirPod earbuds have microphones in them, used for taking calls, interacting with Siri, and so on. By default, your AirPods' microphones are set as the automatic option, which makes whichever microphone that picks up your voice first the dominant one. If there's a particular side you want to speak into, or you're only using one AirPod as an earpiece, you can force the microphone to only activate on one side.
-
Open your AirPods charging case and place both buds in your ears.
-
While your case and AirPods are connected to your iPhone, open the Settings app.
-
Tap Bluetooth.
-
Tap the info button next to your AirPods' name.
-
Scroll down and tap the Microphone option.
-
Select between the Automatically Switch, Always Left, and Always Right settings.
If you have Always Left or Always Right enabled, the select AirPod will always be functioning as a microphone, even if you take it out of your ear. You can still use it as a microphone even if you put it in its case, though obviously you'll need the other bud in your ear to hear anything.