10 Microsoft Surface Features That Will Change How You Use Your Tablet
We may receive a commission on purchases made from links.
Often billed as Microsoft's answer to the MacBook, the Surface line of laptops and 2-in-1s ranges from budget-friendly everyday PCs to high-end workhorses. We've reviewed a fair few of them over the years, and come away largely impressed with what they've had to offer. However, if you're coming from an Apple device or an older Windows PC, there are a few key differences that it's easy to overlook. If you don't make the most of the improvements they offer, you're almost certainly missing out.
All of Microsoft's most recent Surface models sport Windows 11, so that's what we're focusing on here. If you're shopping around for a Surface and not sure which model to buy, take a look at our reviews of the Surface Laptop 5 and Surface Pro 9, but if you already have a shiny new Surface in hand, these tips should help you make the best of it. And, even if you're a long-time Surface user, there might still be a few things here you've missed out on so far.
Sync your Surface with your phone

With any Surface running Windows 11, you can make and receive calls, send texts, and read notifications, all without ever needing to look at your phone. The process for linking a smartphone varies depending on whether you have an iPhone or an Android, but both can connect equally seamlessly. If you have an iPhone, you'll need to download the Link to Windows app from the Apple Store, which requires iOS 14 or higher. Once you've downloaded the app, follow the on-screen instructions to set up the link.
Android users don't need a separate app, and can simply launch Phone Link on Windows 11 by searching "phone link" in the taskbar. Select the option for "Android," scan the QR code, and choose your preferences for things like notifications, then you're good to go. For both iPhone and Android, Bluetooth will need to be enabled in order for you to make and receive calls. If you want to unpair your phone, go to the Phone Link app on your Surface, select Settings, then My Devices, then remove your phone from the list.
Customize the widgets board

The widgets board is a one-stop shop for quickly accessing information and functions, and it can be brought up in several ways. If you're using a keyboard, press the Windows key + W to bring up the board. Alternatively, select the Widgets icon in the left corner of the taskbar, or hover over the icon to quickly check the board. You can also access it by swiping left from the edge of your screen.
Pinning a widget to the board keeps it easily accessible, and you can do so by selecting the More Options icon in the top-right of the widget, then tapping Pin. Also in the More Options menu are options to resize the widget or hide it altogether. You can also select Customize Widget to change the data it displays. If you want to expand the widgets board to see even more widgets at once, select the expand icon that's at the top right hand corner of the board. You can collapse the board again using the same button.
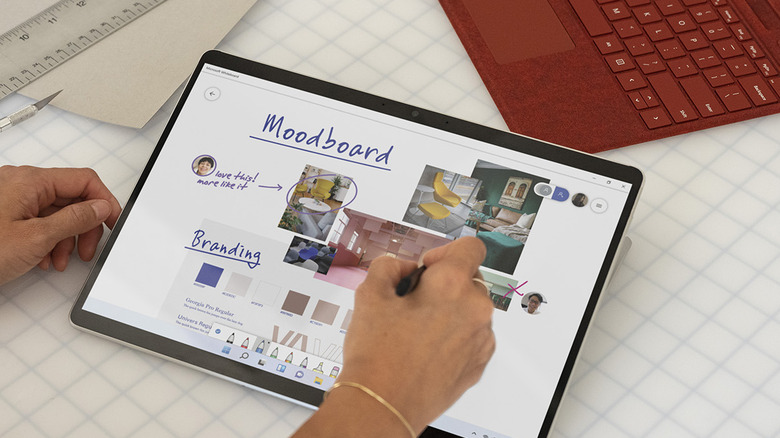
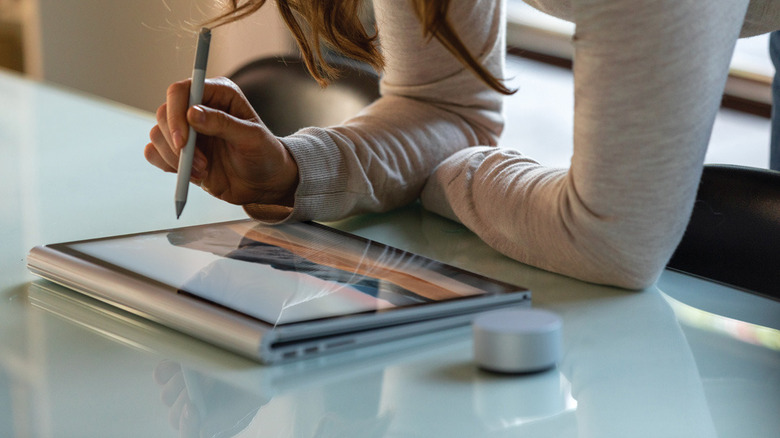
Draw, navigate, and write with a pen
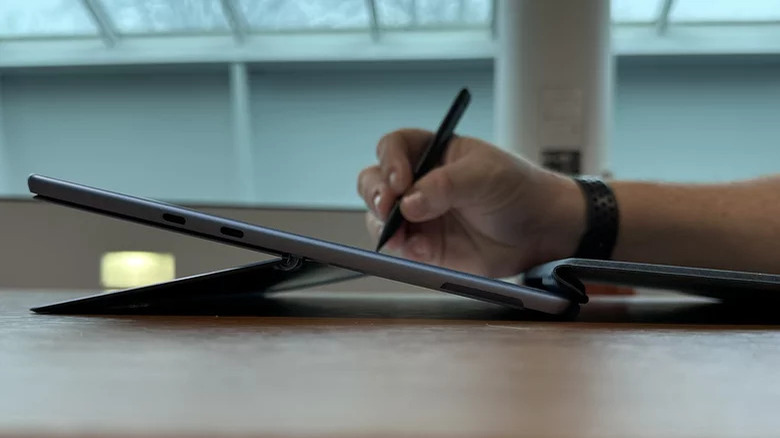
If you're willing to shell out a little extra for Microsoft's Surface Slim pen, you can really transform the way you use your Surface. It's sold separately for $129.99, but can often be found for less than retail price on Amazon. It's at its best when it's used with ink-enabled Surface devices, which use haptic feedback to replicate the experience of writing or sketching with a pen and paper. Ink-enabled Surface devices include the Surface Pro 8, Surface Pro X, Surface Laptop Studio, and Surface Duo 2. We tried it with the Surface Laptop Studio and found the haptic feedback to be so good that using any other stylus felt inadequate by comparison.
Our testing focused on creative uses for the Surface Slim pen, like sketching and shading, but it's also useful for more office-focused tasks too. You can take notes like you would on paper, or annotate a document while collaborating with colleagues. It should always be ready to use too, as it attaches straight to your Surface and built-in wireless charging is supported with certain Surface models. However, it's best not to rely solely on the magnetic attachment to keep the pen secure, as it can get lost easily, and it's not cheap to replace. A dedicated pouch for the pen or case for your Surface is definitely worth the investment here.
Use it as a portable games console
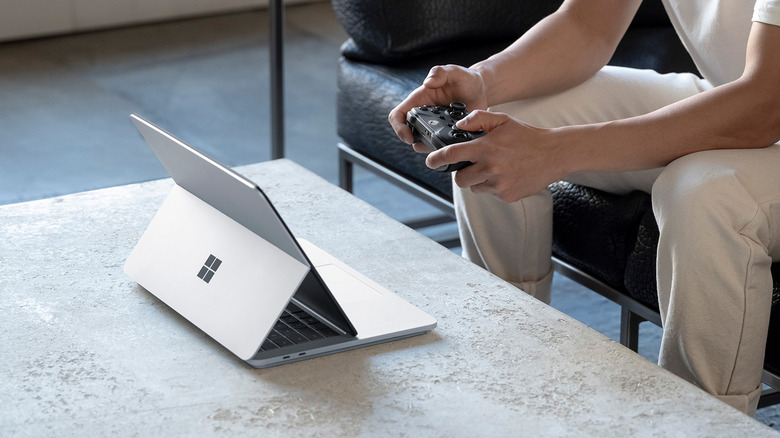
Microsoft's Xbox Game Pass is arguably one of the best deals in gaming, with access to hundreds of titles for one low monthly fee. It's not just available on Xbox, either, as PC gamers also get access to an extensive library, plenty of which is playable through cloud gaming. This allows you to play games even if your PC (or in this instance, your Surface) doesn't meet the minimum requirements. To set your Surface up for cloud gaming, you'll need Game Pass Ultimate and a controller or keyboard that's suitable for the game you want to play.
Search "Xbox" in the taskbar to launch the Xbox app, then in the sidebar menu on the left-hand side of the screen, select Cloud Gaming. On Microsoft Edge and Google Chrome, you can also play straight from your browser through xbox.com/play, by logging in with your Microsoft account.
Snap windows for maximum productivity
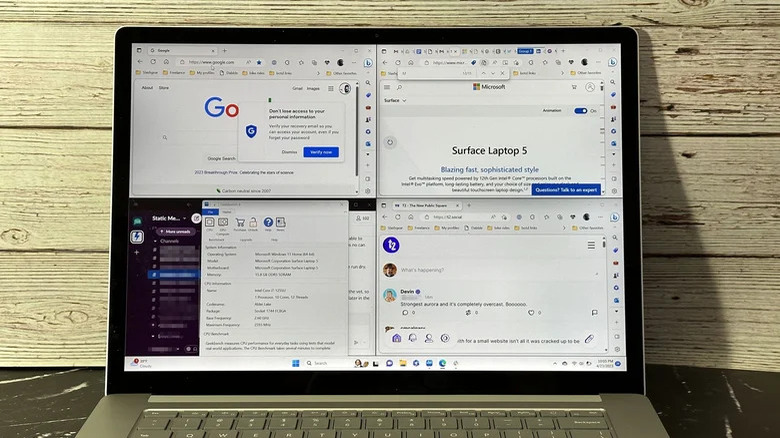
If you often work across multiple windows and don't want to have to keep switching between them, Windows 11 lets you combine up to four windows in various layouts for optimal ease of use. If you're using a keyboard, press the Windows key + Z to bring up the window layout box, or if you prefer touch gestures, you can minimize the window and then adjust it to your preference manually.
Snap Assist will appear once you've snapped the first window — this lets you see all your currently open windows so you can decide which ones to place in the remaining spaces in the layout. Dragging the borders of each window lets you adjust the size of each one further once you've decided on a layout. Once the layout has every space filled, it becomes a snap group and can be instantly toggled back to if you open another app.
Connect your Surface to a TV or screen
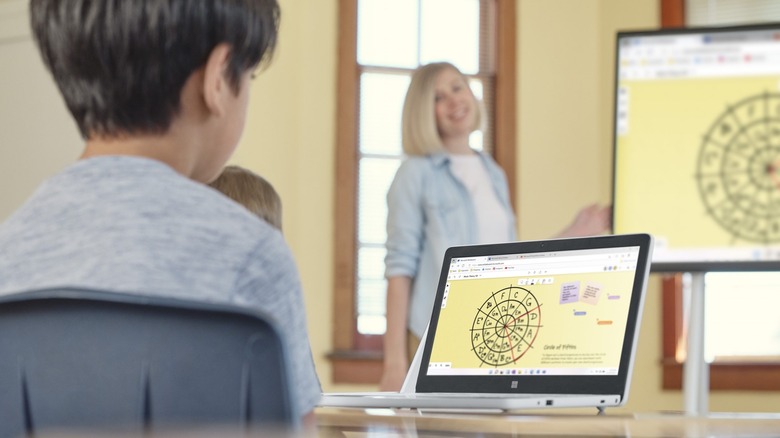
Sometimes you just can't beat having a bigger screen, and if you have a compatible TV or wireless monitor, it's easy to connect your Surface. All Windows 11 Surface models support Miracast, which can be found by clicking the Network icon on the right-hand side of the taskbar, then selecting Cast. You'll then see a list of all supported displays — if you don't see the one you're looking for, make sure it's connected to the same WiFi network and that it supports Miracast. Also, make sure you know the name of your TV or monitor if you have multiple compatible displays on the same network.
Once you've found the display, select it, follow any on-screen instructions, and your Surface screen should appear. If your TV or monitor doesn't support Miracast, then Microsoft also sells a separate Wireless Display Adaptor, which you can then connect to using the same process described above. It retails for $49.99, but can often be found at a discounted price on Amazon.
Turn on device tracking
Losing your expensive Surface or, even worse, having it stolen, is one the biggest nightmares for any user who frequently commutes with their device. Luckily, Windows includes a built-in feature to track your device if it does end up missing, but you'll need to make sure it's enabled first. When you set up your Surface for the first time, you'll get the option to enable Find My Device, but you can also turn it on or off through Windows Settings. Open the Settings menu, select Privacy and Security, then Find My Device.
Once the feature is enabled, the Surface will send its location to Microsoft, and you can log into your Microsoft account to find it by going to Devices, then selecting Find My Device. From there, you can remotely lock your Surface to prevent anyone getting access to it. It's worth noting here that in order for the feature to work, you'll need to have an administrator account on your Surface, and the Surface itself will need enough battery power to continue transmitting its location.
Take a screenshot without a keyboard
The Surface 2-in-1 line sits somewhere between a traditional laptop and a tablet, and if you're used to a regular laptop, there are a few functions you might have to relearn. One of those is the ability to take a screenshot, which on a traditional Windows laptop could be achieved through the PrtSc key. With Surface, things are a little different — with Surface Duo, hold the Volume Down and Power buttons at the same time to take a screenshot, and with all other Surface devices, hold the Volume Up and Power buttons together.
You can also record your screen using the Snipping Tool. Open the Snipping Tool by searching for it in the search bar, then select the Video icon, then New. You can then select an area of your screen that you'd like to record, then press Start to begin recording. When you're done, press Stop Recording and your captured footage will be available to view.
Get extra storage space with a MicroSD
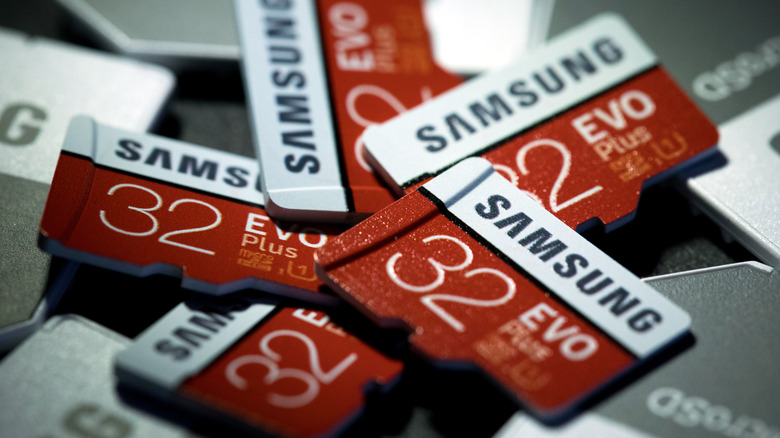
Some models in Microsoft's Surface range only come with 128GB of storage, and if you have a lot of videos, files, or large applications on your device, you might find yourself running out of space. The good news is, many Surface devices feature either an SD or MicroSD card slot to expand your storage significantly. Not every Surface will have an SD card slot — Surface Laptops, Surface Pro 8, and Surface Pro X all do without them — but all Surface Book, Surface Studio, and Surface Go models offer expandable storage.
The type of card you'll need varies by Surface model, so be sure to check what type your Surface supports before buying one. However, no matter whether your device supports SD or MicroSD, there are plenty of affordable cards available that should save the hassle of having to carry around an external drive. As well as just adding extra storage space, it's worth noting that an SD card can also be used to back up files already on your Surface.
Change how you sign in
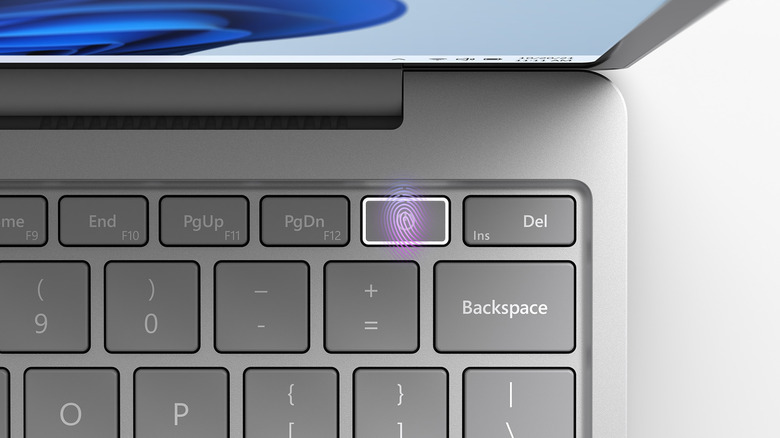
With Windows 11, Microsoft offers a variety of ways for you to sign in that aim to be more convenient than a traditional text password. One of the best of those is Windows Hello, which uses the Surface's front-facing camera to scan your face and iris, letting you log in instantly without the need to use a password. If you're not so keen on using facial recognition to log in, then you can also use a fingerprint reader on certain Surface models.
The Surface Laptop Go and Laptop Go 2 have a Fingerprint Power Button to use this feature, and the Surface Pro Type Cover and Surface Pro Signature Keyboard also feature fingerprint readers. You can also use a picture password or a PIN if you prefer, and all of these sign-in options can be enabled or disabled by clicking Settings, then Accounts, and Sign-In Options. Under Ways To Sign In, you'll find options for all of the above, and can add or remove them accordingly.