How To Connect An HP Printer To Wi-Fi
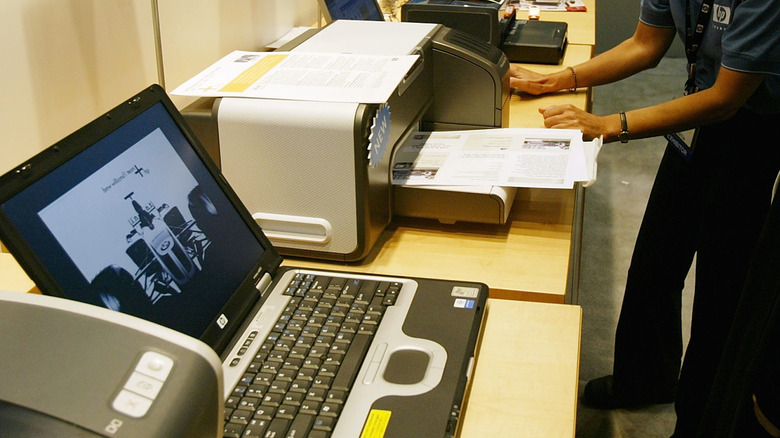
Back in the old days, if you wanted to use a printer, it needed to have a hard connection to your computer. That wasn't so bad if you had a private home office, but if you had family members that wanted to print things, you'd all be fighting over the connected computer. Thankfully, modern printers have no such limitation, as they're able to connect to a home Wi-Fi signal and, by extension, every other computer and device on the network can connect for seamless remote printing.
However, modern printers aren't magic, even if they may seem that way compared to years prior. As advanced as printers have gotten, they're still electronics, which means they still need a little help from you before they can use their features to the fullest. For instance, let's say you've got a shiny new HP printer and are ready to have your family put it through its paces. To facilitate that, you'll need to actually connect the printer to your personal Wi-Fi signal.
Preparing for connection
Before you can connect your HP printer to your personal Wi-Fi signal, you'll need to make a few quick preparations to facilitate a quick and simple setup process. First and foremost, you'll need to download the HP Smart app on a device that's connected to your Wi-Fi. HP Smart is available on Apple iOS or iPadOS, Android, Windows, and macOS devices. Anything's fine, be it a computer or a mobile device, though if it's the first time you're using the app, you will need to make an HP account.
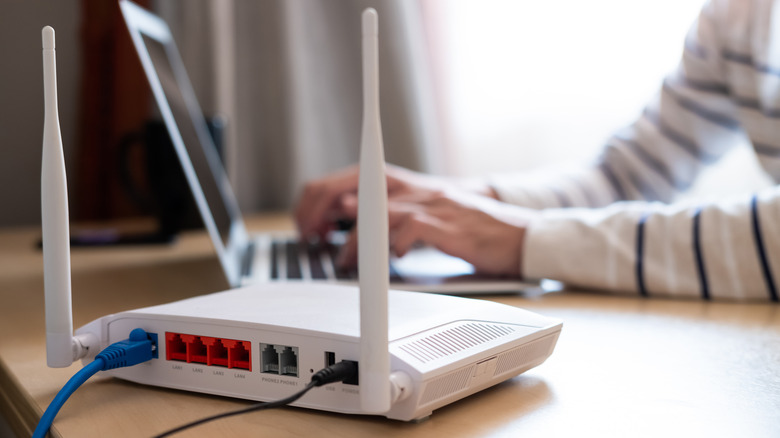
Next, you need to position the printer and your interface device in an optimal fashion. For the printer, this means placing it close to your wireless router. You can move it again later after the setup is finished, this is just to ensure it catches your Wi-Fi signal. You'll also want to have your interface device nearby, connected to the Wi-Fi signal, and fully up-to-date. Make sure your device has Bluetooth enabled so it can detect the printer, and if you're using a mobile device, enable location service so the printer can find it.
Connection setup
Once both the printer and your chosen interface device are in optimal position, it's time to proceed with the setup.
-
Open the HP Smart app on your interface device.
-
If this is the first time you are using the app, it will attempt to automatically detect your printer.
-
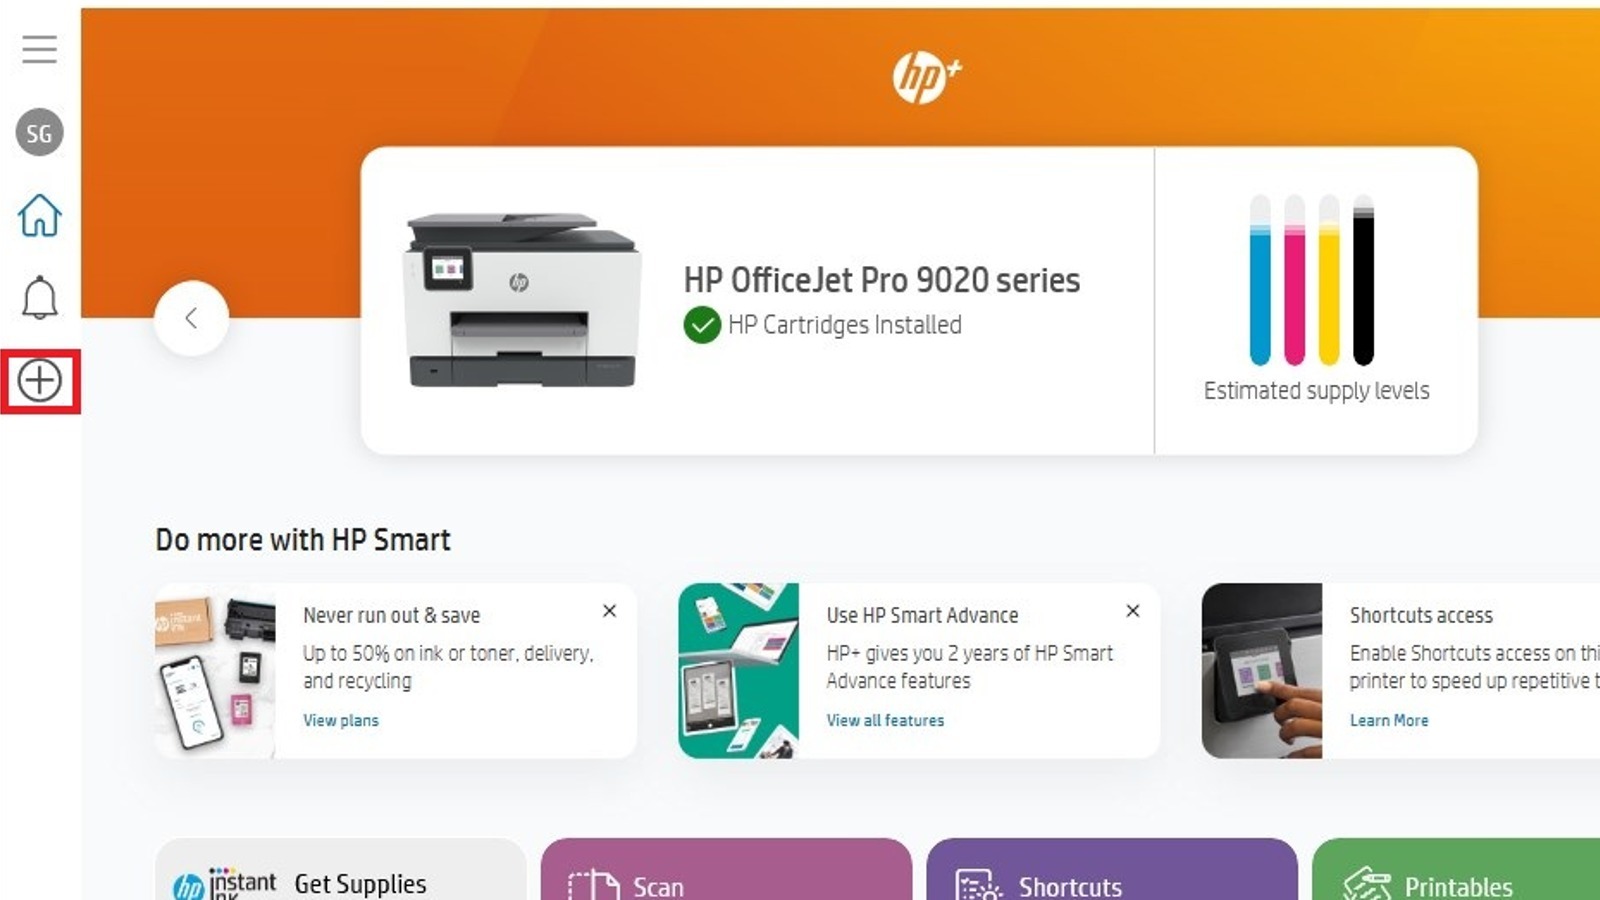
If this is not the first time you are using the app, tap the Add Printer option or the "plus" button on the main menu to detect the printer.
-
When the printer is connected, you'll be brought to the connection type screen.
-
Select "Wi-Fi."
-
Follow the displayed steps to finish setup.
Once the setup is finished, you can begin sending print jobs to the printer through your Wi-Fi.
Ideally, the majority of this process will be automated, but in the event your printer isn't detected by the HP Smart app, you might need to do a quick network reset. Here's how you can do that.
-
On your printer's touch screen, select either the "Wireless" or "Setup" options.
-
On the next menu, select either "Network Settings" or "Setup."
-
Select the "Restore Network Settings" option.
-
Close and re-open the HP Smart app on your interface device.
-
Tap the Add Printer option or the "plus" button on the main menu to detect the printer.
If your printer doesn't have a touch screen display, there may be a button combination you can press to trigger a network reset. Check HP's official help page for a list of reset combinations by model.