Transfer Music From iTunes To iPhone: Easy Guide

With a few easy steps, you can transfer music saved on iTunes from your Mac or PC to your iPhone. You might need to do this to sync purchased music and ringtones to your phone (since Apple still won't allow custom ringtones) or access songs when you're offline.
There are a few ways you could go about this, but all of them are straightforward to complete with a few clicks. First, ensure you have an up-to-date version of iTunes on your computer. If you have an older version, open the app and select Help > Check for Updates from the menu bar, then follow the prompts to install the latest version. Also, you must know that iTunes only allows for a one-way sync, meaning you can sync music from your computer to your iPhone via iTunes, but not vice versa.
One last caveat: iTunes still exists and works for PCs and older Macs, but you'll use the Music app if you're running on macOS Catalina or newer. Apple discontinued iTunes with the launch of OS Catalina in 2019 and moved most of its functionality into the Music app. All iTunes digital content is now split across Apple's separate media apps: Music, Podcasts, TV, and Books.
With that out of the way, here's the process for transferring music from iTunes to your iPhone.
How to transfer music from iTunes to iPhone via USB cable and Wi-Fi
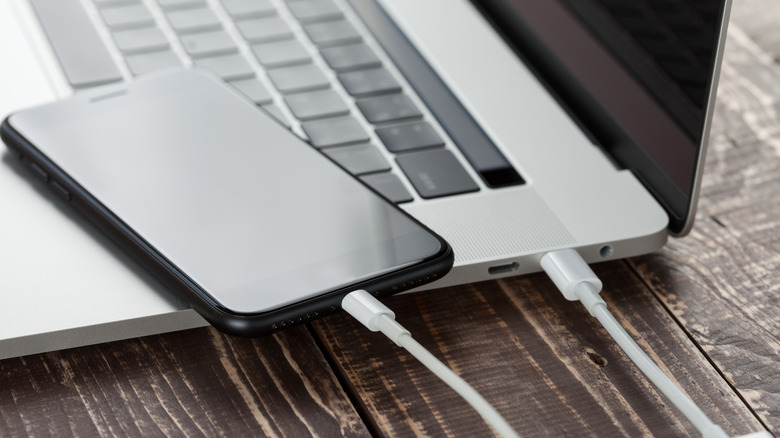
You'll need a Lightning cable to connect your iPhone to your Mac or PC.
-
Connect the iPhone to your computer with the Lightning cable.
-
Open the iTunes app on your computer, then select the phone icon next to the Media menu. Another option is to click the device name from the Devices menu.
-
Next, select the "Sync Settings" tab and click the Music tab.
-
Here, you can select one of two options: transfer your entire music library or a specific selection of song categories (playlists, albums, genres, and artists).
-
Click "Apply" when you're done, then click "Sync," and the transfer should begin.
The transferred songs are on your iPhone under Music > Library > Songs. You can choose to automate subsequent music syncs from your computer to your iPhone by checking a few boxes in Summary > Options. You can check the box next to "Automatically sync when this iPhone is connected," and new music will automatically be transferred to your iPhone whenever it's plugged into your computer.
Transferring music from your computer to your iPhone via Wi-Fi is also possible. You'll need to plug your iPhone into the computer via USB, then connect both devices to the same Wi-Fi network. Next, open the Summary > Options menu and select "Sync with this iPhone over Wi-Fi." After that, click "Apply," and the sync should begin.
How to do a manual music transfer from iTunes to iPhone

If you want more control over what songs get synced and in what order, performing a manual sync from iTunes to iPhone is possible. Here's how:
-
Connect your iPhone to the computer with a USB cable and open the Devices section as in the earlier processes.
-
Open the Summary menu, navigate to the Backups menu, check the box in front of "Manually Manage Music and Videos," then select "Apply" to save the changes.
-
Next, return to the Library section and select the songs you want to transfer to the iPhone. To select multiple items, press and hold Ctrl or Command and then click on each song. You can drag this selection to your iPhone from the Devices list.
-
Once the transfer is complete, you'll find the new songs in your iPhone Music Library.
As with any data transfer procedure, be careful not to unplug anything during this process, or you risk losing data from your computer or iPhone.
Also, some songs in your iTunes Library may not sync to your iPhone for a few reasons: the file format might be incompatible with your iPhone, or there might be licensing or copyright issues that make certain songs available exclusively on iTunes.