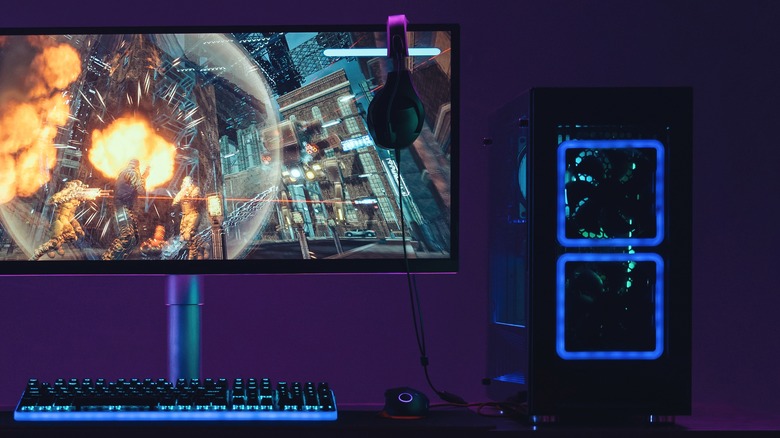
How To Pick The Right Power Supply For Your PC Build
Building a custom PC is an exciting and fulfilling endeavor. However, it can quickly become daunting when selecting a suitable power supply unit or PSU, a vital yet commonly underestimated component. The PSU powers every other PC part and ensures its efficient functioning, and just like every other major piece in your machine, choosing the right option is even more difficult because of all the available options.
Understanding the fundamental characteristics of a PSU — such as wattage, efficiency ratings, and form factors — is essential to forging a solid foundation for making an informed decision. Equally significant is calculating the total power requirement of the PC. This calculation includes existing hardware and considers potential upgrades, so you'll want to think two or three steps ahead.
In addition, features of a PSU, such as modularity, fan noise, and safety protections, are important factors for consideration, so selecting a PSU based on these characteristics can further ensure your unit aligns with individual needs and preferences.
A power supply isn't just about meeting energy demands; it encompasses reliability, efficiency, and component safeguarding. Whether a novice builder or an experienced techie, making a well-informed PSU choice is an investment in the PC's longevity and performance.
Understanding power supply basics

The PSU is the backbone of any PC build, providing all necessary electricity to various components. When selecting the suitable PSU, you'll need a firm grasp of some critical concepts.
First, it's vital to understand wattage – the unit of power that the PSU can deliver to the PC. This figure ranges widely among builds, from 300W for basic PCs to 500W or more for high-end gaming or professional workstations.
Next, efficiency refers to how effectively the PSU converts the AC from the wall outlet to DC for the PC components. You'll usually see this represented as a percentage and an '80 Plus' certification, where the higher the certification level (e.g., Bronze, Silver, Gold, Platinum, Titanium), the higher the efficiency and the less electricity wasted as heat.
Another important consideration is the PSU 'form factor.' The most common form factor is ATX, compatible with most mid-to-full-sized PC cases. For smaller PCs, you might want SFX or TFX form factors.
How to identify your PC's power requirements

Estimating the power needs of a PC is crucial when selecting the appropriate PSU. The calculation starts with the summation of power consumption from all installed components, which provides a baseline power requirement.
Notably, the CPU and GPU are the most power-demanding components in a PC, so when you're considering purchasing new parts for your build, you can usually find the specifications on the manufacturers' websites. It would also help to use online PSU calculators for a more comprehensive estimate.
Remember that power usage isn't static; it varies with system load. Maximum power draw occurs when components operate at peak levels, such as during gaming or heavy multitasking. Hence, consider a PSU capable of handling these spikes in demand.
Future system upgrades also play a part in the decision. Choosing a PSU with extra capacity to accommodate potential hardware additions or replacements is wise. Anywhere from a 20-30% margin over the calculated total power requirement is recommended for this purpose and to ensure optimal efficiency.
Lastly, the importance of power efficiency; PSUs are rated based on their efficiency at converting AC to DC power, with 80 Plus certifications being the industry standard. These ratings influence both the energy consumption and heat generation of the PSU.
Choosing the right power supply features

The type of cables that come with a PSU is a critical consideration. In modular models, excess wires are detached to reduce clutter, improving airflow and aesthetics. Non-modular options have all wires fixed, providing a cost advantage but potentially leading to surplus cable clutter.
Noise levels, determined by the PSU fan, are another consideration. Some PSUs have a fanless mode, remaining silent under low loads, while others maintain constant fan operation. Reviews and specifications can provide insights into a model's noise levels.
Another critical aspect is safety protection, such as over-voltage protection (OVP) and over-power protection (OPP). These mechanisms guard the PC components against electrical damage.
Considering the quality of PSU components is also vital. While considerably more expensive, higher-quality capacitors and other internal details can improve PSU longevity and performance. Look for reputable brands with good reviews for assurances of build quality. A good rule of thumb is that when comparing two PSUs of the same specifications, the heavier one is often better, as better-quality components weigh more. It's not a guarantee, as some cheap manufacturers have been caught adding unnecessary weights to their PSU models and newer materials can be lighter than cheaper old ones, but it is something to consider along with a known brand and good reviews.
Finally, a PSU's warranty period speaks volumes about its expected lifespan. More extended warranties often imply better reliability and customer support, providing peace of mind.
How to install your power supply
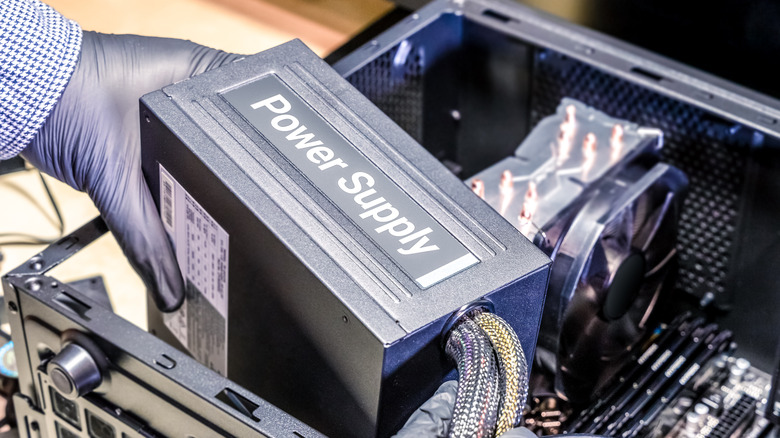
A successful PC build culminates with installing the power supply unit, and this final stage is crucial to ensure all components' safe and optimal operation. While it may seem intimidating, you should be able to avoid visiting your local geek shop.
- Begin by ensuring the PC case is clean and prepared for PSU installation. Position the case on its side for easier access.
- Next, locate the PSU mount area in the case, usually at the bottom or top of the rear side.
- Place the PSU in the designated area with the fan facing downwards or towards the case's vent, depending on the case's design.
- Secure the PSU using screws typically provided with the case or PSU, ensuring a tight, but not overly tight, connection.
- Proceed to connect the PSU cables to the respective components following the motherboard's manual for reference.
- For modular PSUs, plug the cables into the PSU before connecting to the components.
- Once you've connected everything, you should ensure the cables are well-managed to facilitate airflow within the case.
Always remember to work in a clean, well-lit space and occasionally touch a metal part of the case to ground yourself and avoid electrostatic discharge. Check plugs twice for accuracy, and never force a connection. Feel free to seek professional help if the installation process becomes overwhelming. It's always better to prioritize safety and component health above all else.