Where To Find The Best Presets For Adobe Lightroom
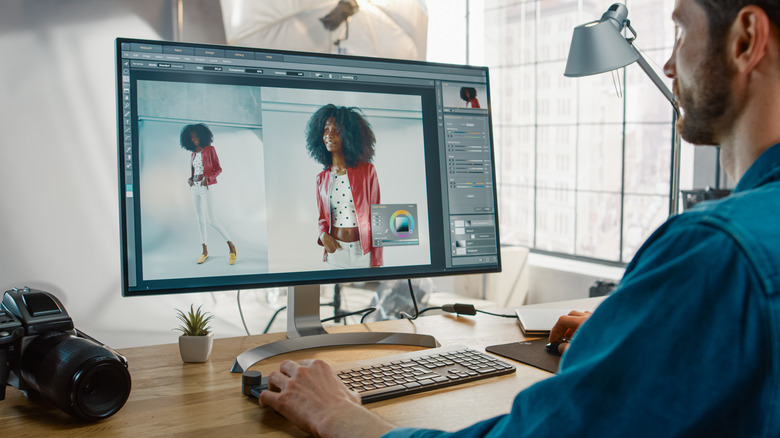
Adobe Lightroom is one of the most popular photo-editing software on the market. It is fitted with numerous features that can help take photos from 0-100%, but most of us are lacking the skills and knowledge necessary to maximize its many photo-editing features. That's where presets come in.
Lightroom presets are a very convenient way to go about photo-editing, with pre-saved custom settings designed to create a certain style or aesthetic. Think of them like Canva templates, but for photo edits. With the tap of a button, you can amp up a mediocre shot to look more cinematic, grungy, retro, urban, edgy, etc., without having to fiddle with all the technical settings in the app. Presets are a great way to keep your style consistent, especially if you're curating a portfolio or social media page.
There are countless websites online promising the best Lightroom presets, but with so many options available, it becomes difficult to know where to start or how to choose. There are several places where you can download cool presets for Adobe Lightroom — both Classic and Mobile. Some of them offer free downloads, others you have to pay for, but rest assured you'll find presets on this list that'll help you take your photography to the next level.
Sites to find the best Lightroom presets
The following sites have a collection of various presets that can help you achieve some specific edits:
-
ON1: ON1 offers a collection of in-house and partner-source presets organized by themes. There are presets for seasonal shoots (summer, winter, spring, and autumn), as well as other texture-specific filters popularly used in photography (matte, grain, retro film, monochrome, grunge, etc). All the presets in the collection are free, but you'll need to subscribe with your email address to download. ON1 promises they won't spam, but you can always unsubscribe after getting what you need.
-
Photonify: You'll also find a collection of niche presets for family portraits, product photography, sports, weddings, lifestyle blogging, and many more. Email sign-up is required.
-
PresetLove: This site has an exhaustive library of a wide range of free presets, and it makes things easier by adding a search bar that allows you to find the specific style you're going for. You can also get 300+ presets for $7, which isn't at all a bad deal.
-
FilterGrade: FilterGrade provides presets designed by pro photographers, so it's a great way to learn by imitating the editing styles of professionals. Prices range from $20 to $500, and you can sort through the library by style.
-
Hootsuite: If you mostly edit photos for social media, Hootsuite could be a convenient source for Lightroom presets, since it also offers scheduling and management features for social media accounts such as Instagram.
-
BeArt Presets: This no-fuss website offers 20 free presets for selfies, food, newborns, portraits, weddings, and more. They use a name-your-price checkout page, but all you need to do is bid $0 and you'll get a free download of whichever preset you choose.
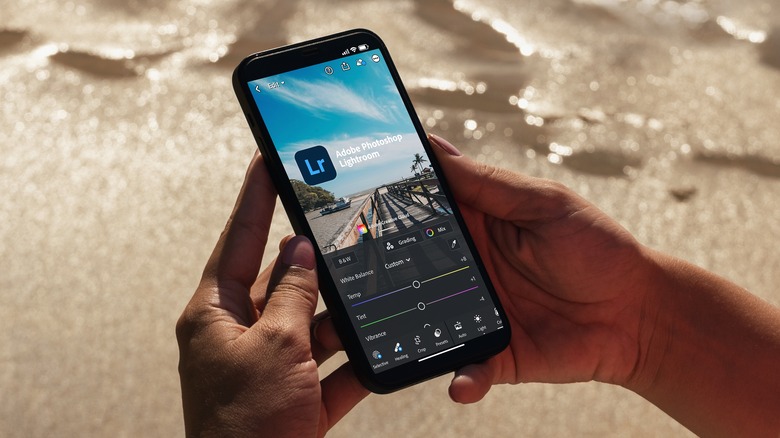
How to install presets on Lightroom Desktop and Mobile
Here's how to import the presets you've downloaded into Lightroom.
On desktop:
-
Open Lightroom Classic and go to the "Develop" module, then import the photo you want to edit.
-
Select the (+) icon from the Presets Panel, then click "Import" from the dropdown menu.
-
Find the .zip or .xmp file of the presets you've downloaded and hit "Import." You should see all of the new presets in the Presets panel, and you can click on any to apply them to a photo.
On mobile:
-
Your presets would probably have downloaded as a .zip file. Tap on the file to extract the presets, then open the Lightroom mobile app and create a new album from the Library tab.
-
Add all the new presets to the new album. To do this, simply tap the (+) button then "From Files" and find the .dng preset files. Tap on them to select, and tap "Add" when you're finished.
-
Next, open each of preset images and click on the three dots at the top right, then select "Create Preset."
-
Name the preset and tap the check mark at the top right of the screen to save it.
-
Now, import a photo you want to edit, then select your desired preset from the Presets menu in the bottom toolbar. All your new presets should be saved to a tab named "User Presets."
Keep in mind that presets are unlikely to deliver perfect results right out the gate. There's no perfect preset, but what makes them useful is that they can get you close to your desired effect in less time than manual editing would. You might have to tweak a few more settings to get a result that matches your vision for the photo.