5 Tips For Making Your DSLR Photos Look Like Film
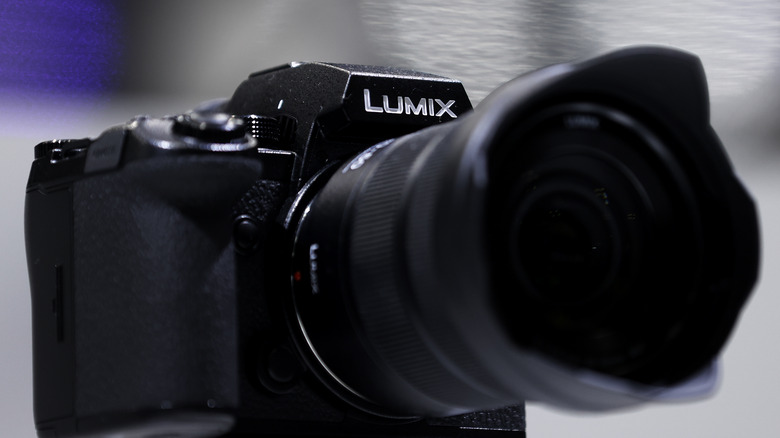
When it comes to taking clean and clear photos, it's pretty much a given that DSLR cameras are the way to go. That said, while digital cameras do take higher-definition photos, there's a certain something that's lost in the transition from film. For its flaws, film does tend to capture warmer, more natural images. That's why film photography is still quite popular to this day, both as a separate professional standard and a fun hobby.
Of course, not everyone has the time, money, or interest to slave over a tub of developer fluid in a darkroom all day. That's not even mentioning how prohibitively expensive obtaining and maintaining a proper film camera can be these days. If you don't have a film camera or don't want to use one, there are a few crafty ways to approximate the look of film photography while still enjoying the conveniences provided by a DSLR camera.
Use an old lens

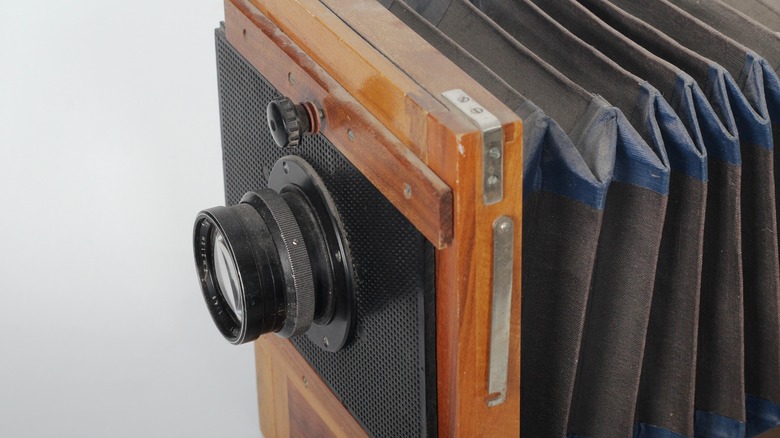
The simplest thing you can do to take your DSLR camera on a trip to the past is to use an older lens. A lot of modern camera lenses are precision-designed to result in the cleanest picture possible, while older lenses, even for digital cameras, may have the occasional quirk. If you're looking to emulate the photographic style of a previous generation, using hardware from that period is a good place to start.
Older lenses, especially those made with film cameras in mind, can have outdated design sensibilities or even flat-out problems that reduce the overall quality of the picture. Perhaps there's a color aberration, or maybe the contrast is messed up. Ironically, though, what would otherwise be considered downsides are exactly what we're looking for. If you can fit an old film lens to your DSLR camera, you can use its quirks to create a more faithful retro photo.
Use a larger frame
In the days of film camera supremacy, photos were larger in general, not because they were higher in resolution, but because film cameras had larger frames. Digital cameras use smaller frames because you need a smaller point of view in order to maximize fidelity. A full-frame view in a digital camera is roughly analogous to 35mm film, which is downright tiny. Ergo, if you want something more in line with a classic film photo, you need to blow that picture all the way up.
If you have the means to do so, try to get your hands on a digital camera with a larger frame than usual, preferably one that can be fitted with an older lens. By taking larger photos, you'll get a bit of a hit to the overall clearness of the image, but the important subjects in the middle of the frame will look much better.
Use manual white balance

DSLR cameras are designed to automatically balance out the white levels in their photos. Since film cameras didn't have such features, most film rolls were instead chemically treated for balancing, resulting in uniform quality for every picture taken. If you want to get the most accurate film-style photo, then you'll need to disable the advanced balancing and instead rely on the natural lighting surrounding your subject. Remember, this used to be the only way anyone could take a picture!
Use your camera's settings to switch the white balance from automatic to manual, opting specifically for a Daylight option during the day and a Tungsten option at night. As long as you shoot in optimal lighting conditions, you'll get a photo that looks more natural. If you're shooting during the day, try to get your picture outdoors with plenty of natural sunlight illuminating your subject. If you're shooting at night, use a flash.
Experiment with exposure
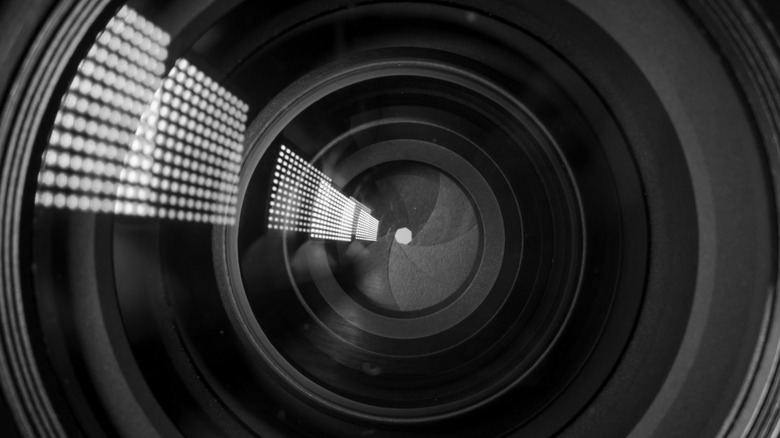
In the days before digitally-controlled shutters, photo exposure was always a major concern. Close the lens too quickly, and not enough light gets in to capture the image. Leave the lens open too long, and the picture turns into a white blob. However, while this process was a bit of a headache, it did occasionally yield something special. By experimenting with the shot exposure, you may be able to see things in your photos that you wouldn't see with a digital camera's default shutter setting.
Most digital cameras allow you to adjust the length of time the shutter stays open. This is a trick often used by astrophotographers to properly capture the stars in the sky, but you can also use it to selectively highlight light and shadow in your photos. Take a look at some of your childhood photos (if you're old enough to have film childhood photos) and see how the overall mood of the picture changes depending on how the light was captured. You can create a more moody atmosphere with a shorter, darker exposure, for instance.
Adjust the settings
The automated settings on a digital camera are meant to capture a clean image that's as true to life as possible. Of course, a true-to-life picture doesn't always look better than a slightly blurry one. Film photos, compared to digital photos, generally have brighter color saturation, lower contrast, and reduced sharpness. As long as you don't mind switching the automated features on your camera to manual, you can create an image more in line with a classic film aesthetic.
In your settings, raise the saturation to increase the presence of vivid colors like red and green, turn the contrast down a bit to keep the image balanced, and lower the sharpness slightly to make the image smoother overall. The resulting photos will look a bit less true to life, yes, but if you're trying to get an image that's more artistic or fantastical, they'll have that look in spades.
Keep in mind that some DSLR cameras don't let you manually adjust the settings. However, most at least have setting presets you can toggle for different image qualities. If you can't tweak the settings directly, try experimenting with the presets to see which one gets you closest in line with that natural film photo look.