How To Remap Your Nintendo Switch Controls (Joy-Con & Pro Controllers)
One of the most appealing aspects of the modern gaming scene is customization. As gaming becomes a more inclusive hobby, more avenues of personalization have opened up, ensuring that you can get the best experience for your playstyle. At the baseline of the customization scene is the ability to remap controls. Everyone has different muscle memory, after all, and some folks may need to move the buttons around on their input device in order to maximize their gaming comfort.
For a long time, remapping controls was more of a PC thing, but in this day and age, even gaming consoles are on board the remapping wagon. If you do most of your gaming on a Nintendo Switch, for instance, you can freely remap the controls on your Joy-Cons or a Pro Controller to best suit your preferences. All it takes is a bit of tinkering in the console's settings, and you'll have those controls just the way you like them.
What kind of controllers can be remapped?
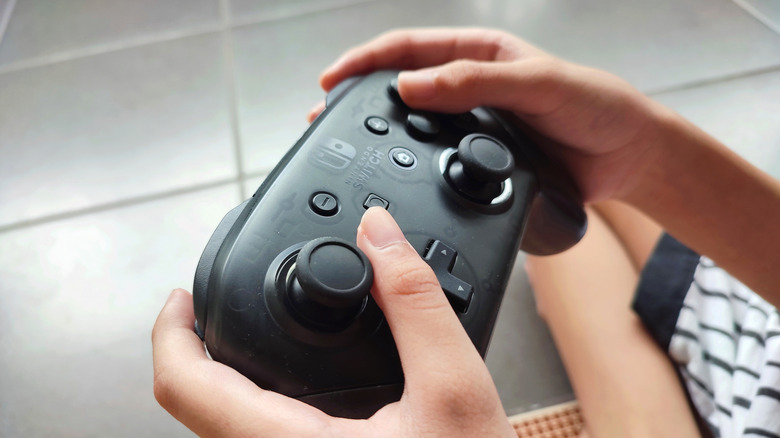
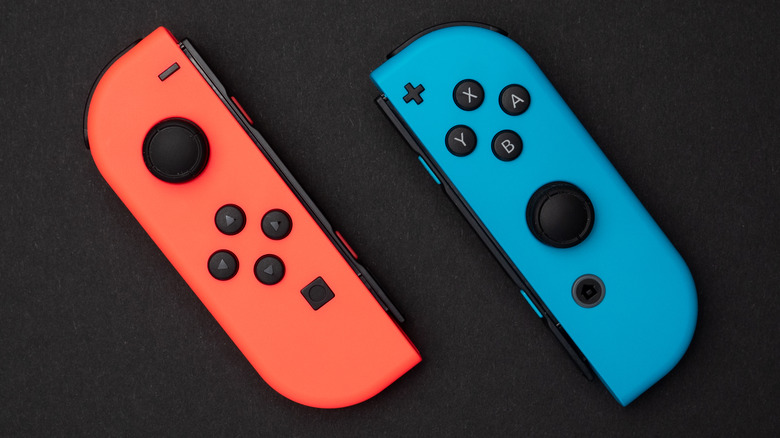
The Nintendo Switch offers remapping features for individual Joy-Cons and Pro Controllers, plus the buttons on a Nintendo Switch Lite console. Whether it's Nintendo-made or third-party, as long as the device uses the basic Switch controller framework and is recognized as such by the console, it can be freely remapped in the system settings. However, this means that you can't remap the controls on anything obviously different, such as a GameCube controller or an arcade fight stick.
Additionally, while you can remap a Switch controller's gameplay buttons, you can't remap its function buttons. In other words, you cannot remap the Home button, the controller's Sync button, and in the case of a Switch Lite, the volume or power buttons. You can, however, remap another button to emulate the Home button, though that would mean having two HOME inputs on one controller — which would be kind of pointless unless you had a specific reason for doing so.
How to remap controls
With your preferred controllers paired to the Switch console, you can remap their controls from the console's internal settings. This process is the same for both Joy-Cons and a Pro Controller:
-
On the Switch Home Menu, click the white gear icon for the System Settings.
-
Scroll down to the Controllers and Sensors tab.
-
Click "Change Button Mapping."
-
Select a connected controller and click "Change."
-
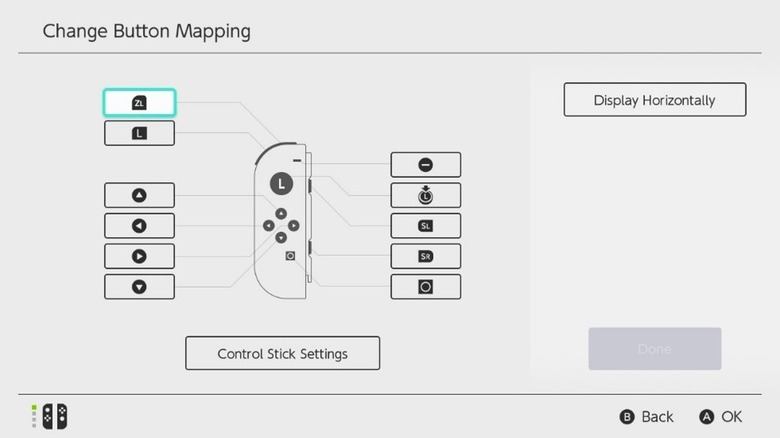
You'll be shown a diagram of the controller with all of its buttons highlighted.
-
Select the button you want to remap, and click it.
-
Choose the input you want the button to emulate from the panel.
-
If you want to disable the button entirely, select the "Disable" option.
-
Click Control Stick Settings at the bottom of the diagram to swap left and right control stick functions.
-
When you're finished remapping, click the "Done" button to save it.
If you're customizing an individual Joy-Con, you can change its orientation from horizontal to vertical using the Control Stick Settings. Use this if you want to play with a single Joy-Con, but want to hold it like a remote instead of like a controller. You can also swap the sticks on a single Joy-Con, though it'll only take effect if you're using two of them in the dual-grip style.
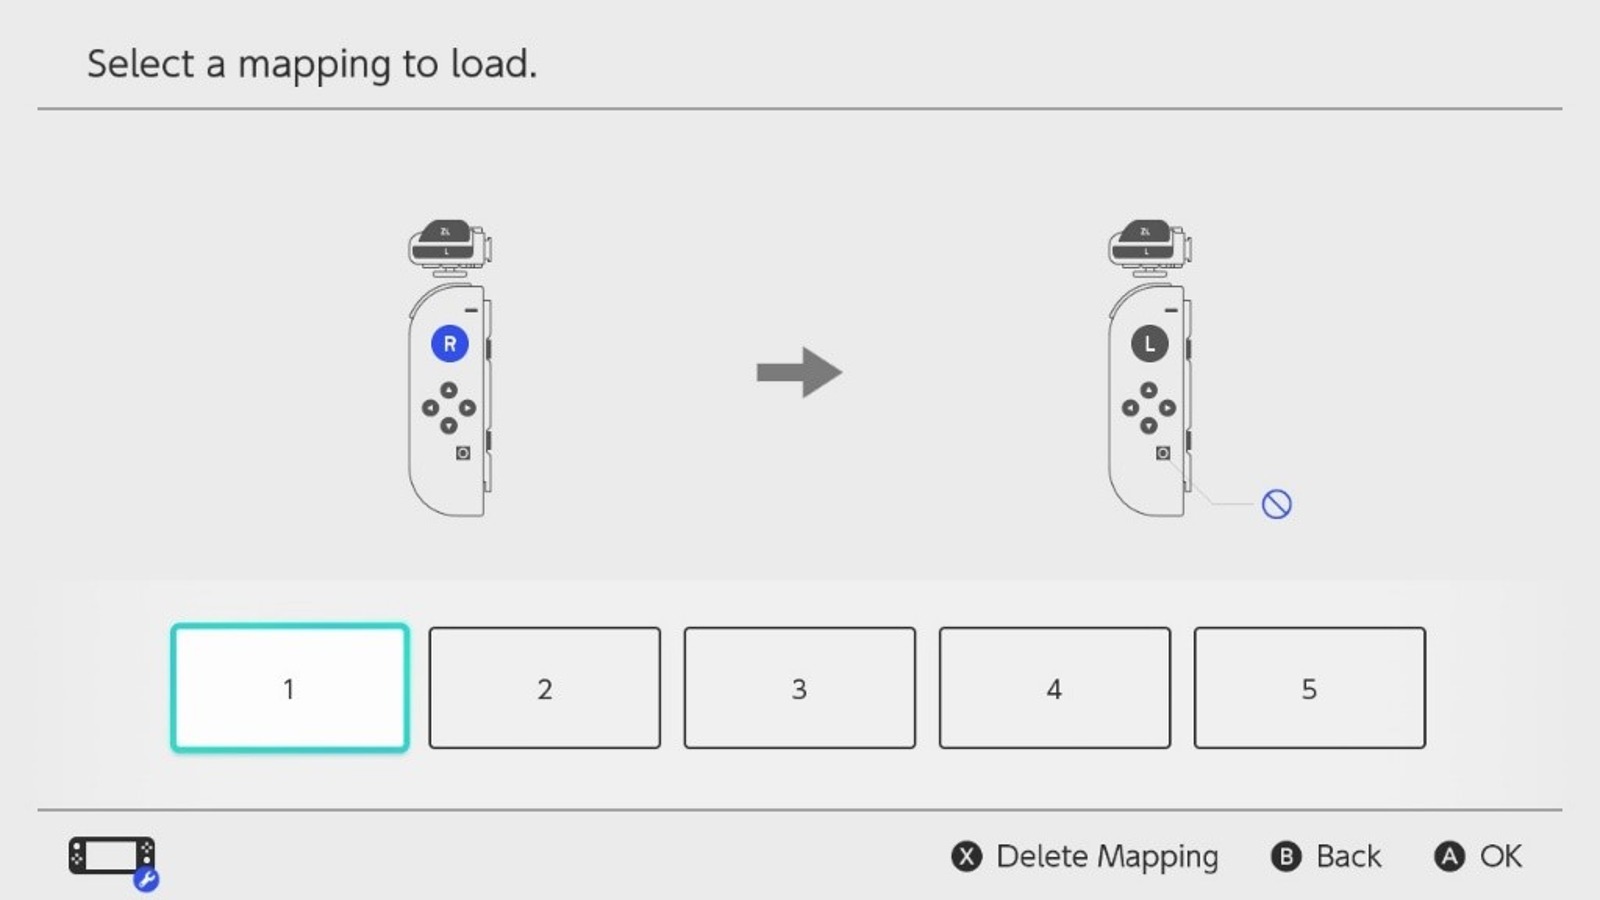
Making and loading control presets
If you have a particular way you want to map all of your controllers, you can save your preferred layout as a preset, and use it to quickly set up any new controllers you connect.
-
On the Switch Home Menu, click the white gear icon for the System Settings.
-
Scroll down to the Controllers and Sensors tab.
-
Click "Change Button Mapping."
-
Select a connected controller and click "Change."
-
Customize the controls to your preference, then click the "Done" button.
-
Return to the Button Mapping menu and click the "Save as Preset Mapping" option under the controller.
-
Select one of the five available slots to save the preset.
You can have up to five presets per controller type saved at once. That means you can have five for a Pro Controller, five for a left Joy-Con, and five for a right Joy-Con. Applying a saved preset is equally simple.
-
On the Switch HOME Menu, click the white gear icon for the System Settings.
-
Scroll down to the Controllers and Sensors tab.
-
Click "Change Button Mapping."
-
Select a connected controller, and click "Load a Preset Mapping."
-
Select one of the saved presets to set it.
Keep in mind that you can't use a preset for a different controller than the one you set up. A single Joy-Con wouldn't be able to use a preset from a Pro Controller, for instance.
Resetting presets
In the event you get tired of your remapped controls and want to return things to the default, you can easily do so by pressing the Reset button in the "Change Button Mapping" menu. If you have friends over, for instance, just save your controller preferences as a preset, reset to the default for them, then load your preset back up afterward.
When you wake the Switch console from sleep mode, you'll also get a little convenient message informing you that your controls are different from usual. You can use that notification to jump into that menu and reset the controls to the norm.
Whether you need a different way for your hands and fingers to rest comfortably on a controller, or just feel like experimenting with something a little different, the Nintendo Switch's controller remapping options ensure that you can get the best possible experience. It's also great for pranks — nothing's funnier than giving your buddy a Joy-Con with the item button disabled for "Mario Kart" night.